
Checkout options are used for enabling and disabling the one-page checkout. This tutorial guides you how to configure setup checkout options from the admin panel of Magento.
Step (1): Login to your Magento Admin Panel.
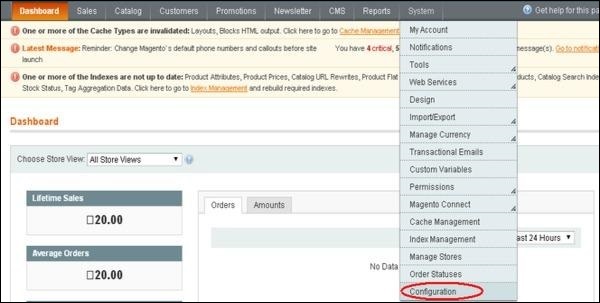
Step (2): Go to System menu and click on the Configuration option.
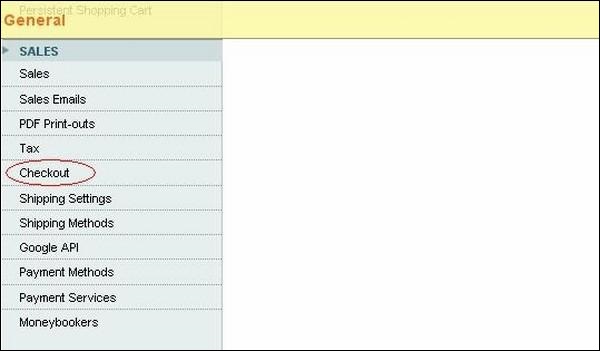
 Step (3): Under Sales section on the left side, click on the Checkout option.
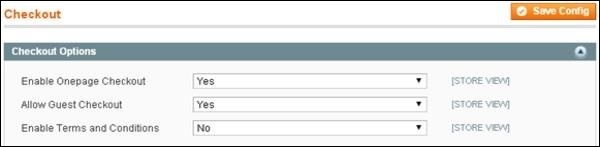
 Step (4): Expand the Checkout Options panel which includes setting for one-page checkout with enable/disable option, you can also enable/disable guest checkout and last option from which you can enable or disable terms and conditions.
 Step (5): Next panel is Shopping Cart which has options such as:
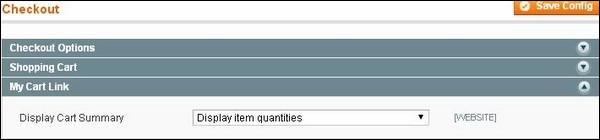
 Step (6): The My Cart Link panel specifies whether the number of quantities in the cart should be shown or whether the number of different products should be shown using the Display Cart Summary field.
 Step (7): The Shopping Cart Sidebar panel contains two options:
 Step (8): The Payment Failed Emails panel has some settings such as:
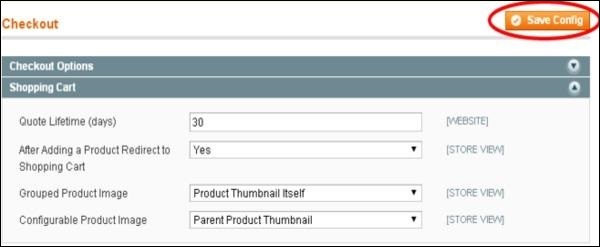
 Step (9): After done with all settings, click on the Save Config button to save your settings.
Step (1): Login to your Magento Admin Panel.
Step (2): Go to System menu and click on the Configuration option.
Step (3): Under Sales section on the left side, click on the Checkout option.
Step (4): Expand the Checkout Options panel which includes setting for one-page checkout with enable/disable option, you can also enable/disable guest checkout and last option from which you can enable or disable terms and conditions.
Step (5): Next panel is Shopping Cart which has options such as:- Quote Lifetime (days) which determines lifetime of products in cart, after a customer puts items in the cart
- After Adding a Product Redirect to Shopping Cart determines whether customers should be redirected to the shopping cart page after product is placed in the cart,
- Grouped Product Image and Configurable Product Image options determine whether the parent image of product should be displayed on the cart and whether configurable product is added to the cart should be displayed on the shopping cart or not.
Step (6): The My Cart Link panel specifies whether the number of quantities in the cart should be shown or whether the number of different products should be shown using the Display Cart Summary field.
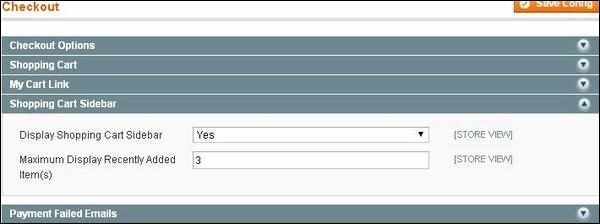
Step (7): The Shopping Cart Sidebar panel contains two options:- The Display Shopping Cart Sidebar option can hide or show the cart sidebar on the frontend
- Maximum Display Recently Added Item(s) option specifies recently added items should be listed in the cart.
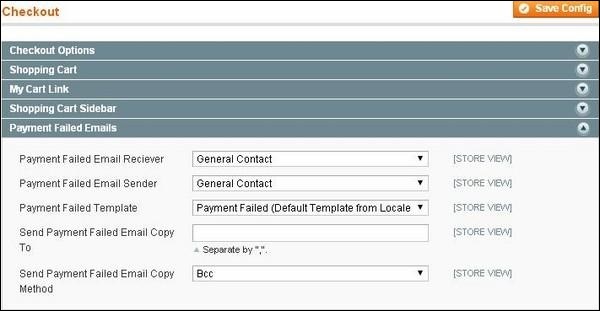
Step (8): The Payment Failed Emails panel has some settings such as:- Payment Failed Email Reciever option stores email address to which payment failed email should be sent
- Payment Failed Email Sender option specify from which email address payment failed email should be sent
- Payment Failed Template option specifies which template should be used to display message
- Send Payment Failed Email Copy To option allows to send copies of emails to additional email addresses and last option
- Send Payment Failed Email Copy Method selects either separate emails or blind carbon copies methods to send email copy.
Step (9): After done with all settings, click on the Save Config button to save your settings.
No comments:
Post a Comment