
Let us jump in and create our first MVC application using Views and
Controllers. Once we have a small hands-on experience on how a basic MVC
application works, we will learn all the individual components and
concepts in coming chapters.
 Step 2: This will open the Project Template option. Select Empty template and View Engine as Razor. Click OK.
 By this, Visual Studio will create our first MVC project like this (shown in screenshot):
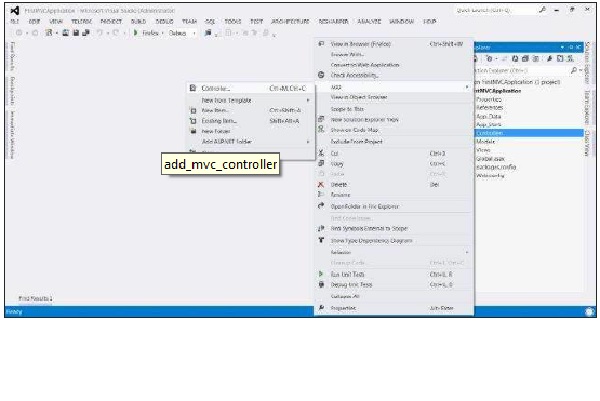
 Step 3: Now we will create the first Controller in our
application. Controllers are just simple C# classes which contains
multiple public methods, known as action methods. To add a new
Controller, right click the Controllers folder in our project and select
Add->Controller. Name the Controller as HomeContoller and click Add.
Step 3: Now we will create the first Controller in our
application. Controllers are just simple C# classes which contains
multiple public methods, known as action methods. To add a new
Controller, right click the Controllers folder in our project and select
Add->Controller. Name the Controller as HomeContoller and click Add.
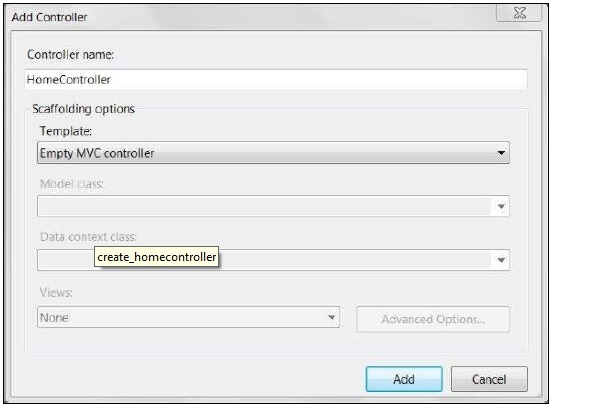 This will create a class file HomeController.cs under the Controllers folder with the following default code.
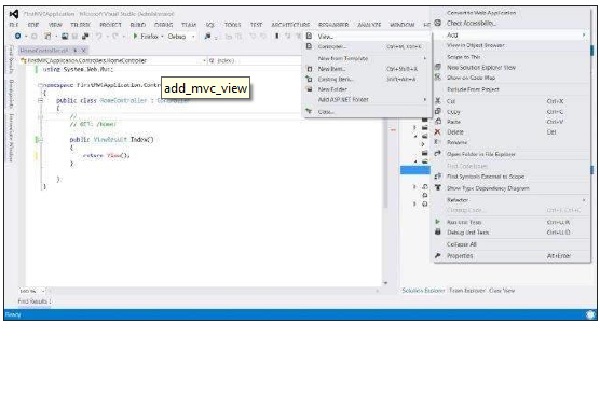
Step 4: Now we will add a new View to our Home Controller. To add a new View, right click view folder and click Add->View.
 Name the new View as Index and View Engine as Razor (SCHTML). Click Add.
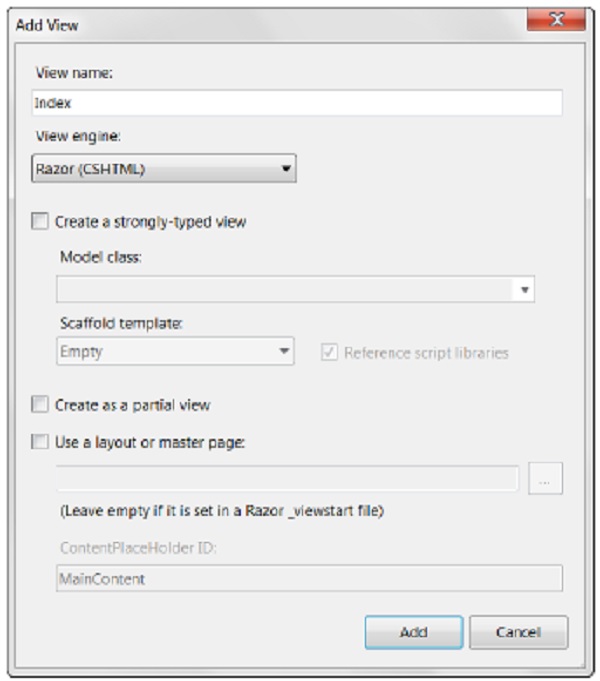 This will add a new cshtml file inside Views/Home folder with the following code:
 Step 7: In Step 6, the output we received was based on the
content of our View file and had no interaction with the Controller.
Moving a step forward, now we will now create a small example to display
a Welcome message with current time using interaction of View and
Controller.
Step 7: In Step 6, the output we received was based on the
content of our View file and had no interaction with the Controller.
Moving a step forward, now we will now create a small example to display
a Welcome message with current time using interaction of View and
Controller.
MVC uses the ViewBag object to pass data between Controller and View. Open the HomeController.cs and edit the Index function to the following code.
Step 8: Now open the Index.cshtml and copy the following code in the body section:
Step 9: Now run the application again. This time our code will run the Controller first, set the ViewBag and then render it using the View code. The output would look like below:
Steps to create first MVC Application
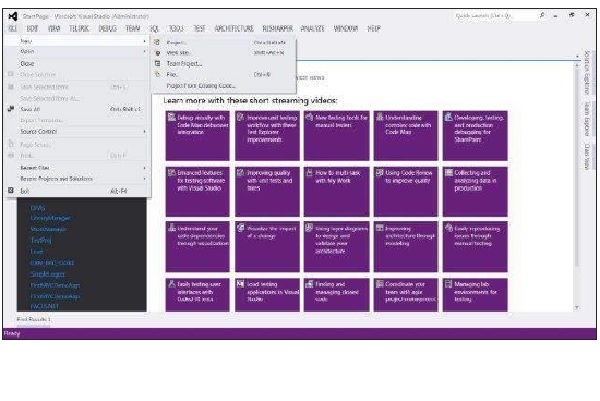
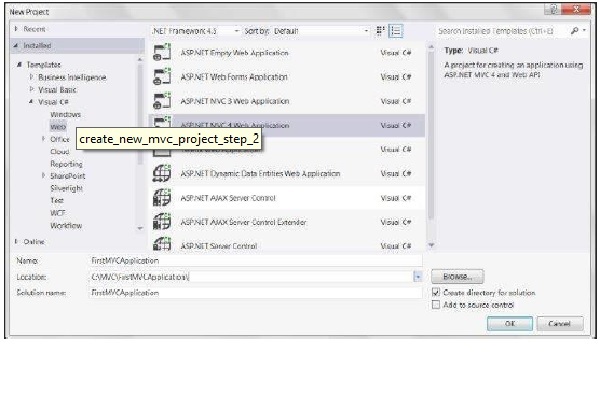
Step 1: Start your Visual Studio and select File->New->Project. Select Web->ASP.NET MVC Web Application and name this project as FirstMVCApplication. Select the Location as C:\MVC. Click OK.
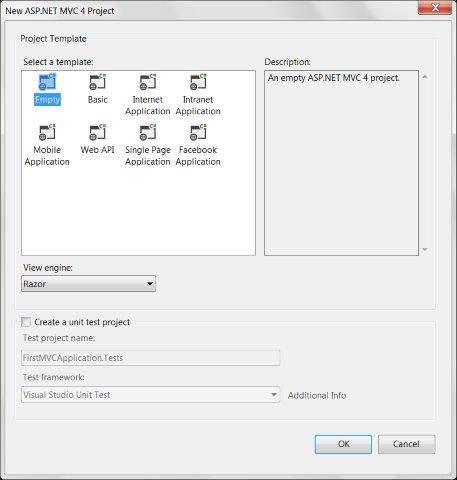
Step 2: This will open the Project Template option. Select Empty template and View Engine as Razor. Click OK.
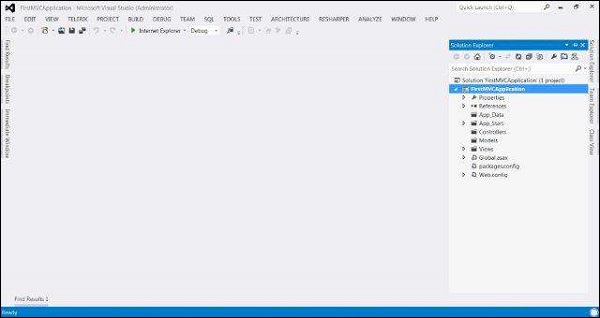
By this, Visual Studio will create our first MVC project like this (shown in screenshot):
Step 3: Now we will create the first Controller in our
application. Controllers are just simple C# classes which contains
multiple public methods, known as action methods. To add a new
Controller, right click the Controllers folder in our project and select
Add->Controller. Name the Controller as HomeContoller and click Add.
This will create a class file HomeController.cs under the Controllers folder with the following default code.
using System;
using System.Web.Mvc;

namespace FirstMVCApplication.Controllers
{
    public class HomeController : Controller
    {
     public ViewResult Index()
        {
            return View();
        }

    }
}
The above code basically defines a public method Index inside our HomeController and returns a ViewResult object. In the next steps, we will learn how to return a View using the ViewResult object.
Step 4: Now we will add a new View to our Home Controller. To add a new View, right click view folder and click Add->View.
Name the new View as Index and View Engine as Razor (SCHTML). Click Add.
This will add a new cshtml file inside Views/Home folder with the following code:@{ Layout = null; } <html> <head> <meta name="viewport" content="width=device-width" /> <title>Index</title> </head> <body> <div> </div> </body> </html>Step 5: Modify the above View's body content with the following code:
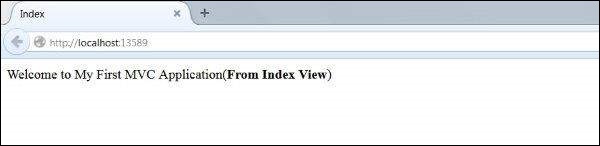
<body>
    <div>
     Welcome to My First MVC Application (<b>From Index View</b>)
    </div>
</body>
Step 6: Now run the application. This will give you the following output in the browser. This output is rendered based on the content in our View file. The application first calls the Controller which in turn calls this View and gives the output.
Step 7: In Step 6, the output we received was based on the
content of our View file and had no interaction with the Controller.
Moving a step forward, now we will now create a small example to display
a Welcome message with current time using interaction of View and
Controller.
MVC uses the ViewBag object to pass data between Controller and View. Open the HomeController.cs and edit the Index function to the following code.
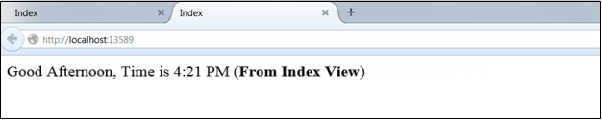
public ViewResult Index()
{
    int hour = DateTime.Now.Hour;

    ViewBag.Greeting =
    hour < 12
    ? "Good Morning. Time is" +  DateTime.Now.ToShortTimeString()
    : "Good Afternoon. Time is " + DateTime.Now.ToShortTimeString();

return View();
}
In the above code, we set set the value of the Greeting attribute of the ViewBag object. The code checks the current hour and returns the Good Morning/Afternoon message accordingly using return View() statement. Note that here Greeting is just an example attribute that we have used with ViewBag object. You can use any other attribute name in place of Greeting.
Step 8: Now open the Index.cshtml and copy the following code in the body section:
<body>
    <div>
     @ViewBag.Greeting (<b>From Index View</b>)
    </div>
</body>
In the above code, we are accessing the value of Greeting attribute of the ViewBag object using @ (which would be set from the Controller).
Step 9: Now run the application again. This time our code will run the Controller first, set the ViewBag and then render it using the View code. The output would look like below:
No comments:
Post a Comment