
Steps to create MVC Layouts
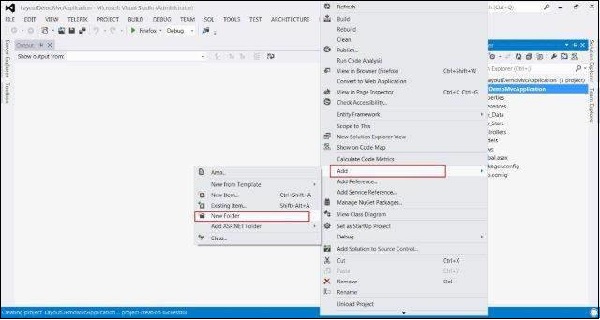
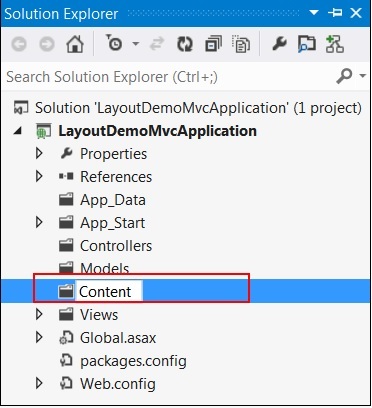
Layouts are used in MVC to provide consistent look and feel on all the pages of our application. It is same as defining the Master Pages but MVC gives some more functionalitiesStep 1: Create a sample MVC application with Internet application as Template and create a Content folder in the root directory of the web application.
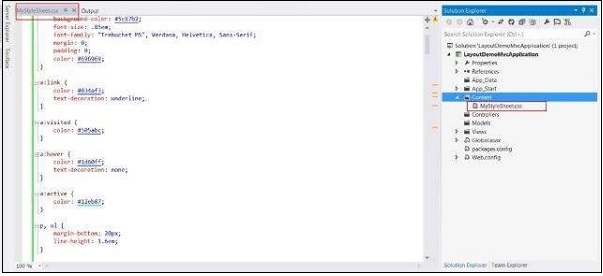
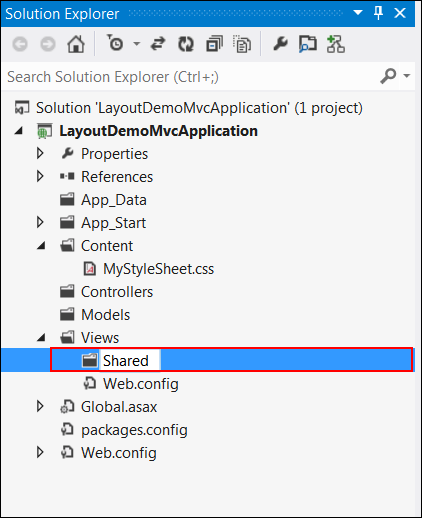
 Step 2: Create a Style Sheet file named MyStyleSheet.css under the CONTENT folder. This CSS file will contain all the CSS classes necessary for a consistent web application page design.
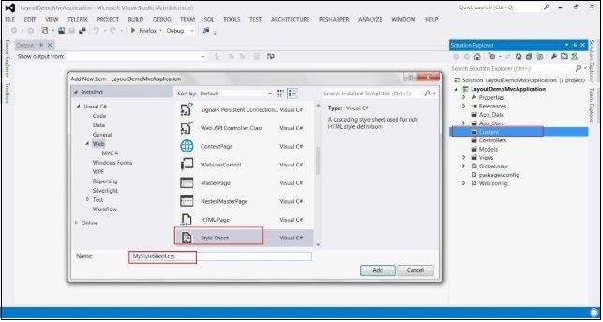
 Step 3: Create a Shared folder under the View folder.
 Step 4: Create a MasterLayout.cshtml file under the Shared folder. The file MasterLayout.cshtml represents the layout of each page in the application. Right-click on the Shared folder in Solution Explorer, then go to Add item and click on View and copy the following code.
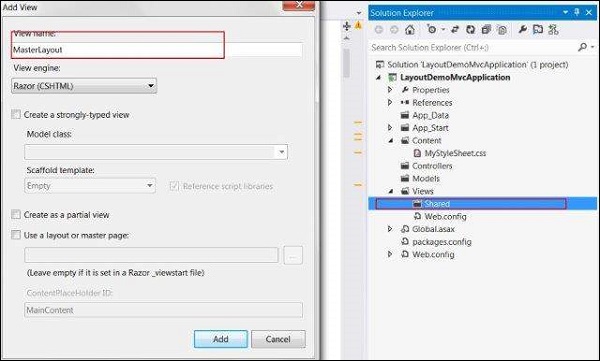
Layout Code:
<!DOCTYPE html>
<html lang="en">
    <head>
        <meta charset="utf-8" />
        <title>@ViewBag.Title - Tutorial Point</title>
        <link href="~/favicon.ico" rel="shortcut icon" type="image/x-icon" />
        <link rel="stylesheet" href="@Url.Content("~/Content/MyStyleSheet.css")" />
    </head>
    <body>
        <header>
            <div class="content-wrapper">
                <div class="float-left">
                    <p class="site-title">
                        @Html.ActionLink("Tutorial Point", "Index", "Home")
                    </p>
                </div>
                <div class="float-right">
                    <nav>
                        <ul id="menu">
                            <li>@Html.ActionLink("Home", "Index", "Home")</li>
                            <li>@Html.ActionLink("About", "About", "Home")</li>
                        </ul>
                    </nav>
                </div>
            </div>
        </header>

        <div id="body">
            @RenderSection("featured", required: false)
            <section class="content-wrapper main-content clear-fix">
                @RenderBody()
            </section>
        </div>

        <footer>
            <div class="content-wrapper">
                <div class="float-left">
                    <p>© @DateTime.Now.Year - Tutorial Point</p>
                </div>
            </div>
        </footer>
    </body>
</html>
In this layout, we are using an HTML helper method and some other system defined methods so let's see these methods one by one.
- Url.Content(): This method specifies the path of any file that we are using in our View code. It takes the virtual path as input and returns absolute path.
- Html.ActionLink(): Used to render HTML links that links to action of some controller. The first parameter specifies the display name, the second parameter specifies the Action name and the third parameter specifies the Controller name.
- RenderSection(): Specifies the name of section that we want to display at that location in the template
- RenderBody(): Renders the actual body of the associated View
@{
    Layout = "~/Views/Shared/_Layout.cshtml";
}
If the file is not present, you can create the file with this name.
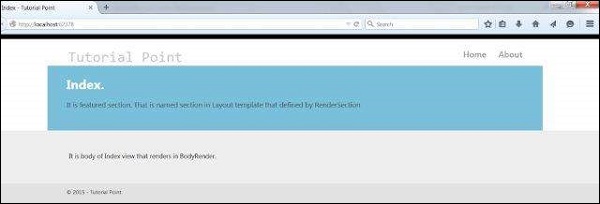
Step 6: Run the application now to see the modified home page.
No comments:
Post a Comment