
Asp.net MVC Controllers are responsible for controlling the flow of the application execution. When you make a request (means request a page) to MVC applications, a controller is responsible for returning the response to that request. A controller can have one or more actions. A controller action can return different types of action results to a particular request.
Controller is responsible for controlling the application logic and acts as the coordinator between the View and the Model. The Controller receives input from users via the View, then process the user's data with the help of Model and passing the results back to the View.
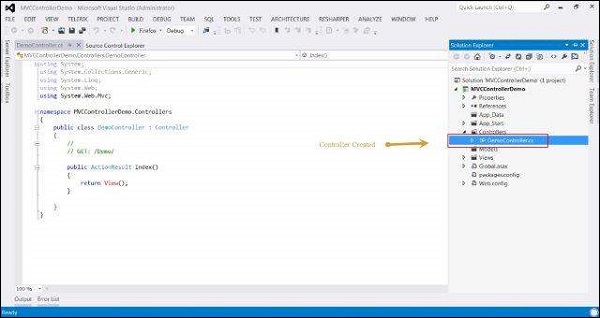
A Controller class file will be created like this:
 Add a new class file and name it as DemoCustomController. Now modify this class to inherit IController interface.
 Copy the following code inside this class:
Controller is responsible for controlling the application logic and acts as the coordinator between the View and the Model. The Controller receives input from users via the View, then process the user's data with the help of Model and passing the results back to the View.
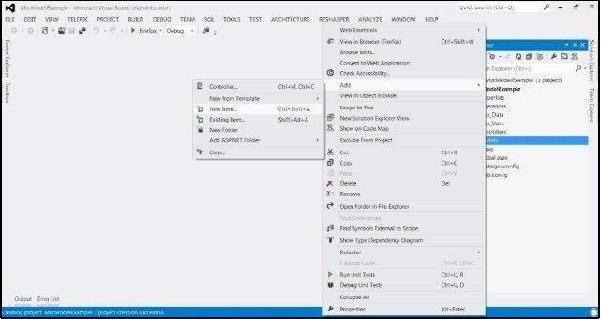
Creating a Controller
For creating a Controller, create an MVC Empty Application and then right-click on the Controller folder in your MVC application and select the menu option Add->Controller. After selection the Add Controller dialog is being displayed. Name the Controller as DemoController.A Controller class file will be created like this:
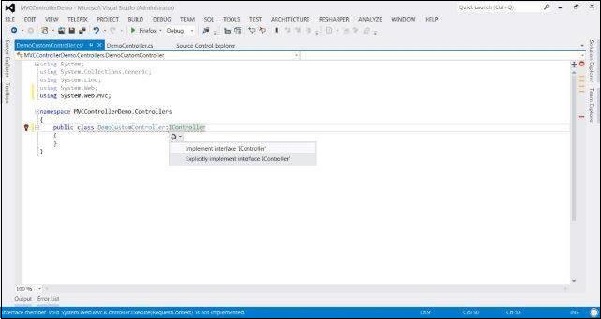
Creating a Controller with Icontroller
In the MVC Framework, controller classes must implement the IController interface from the System.Web.Mvc namespace.public interface IController { void Execute(RequestContext requestContext); }This is a very simple interface. The sole method, Execute, is invoked when a request is targeted at the controller class. The MVC Framework knows which controller class has been targeted in a request by reading the value of the controller property generated by the routing data.
Add a new class file and name it as DemoCustomController. Now modify this class to inherit IController interface.
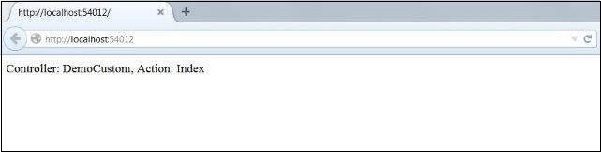
Copy the following code inside this class:public class DemoCustomController:IController { public void Execute(System.Web.Routing.RequestContext requestContext) { var controller = (string)requestContext.RouteData.Values["controller"]; var action = (string)requestContext.RouteData.Values["action"]; requestContext.HttpContext.Response.Write( string.Format("Controller: {0}, Action: {1}", controller, action)); } }Now when you will run the application, you will see something like this:
No comments:
Post a Comment