
In this chapter we will learn how to Receive Donation in
Drupal. Donation is some amount of gift given by an organisation or
individual to a non-profit organisation or private foundation.
Following are the steps to receive donation in Drupal.
Step (1): Download the latest file of Commerce Custom Line Items module and install in your Drupal site.
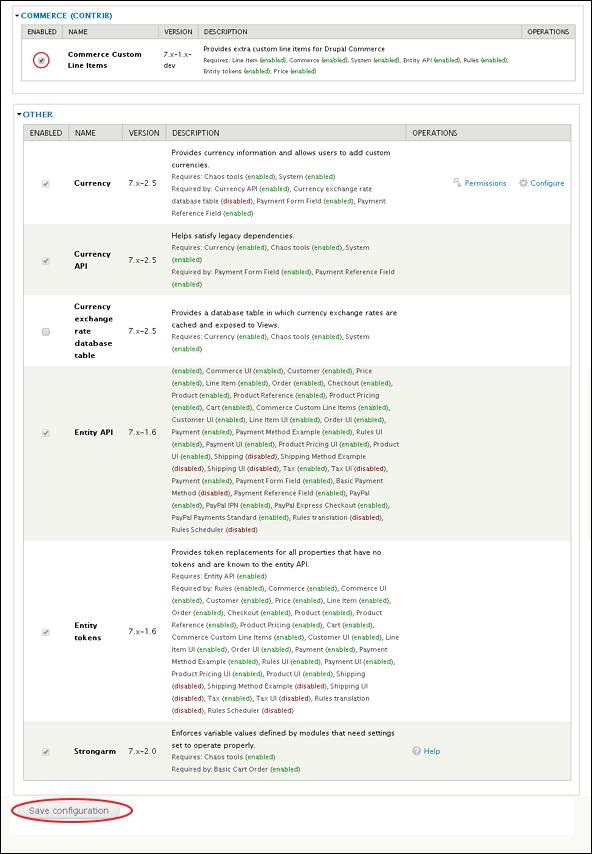
Step (2): Next, enable the Commerce Custom Line Items and Others in Modules and click on Save configuration.
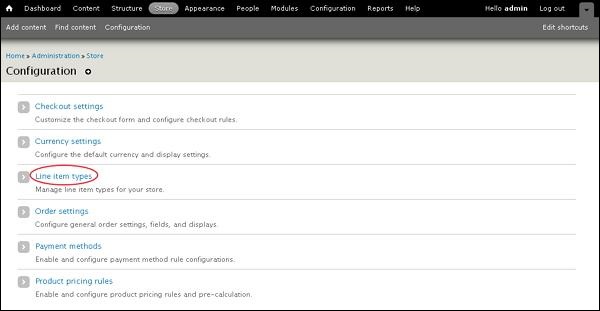
 Step (3):Next, go to Store --> Configuration
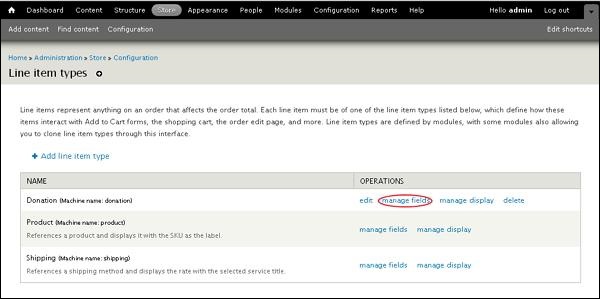
 Step (4): Next, click on Line item types.
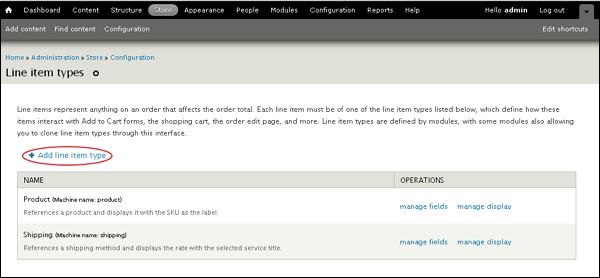
 Step (5):Next, click on Add line item types to add items.
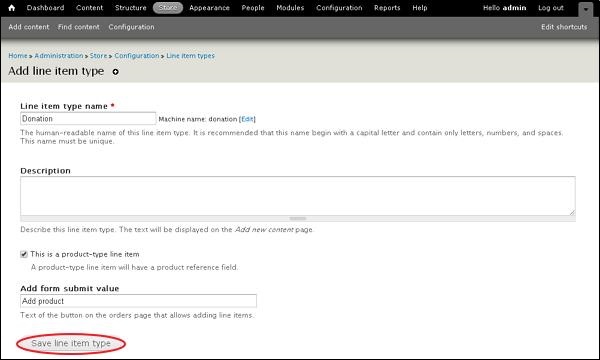
 Step (6):Now, Add line item type page will get display as shown below.
 It contain fields such as
 Step (8): Next, add a new field as Donation Amount, Select Integer for type of data from the dropdown.
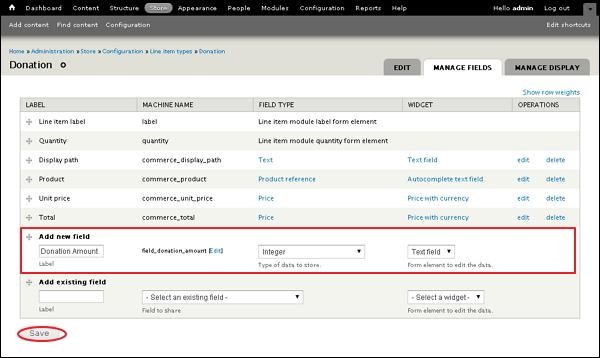 Click on Save button.
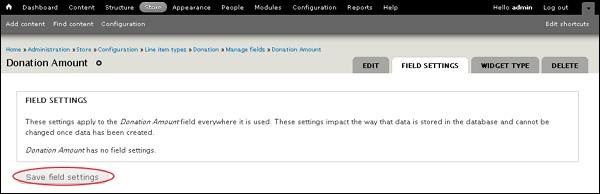
Step (9): Next, after clicking on save, the page redirects to the field setting page as shown below. Click on Save field settings button.
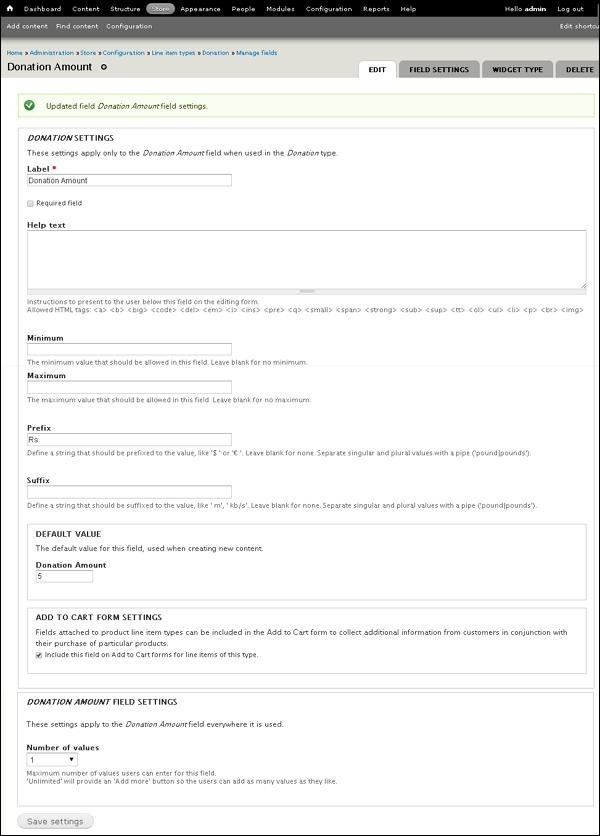
 Step (10): Next, the page is redirected to the Donation Amount page.
 It contain fields such as
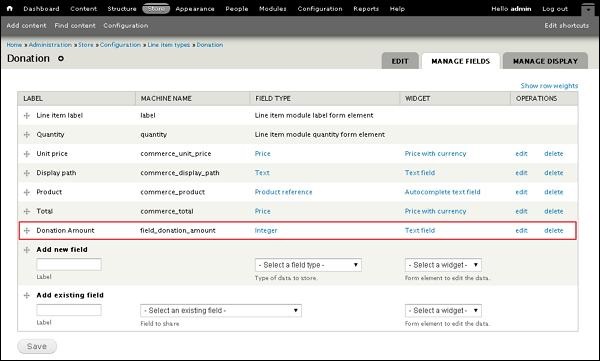
Step (11): Next, you can view the created Donation Amount field in the list.
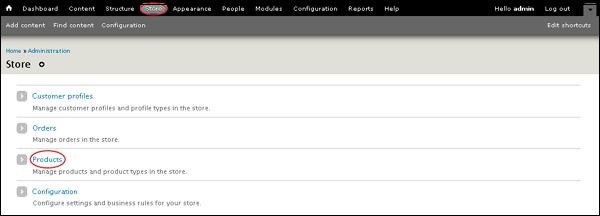
Step (1): Next, click on Store --> Products
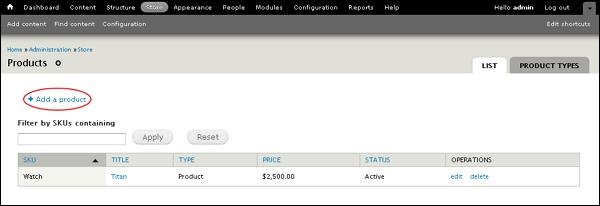
 Step (2): Click on Add a product to add product.
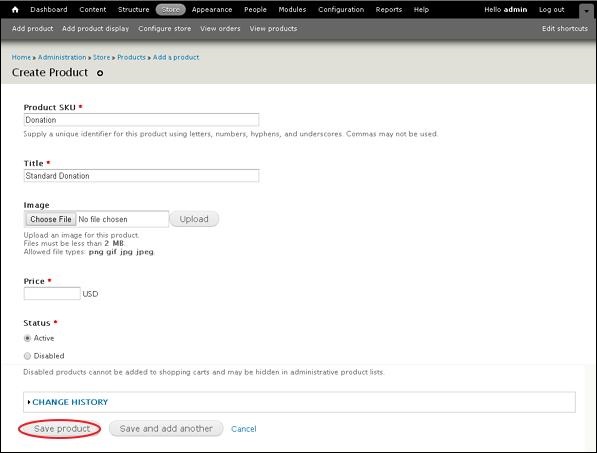
 Step (3): Next, it will open a Create Product screen as shown below.
 It contain fields such as
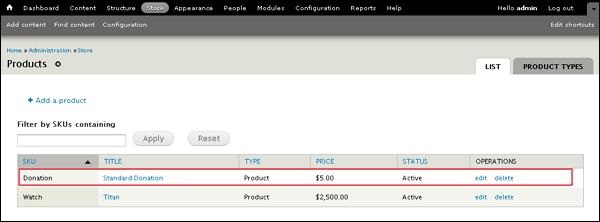
Step (4): Now you can see the newly created product as shown in the screen below.
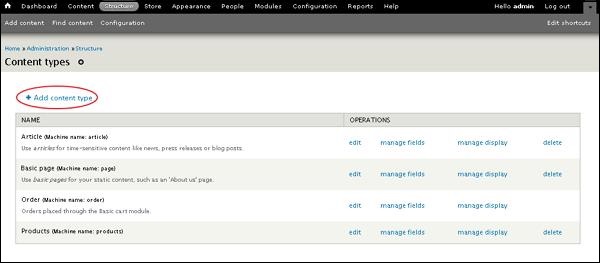
 Step (5): Next, go to Structure --> Content Types. The following page will get displayed, click on Add content type as shown.
 Step (6): Here, create a content types, name as Donation and click on Save and add fields..
 Step (7):Next, it will open the Manage Fields tab as shown below.
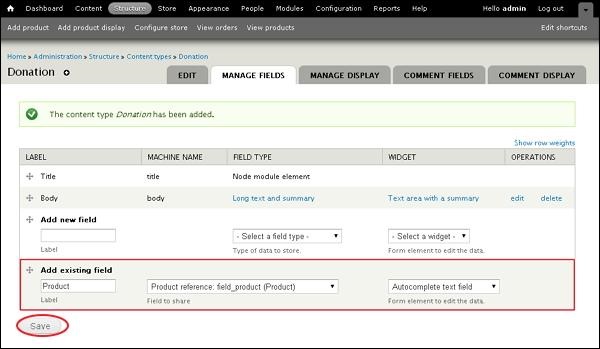 Here, add fields into Add existing field section as Product and select Product reference from the dropdown and click on Save button.
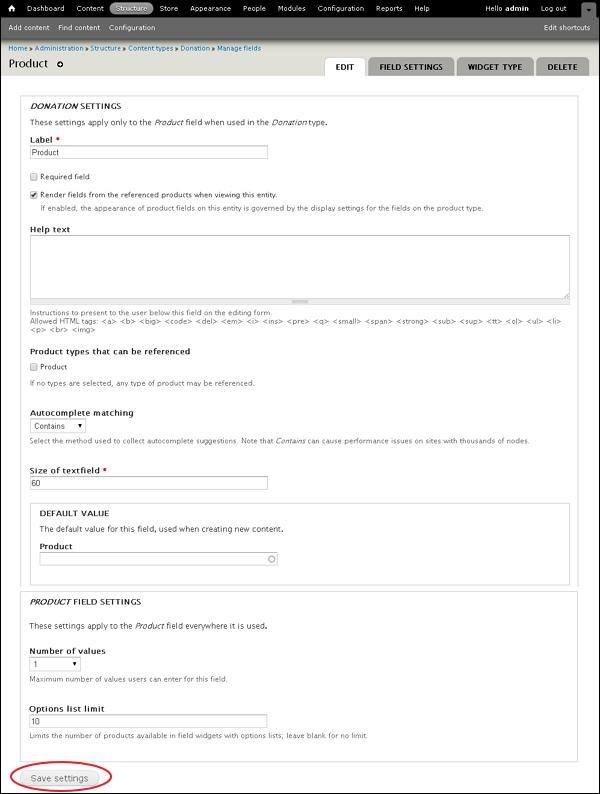
Step (8):Now, Product page will get displayed, click on Save settings button.
 Step (9):Next, you can view the created Product field in the list.
 Step (10):Now, click on the Manage Display tab. Click on the symbol present at the right side of the the field Product, following section will get displayed.
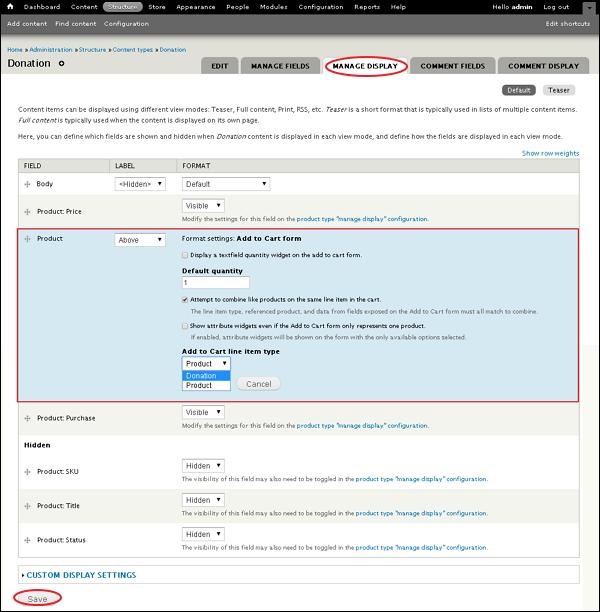 Here, Select as Donation from the dropdown in Add to Cart line item type. Later click on Update button and then on Save button.
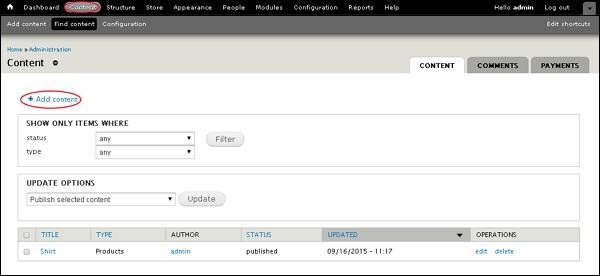
Step (11):Next, click on Content --> Add Content to add donation information.
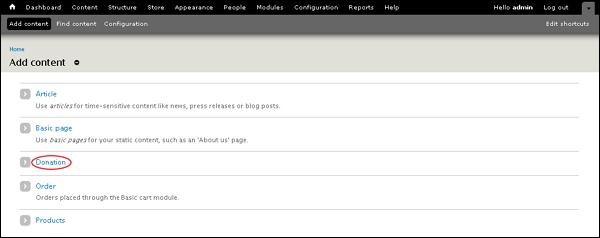
 Step (12): Next, click on Donation.
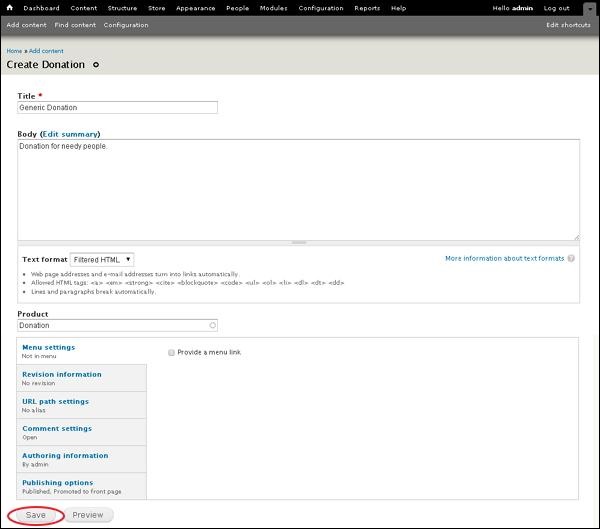
 Step (13):Enter your Donation information and click on Save button.
 Step (14): The page of donation will get displayed as shown below.
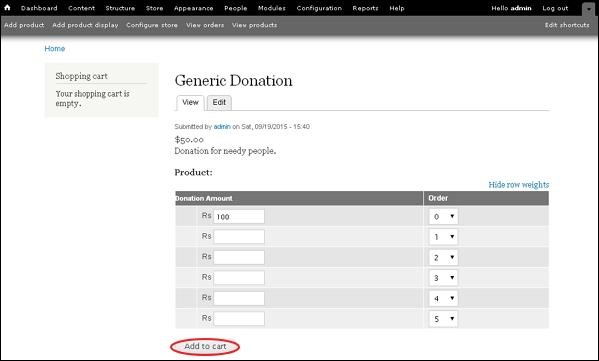 Here, you can fill the amount according to your wish and click on Add to cart button
Step (15): Here, you can view the donation amounts in the block present at the right side of the page. Click on View Cart.
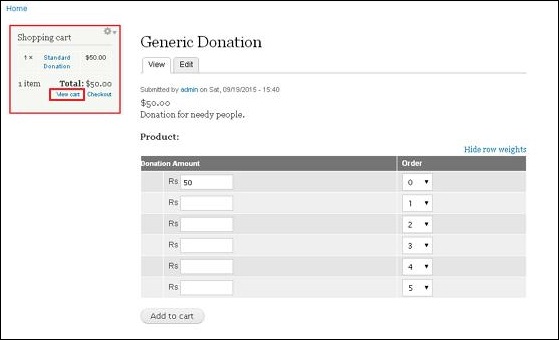 Step (16): Next, you can view the Shopping cart donation amount and click on Checkout button.
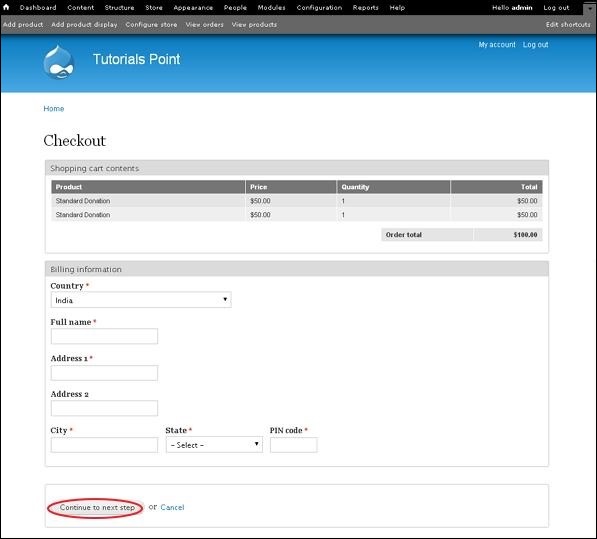
 Step (17): Next, you can enter the information of billing and click on Continue to next step button.
 Step (18): Here, you can review the order information and click on Continue to next step button.
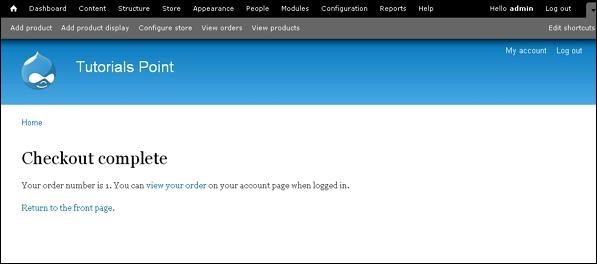
 Step (19): Next, a message will get displayed as Checkout completed as shown below.
Following are the steps to receive donation in Drupal.
Step (1): Download the latest file of Commerce Custom Line Items module and install in your Drupal site.
Step (2): Next, enable the Commerce Custom Line Items and Others in Modules and click on Save configuration.
Step (3):Next, go to Store --> Configuration
Step (4): Next, click on Line item types.
Step (5):Next, click on Add line item types to add items.
Step (6):Now, Add line item type page will get display as shown below.
It contain fields such as- Line item type name: Enter the name of the line item type.
- Description: Enter a brief description about the line item type.
- Add form submit value: Enter the text of the button on the order page which allow adding line items.
Step (8): Next, add a new field as Donation Amount, Select Integer for type of data from the dropdown.
Click on Save button.Step (9): Next, after clicking on save, the page redirects to the field setting page as shown below. Click on Save field settings button.
Step (10): Next, the page is redirected to the Donation Amount page.
It contain fields such as- Label: Donation type identifier.
- Help text:Enter instructions to present to the user.
- Minimum: Enter the minimum value that should be allowed.
- Maximum: Enter the maximum value that should be allowed.
- Prefix: Enter the string that should be prefixed to the value.
- Suffix: Enter the string that should be suffixed to the value.
- Default Value: Enter the default donation amount.
- Add to Cart Form Settings: Includes the product line item types in the add to cart form to collect information.
- Donation Amount Field settings: Number of values user can enter for this field.
Step (11): Next, you can view the created Donation Amount field in the list.
Create Product for donation
Following are the steps to create product for donation.Step (1): Next, click on Store --> Products
Step (2): Click on Add a product to add product.
Step (3): Next, it will open a Create Product screen as shown below.
It contain fields such as - Product SKU: It is a unique identifier for the product.
- Title: It is title for the specified product.
- Image: Add image for the product.
- Price: Enter the amount of the product.
- Status: Set this field to Active option, so that it can be added to shopping cart. If it set to Disabled option, products cannot be added to shopping carts and may be hidden in administrative product lists.
Step (4): Now you can see the newly created product as shown in the screen below.
Step (5): Next, go to Structure --> Content Types. The following page will get displayed, click on Add content type as shown.
Step (6): Here, create a content types, name as Donation and click on Save and add fields..
Step (7):Next, it will open the Manage Fields tab as shown below.
Here, add fields into Add existing field section as Product and select Product reference from the dropdown and click on Save button.Step (8):Now, Product page will get displayed, click on Save settings button.
Step (9):Next, you can view the created Product field in the list.
Step (10):Now, click on the Manage Display tab. Click on the symbol present at the right side of the the field Product, following section will get displayed.
Here, Select as Donation from the dropdown in Add to Cart line item type. Later click on Update button and then on Save button.Step (11):Next, click on Content --> Add Content to add donation information.
Step (12): Next, click on Donation.
Step (13):Enter your Donation information and click on Save button.
Step (14): The page of donation will get displayed as shown below.
Here, you can fill the amount according to your wish and click on Add to cart buttonStep (15): Here, you can view the donation amounts in the block present at the right side of the page. Click on View Cart.
Step (16): Next, you can view the Shopping cart donation amount and click on Checkout button.
Step (17): Next, you can enter the information of billing and click on Continue to next step button.
Step (18): Here, you can review the order information and click on Continue to next step button.
Step (19): Next, a message will get displayed as Checkout completed as shown below.
No comments:
Post a Comment