
A good GUI based application provides feedback to a user about the interaction. For example, the desktop applications use dialog or message box and JavaScript uses alerts for similar purpose.
Generating such informative messages is easy in Flask web application. Flashing system of Flask framework makes it possible to create a message in one view and render it in a view function called next.
A Flask module contains flash() method. It passes a message to the next request, which generally is a template.
The following flashes received messages in a template.
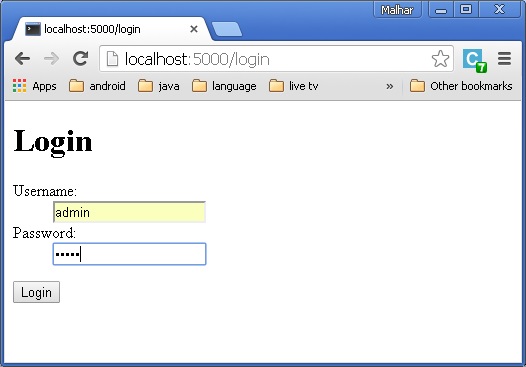
 When you click on the link, you will be directed to the Login page.
Enter the Username and password.
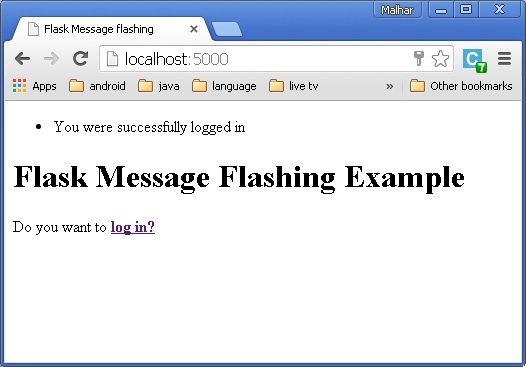
 Click Login. A message will be displayed “You were successfully logged in” .
Generating such informative messages is easy in Flask web application. Flashing system of Flask framework makes it possible to create a message in one view and render it in a view function called next.
A Flask module contains flash() method. It passes a message to the next request, which generally is a template.
flash(message, category)Here,
- message parameter is the actual message to be flashed.
- category parameter is optional. It can be either ‘error’, ‘info’ or ‘warning’.
get_flashed_messages(with_categories, category_filter)Both parameters are optional. The first parameter is a tuple if received messages are having category. The second parameter is useful to display only specific messages.
The following flashes received messages in a template.
{% with messages = get_flashed_messages() %}
   {% if messages %}
      {% for message in messages %}
         {{ message }}
      {% endfor %}
   {% endif %}
{% endwith %}
Let us now see a simple example, demonstrating the flashing mechanism in Flask. In the following code, a ‘/’ URL displays link to the login page, with no message to flash.
@app.route('/')
def index():
   return render_template('index.html')
The link leads a user to ‘/login’ URL which displays a login form. When submitted, the login() view function verifies a username and password and accordingly flashes a ‘success’ message or creates ‘error’ variable.
@app.route('/login', methods = ['GET', 'POST'])
def login():
   error = None

   if request.method == 'POST':
      if request.form['username'] != 'admin' or \
         request.form['password'] != 'admin':
         error = 'Invalid username or password. Please try again!'
      else:
         flash('You were successfully logged in')
         return redirect(url_for('index'))
   return render_template('login.html', error = error)
In case of error, the login template is redisplayed with error message.
Login.html
<!doctype html>
<html>
   <body>

      <h1>Login</h1>

      {% if error %}
      <p><strong>Error:</strong> {{ error }}
      {% endif %}

      <form action = "" method = post>
         <dl>
            <dt>Username:</dt>

            <dd>
               <input type = text name = username
                  value = "{{request.form.username }}">
            </dd>

            <dt>Password:</dt>
            <dd><input type = password name = password></dd>
         </dl>
         <p><input type = submit value = Login></p>
      </form>

   </body>
</html>
On the other hand, if login is successful, a success message is flashed on the index template.
Index.html
<!doctype html>
<html>

   <head>
      <title>Flask Message flashing</title>
   </head>
   <body>

      {% with messages = get_flashed_messages() %}
         {% if messages %}
            <ul>
               {% for message in messages %}
               <li<{{ message }}</li>
               {% endfor %}
            </ul>
         {% endif %}
      {% endwith %}

      <h1>Flask Message Flashing Example</h1>
      <p>Do you want to <a href = "{{ url_for('login') }}">
         <b>log in?</b></a></p>

   </body>
</html>
A complete code for Flask message flashing example is given below −
Flash.py
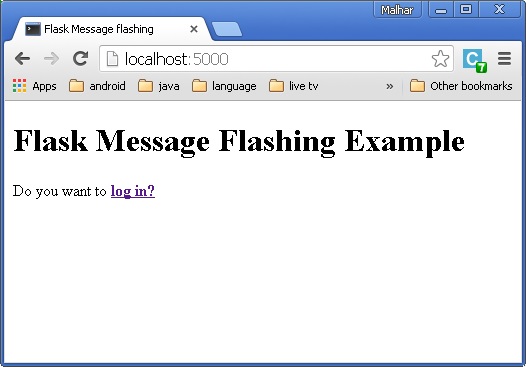
from flask import Flask, flash, redirect, render_template, request, url_for
app = Flask(__name__)
app.secret_key = 'random string'

@app.route('/')
def index():
   return render_template('index.html')

@app.route('/login', methods = ['GET', 'POST'])
def login():
   error = None

   if request.method == 'POST':
      if request.form['username'] != 'admin' or \
         request.form['password'] != 'admin':
         error = 'Invalid username or password. Please try again!'
      else:
         flash('You were successfully logged in')
         return redirect(url_for('index'))

   return render_template('login.html', error = error)

if __name__ == "__main__":
   app.run(debug = True)
After executing the above codes, you will see the screen as shown below.
When you click on the link, you will be directed to the Login page.Enter the Username and password.
Click Login. A message will be displayed “You were successfully logged in” .
No comments:
Post a Comment