
In this chapter we will explain how to use Twitter authentication.
Once your app is created click on Keys and Access Tokens where you can find API Key and API Secret. You will need this in step 2.
Below you need to copy callback URL and paste it in your Twitter app. You can find (Callback URL) of your Twitter app when you click on Settings tab.
Step 1 - Create Twitter App
You can create Twitter app on this link.Once your app is created click on Keys and Access Tokens where you can find API Key and API Secret. You will need this in step 2.
Step 2 - Enable Twitter Auth
In your Firebase dashboard side menu you need to click Auth. Then open SIGN-IN-METHOD tab. Click on Twitter to enable it. You need to add API Key and API Secret from the step 1.Below you need to copy callback URL and paste it in your Twitter app. You can find (Callback URL) of your Twitter app when you click on Settings tab.
Step 3 - Add Buttons
In this step we will add two buttons inside body tag of index.html.index.html
<button onclick = "twitterSignin()">Twitter Signin</button>
<button onclick = "twitterSignout()">Twitter Signout</button>
Step 4 - Auth Functions
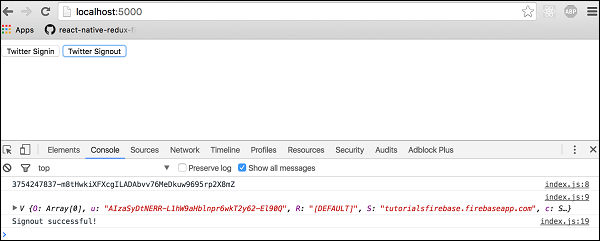
Now we can create functions for Twitter auth.index.js
var provider = new firebase.auth.TwitterAuthProvider();

function twitterSignin() {
   firebase.auth().signInWithPopup(provider)

  .then(function(result) {
      var token = result.credential.accessToken;
      var user = result.user;

      console.log(token)
      console.log(user)
   }).catch(function(error) {
      console.log(error.code)
      console.log(error.message)
   });
}

function twitterSignout() {
   firebase.auth().signOut()

   .then(function() {
      console.log('Signout successful!')
   }, function(error) {
      console.log('Signout failed!')
   });
}
When we start our app, we can sigin or signout by clicking the two buttons. Console will confirm that authentication is successful.
No comments:
Post a Comment