
After understanding most of the important factors of Website
Development, it is now time to set up a webpage. For setting up a
webpage, we should adhere to all the steps given below.
Step 1 − Firstly, we purchased a domain name at GODADDY.
Step 2 − We chose the hosting provider based on the analysis of the hosting plans that we needed.
Step 3 − We configured the DNS records and the DNS servers of the registrar that in our case was GODADDY again.
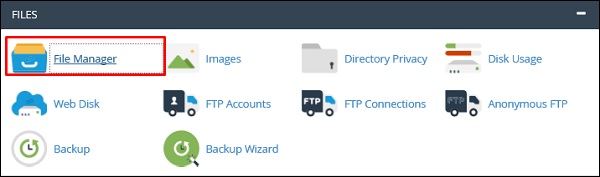
Step 4 − Now that we are done with all the above-mentioned steps, it is time to upload the files of the webpage through CPanel → File Manager.
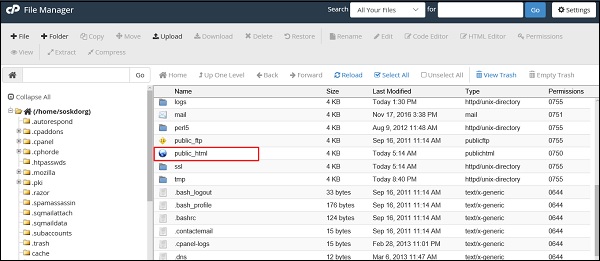
 Step 5 − After opening it, upload the files in the folder named public_html as shown in the following screenshot.
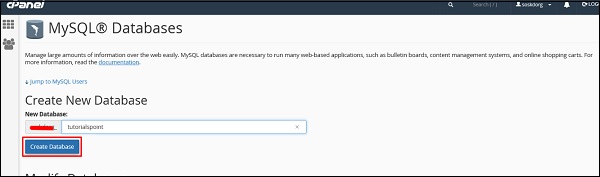
 Step 6 − If you have a dynamic website, then you must configure the database too. To do it, go to MySQL Databases.
 Step 7 − Click on Create New Database and then write
the database name that your website will have and then click on Create
Database as shown in the screenshot given below.
Step 7 − Click on Create New Database and then write
the database name that your website will have and then click on Create
Database as shown in the screenshot given below.
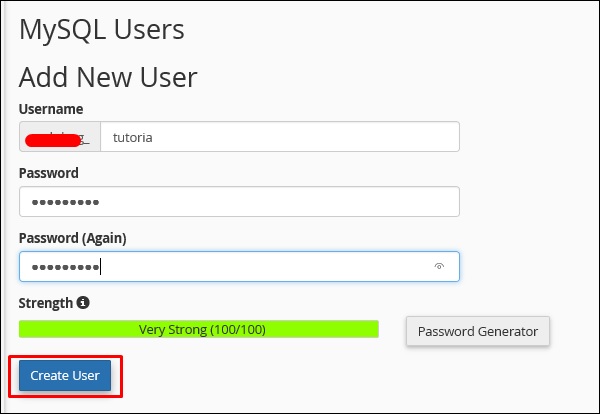
 Step 8 − In the Add New User section type the Username and the password and then click on Create User.
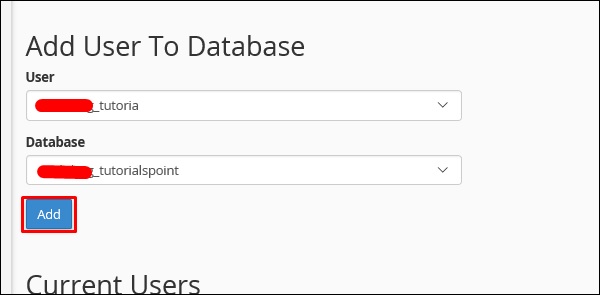
 Step 9 − We must add the user that we created for this database to give rights or permissions to manage it.
Step 1 − Firstly, we purchased a domain name at GODADDY.
Step 2 − We chose the hosting provider based on the analysis of the hosting plans that we needed.
Step 3 − We configured the DNS records and the DNS servers of the registrar that in our case was GODADDY again.
Step 4 − Now that we are done with all the above-mentioned steps, it is time to upload the files of the webpage through CPanel → File Manager.
Step 5 − After opening it, upload the files in the folder named public_html as shown in the following screenshot.
Step 6 − If you have a dynamic website, then you must configure the database too. To do it, go to MySQL Databases.
Step 7 − Click on Create New Database and then write
the database name that your website will have and then click on Create
Database as shown in the screenshot given below.
Step 8 − In the Add New User section type the Username and the password and then click on Create User.
Step 9 − We must add the user that we created for this database to give rights or permissions to manage it.
No comments:
Post a Comment