
Laravel - Overview
Introduction
Laravel is a MVC framework with bundles, migrations, and Artisan CLI. Laravel offers a robust set of tools and an application architecture that incorporates many of the best features of frameworks like CodeIgniter, Yii, ASP.NET MVC, Ruby on Rails, Sinatra, and others.Laravel is an Open Source framework. It has a very rich set of features which will boost the speed of Web Development. If you familiar with Core PHP and Advanced PHP, Laravel will make your task easier. It will save a lot time if you are planning to develop a website from scratch. Not only that, the website built in Laravel is also secure. It prevents the various attacks that can take place on websites.
Laravel – Features
Laravel offers the following key features −- Modularity
- Testability
- Routing
- Configuration management
- Query builder and ORM (Object Relational Mapper)
- Schema builder, migrations, and seeding
- Template engine
- E-mailing
- Authentication
- Redis
- Queues
- Event and command bus
Laravel - Installation
For managing dependencies, Laravel uses composer. Make sure you have a Composer installed on your system before you install Laravel.Step 1 − Visit the following URL and download composer to install it on your system.
https://getcomposer.org/download/
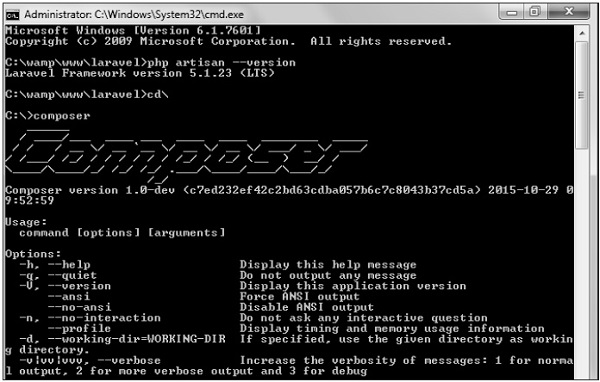
Step 2 − After the Composer is installed, check the installation by typing the Composer command in the command prompt as shown in the following screenshot.
 Step 3 − Create a new directory anywhere in your system for
your new Laravel project. After that, move to path where you have
created the new directory and type the following command there to
install Laravel.
Step 3 − Create a new directory anywhere in your system for
your new Laravel project. After that, move to path where you have
created the new directory and type the following command there to
install Laravel.composer create-project laravel/laravel –-prefer-distStep 4 − The above command will install Laravel in the current directory. Start the Laravel service by executing the following command.
php artisan serveStep 5 − After executing the above command, you will see a screen as shown below −
 Step 6 − Copy the URL underlined in gray in the above
screenshot and open that URL in the browser. If you see the following
screen, it implies Laravel has been installed successfully.
Step 6 − Copy the URL underlined in gray in the above
screenshot and open that URL in the browser. If you see the following
screen, it implies Laravel has been installed successfully.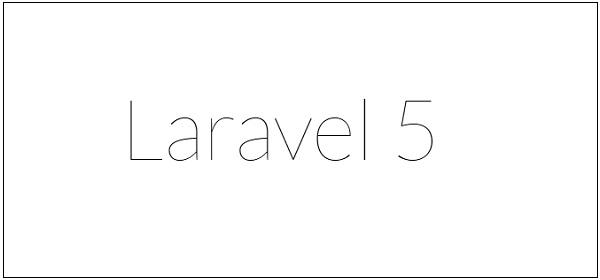
Laravel - Application Structure
Root Directory
The root directory of Laravel contains various folders and files as shown in the following figure.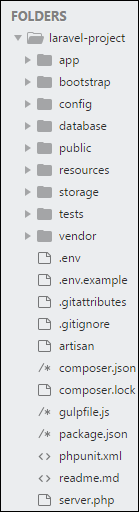
- app − This directory contains the core code of the application.
- bootstrap − This directory contains the application bootstrapping script.
- config − This directory contains configuration files of application.
- database − This folder contains your database migration and seeds.
- public − This is the application’s document root. It starts the Laravel application. It also contains the assets of the application like JavaScript, CSS, Images, etc.
- resources − This directory contains raw assets such as the LESS & Sass files, localization and language files, and Templates that are rendered as HTML.
- storage − This directory contains App storage, like file uploads etc. Framework storage (cache), and application-generated logs.
- test − This directory contains various test cases.
- vendor − This directory contains composer dependencies.
App Directory
This is the application directory. It contains a variety of additional directories, which are described below −- Console − All the artisan commands are stored in this directory.
- Events − This directory stores events that your application can raise. Events may be used to alert other parts of your application that a given action has occurred, providing a great deal of flexibility and decoupling.
- Exceptions − This directory contains your application's exception handler and is also a good place to stick any exceptions thrown by your application.
- Http − This directory contains your controllers, filters, and requests.
- Jobs − This directory contains the queueable jobs for your application.
- Listeners − This directory contains the handler classes for your events. Handlers receive an event and perform logic in response to the event being fired. For example, a UserRegistered event might be handled by a SendWelcomeEmail listener.
- Policies − This directory contains various policies of the application
- Providers − This directory contains various service providers.
Laravel - Configuration
The config directory, as the name implies, contains all of your application's configuration files. In this directory, you will find various files needed to configure database, session, mail, application, services etc.Basic Configuration
- After installing Laravel, the first thing we need to do is to set the write permission for the directory storage and bootstrap/cache.
- Generate Application key to secure session and other encrypted data. If the root directory doesn’t contain the .env file then rename the .env.example to .env file and execute the following command where you have installed Laravel. The newly generated key can be seen in the .env file.

- You can also configure the locale, time zone, etc. of the application in the config/app.php file.
Environmental Configuration
Laravel provides facility to run your application in different environment like testing, production etc. You can configure the environment of your application in the .env file of the root directory of your application. If you have installed Laravel using composer, this file will automatically be created.In case you haven’t installed Laravel, you can simply rename the .env.example file to .env file. A sample of Laravel.env file is shown below.
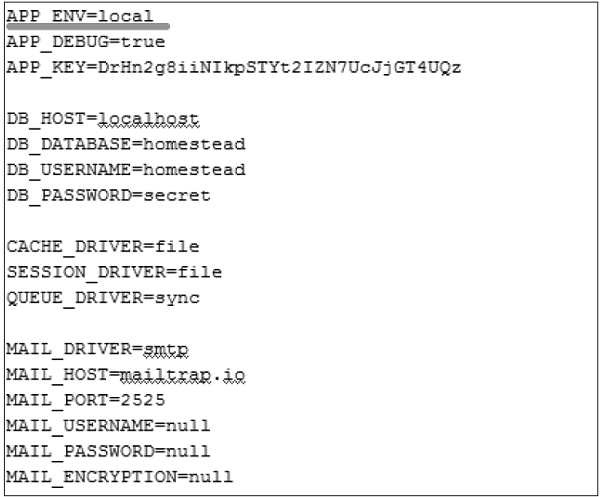 Notice the text underlined gray in the above image. Local environment variable has been set. It can further be changed to production or testing as per your requirement.
Database Configuration
The database of your application can be configured from config/database.php file. You can set configuration parameters that can be used by different databases and you can also set the default one to use.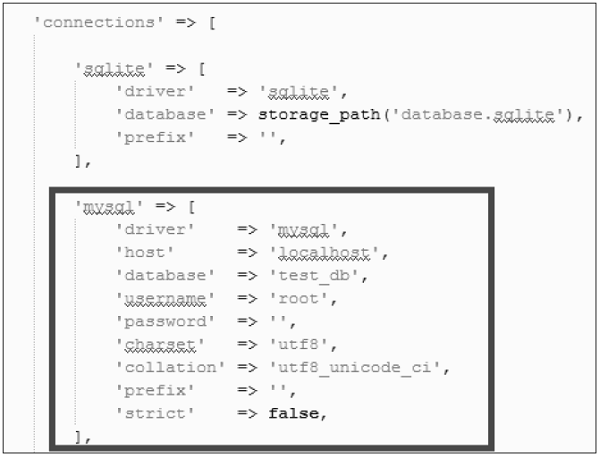
Naming the Application
The App Directory, by default, is namespaced under App. To rename it, you can execute the following command and rename the namespace.php artisan app:name <name-of-your-application>Replace the <name-of-your-application> with the new name of your application that you want to give.
Maintenance Mode
We need to modify our website on a regular basis. The website needs to be put on maintenance mode for this. Laravel has made this job easier. There are two artisan commands which are used to start and stop the maintenance mode which are described below.Start Maintenance Mode
To start the maintenance mode, simply execute the following command.php artisan downAfter successful execution, you will receive the following output −
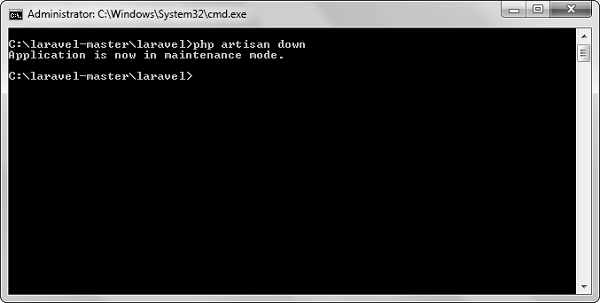 It will activate the Maintenance mode and all the request to server
will be redirected to a single maintenance page as shown in the
following screenshot.
It will activate the Maintenance mode and all the request to server
will be redirected to a single maintenance page as shown in the
following screenshot.
Stop Maintenance Mode
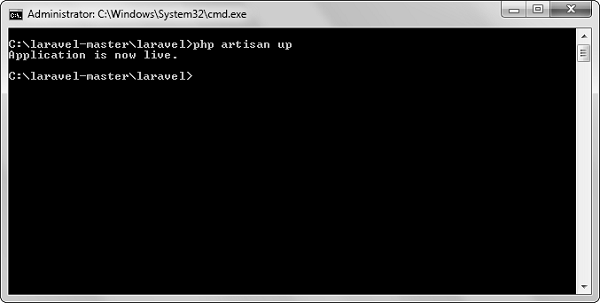
- After making changes to your website and to start it again, execute the following command.
php artisan up
- After successful execution, you will receive the following output −
No comments:
Post a Comment