
Routing is important part of every application. In this chapter we will show you how to use router in Aurelia framework.
Step 1 - Create Pages
We already created components folder in one of the former tutorials. If you don't have it created already, you should place it inside src folder.C:\Users\username\Desktop\aureliaApp\src>mkdir componentsInside this folder we will create home and about directories.
C:\Users\username\Desktop\aureliaApp\src\components>mkdir home
C:\Users\username\Desktop\aureliaApp\src\components>mkdir aboutInside home folder we need to create view and view-model files.
C:\Users\username\Desktop\aureliaApp\src\components\home>touch home.js
C:\Users\username\Desktop\aureliaApp\src\components\home>touch home.htmlWe also need view and view-model for about page.
C:\Users\username\Desktop\aureliaApp\src\components\about>touch about.js
C:\Users\username\Desktop\aureliaApp\src\components\about>touch about.htmlNOTE − You can also create all above folders manually.
Step 2 - Pages
Next thing we need is to add some default code to the files we created.home.html
<template>
   <h1>HOME</h1>
</template>
home.js
export class Home {}
about.html
<template>
   <h1>ABOUT</h1>
</template>
about.js
export class About {}
Step 3 - Router
We will create view-model for router inside app.js file.app.js
export class App {
   configureRouter(config, router){
      config.title = 'Aurelia';

      config.map([
         { route: ['','home'],  name: 'home',
            moduleId: './components/home/home',  nav: true, title:'Home' },
         { route: 'about',  name: 'about',
            moduleId: './components/about/about',    nav: true, title:'About' }
      ]);

      this.router = router;
   }
}
Our router view will be placed in app.html
app.html
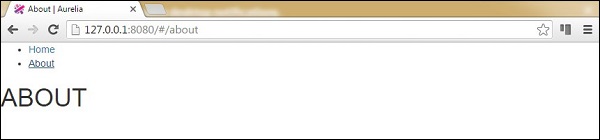
<template>
   <nav>
      <ul>
         <li repeat.for = "row of router.navigation">
            <a href.bind = "row.href">${row.title}</a>
         </li>
      </ul>
   </nav>

   <router-view></router-view>
</template>
When we run the app, we will can change routes by clicking home or about links.
No comments:
Post a Comment