
In this chapter we will explain how to use CSS animations in Aurelia framework.
Step 1 - View
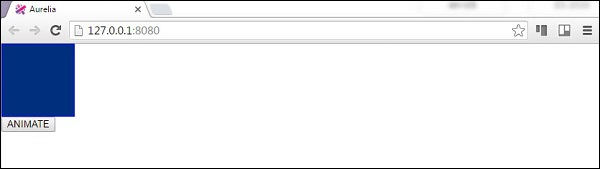
Our view will have one element that will be animated and a button to trigger animateElement() function.app.html
<template>
   <div class = "myElement"></div>
   <button click.delegate = "animateElement()">ANIMATE</button>
</template>
Step 2 - View-model
Inside our JavaScript file we will import CssAnimator plugin and inject it as a dependency. animateElement function will call animator to start animation. The animation will be created in step three.import {CssAnimator} from 'aurelia-animator-css'; import {inject} from 'aurelia-framework'; @inject(CssAnimator, Element) export class App { constructor(animator, element) { this.animator = animator; this.element = element; } animateElement() { var myElement = this.element.querySelector('.myElement'); this.animator.animate(myElement, 'myAnimation'); } }
Step 3 - Style
We will write CSS inside styles/styles.css file. .myAnimation-add is starting point of an animation while .myAnimation-remove is called when animation is finished.styles.css
.myElement {
   width:100px;
   height: 100px;
   border:1px solid blue;
}

.myAnimation-add {
   -webkit-animation: changeBack 3s;
   animation: changeBack 3s;
}

.myAnimation-remove {
   -webkit-animation: fadeIn 3s;
   animation: fadeIn 3s;
}

@-webkit-keyframes changeBack {
   0% { background-color: #e6efff; }
   25% { background-color: #4d91ff; }
   50% { background-color: #0058e6; }
   75% { background-color: #003180; }
   100% { background-color: #000a1a; }
}

@keyframes changeBack {
   0% { background-color: #000a1a; }
   25% { background-color: #003180; }
   50% { background-color: #0058e6; }
   75% { background-color: #4d91ff; }
   100% { background-color: #e6efff; }
}
Once the ANIMATE button is clicked, the background color will be changed from light blue to dark one. When this animation is finished after three seconds, the element will fade in to it's starting state.
No comments:
Post a Comment