
It is generally useful for a web app to be able to upload files
(profile picture, songs, pdf, words.....). Let's discuss how to upload
files in this chapter.
Now let's create a "Profile" model to save our uploaded profile. This is done in myapp/models.py −
Now that we have the Form and the Model, let's create the view, in myapp/views.py −
Now, we just need the saved.html template and the profile.html template, for the form and the redirection page −
myapp/templates/saved.html −
 And on form post, the saved template will be rendered −
 We have a sample for image, but if you want to upload another type of file, not just image, just replace the ImageField in both Model and Form with FileField.
Uploading an Image
Before starting to play with an image, make sure you have the Python Image Library (PIL) installed. Now to illustrate uploading an image, let's create a profile form, in our myapp/forms.py −#-*- coding: utf-8 -*- from django import forms class ProfileForm(forms.Form): name = forms.CharField(max_length = 100) picture = forms.ImageFields()As you can see, the main difference here is just the forms.ImageField. ImageField will make sure the uploaded file is an image. If not, the form validation will fail.
Now let's create a "Profile" model to save our uploaded profile. This is done in myapp/models.py −
from django.db import models

class Profile(models.Model):
   name = models.CharField(max_length = 50)
   picture = models.ImageField(upload_to = 'pictures')

   class Meta:
      db_table = "profile"
As you can see for the model, the ImageField takes a compulsory argument: upload_to. This represents the place on the hard drive where your images will be saved. Note that the parameter will be added to the MEDIA_ROOT option defined in your settings.py file.
Now that we have the Form and the Model, let's create the view, in myapp/views.py −
#-*- coding: utf-8 -*-
from myapp.forms import ProfileForm
from myapp.models import Profile

def SaveProfile(request):
   saved = False

   if request.method == "POST":
      #Get the posted form
      MyProfileForm = ProfileForm(request.POST, request.FILES)

      if MyProfileForm.is_valid():
         profile = Profile()
         profile.name = MyProfileForm.cleaned_data["name"]
         profile.picture = MyProfileForm.cleaned_data["picture"]
         profile.save()
         saved = True
   else:
      MyProfileForm = Profileform()

   return render(request, 'saved.html', locals())
The part not to miss is, there is a change when creating a ProfileForm, we added a second parameters: request.FILES. If not passed the form validation will fail, giving a message that says the picture is empty.
Now, we just need the saved.html template and the profile.html template, for the form and the redirection page −
myapp/templates/saved.html −
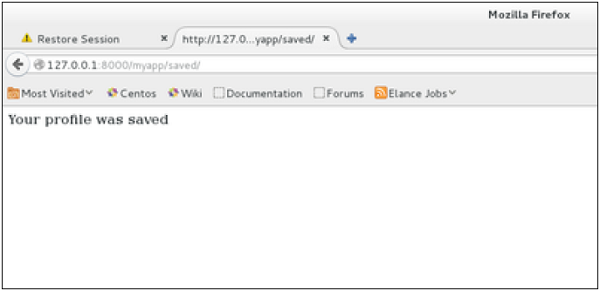
<html>
   <body>

      {% if saved %}
         <strong>Your profile was saved.</strong>
      {% endif %}

      {% if not saved %}
         <strong>Your profile was not saved.</strong>
      {% endif %}

   </body>
</html>
myapp/templates/profile.html −
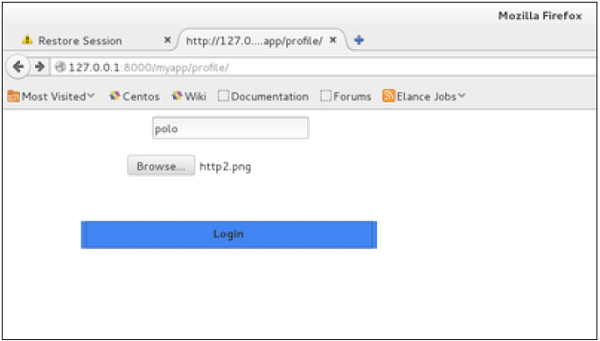
<html>
   <body>

      <form name = "form" enctype = "multipart/form-data"
         action = "{% url "myapp.views.SaveProfile" %}" method = "POST" >{% csrf_token %}

         <div style = "max-width:470px;">
            <center>
               <input type = "text" style = "margin-left:20%;"
               placeholder = "Name" name = "name" />
            </center>
         </div>

         <br>

         <div style = "max-width:470px;">
            <center>
               <input type = "file" style = "margin-left:20%;"
                  placeholder = "Picture" name = "picture" />
            </center>
         </div>

         <br>

         <div style = "max-width:470px;">
            <center>

               <button style = "border:0px;background-color:#4285F4; margin-top:8%;
                  height:35px; width:80%; margin-left:19%;" type = "submit" value = "Login" >
                  <strong>Login</strong>
               </button>

            </center>
         </div>

      </form>

   </body>
</html>
Next, we need our pair of URLs to get started: myapp/urls.py
from django.conf.urls import patterns, url
from django.views.generic import TemplateView

urlpatterns = patterns(
   'myapp.views', url(r'^profile/',TemplateView.as_view(
      template_name = 'profile.html')), url(r'^saved/', 'SaveProfile', name = 'saved')
)
When accessing "/myapp/profile", we will get the following profile.html template rendered −
And on form post, the saved template will be rendered −
We have a sample for image, but if you want to upload another type of file, not just image, just replace the ImageField in both Model and Form with FileField.
No comments:
Post a Comment