
Django provides a ready-to-use user interface for administrative
activities. We all know how an admin interface is important for a web
project. Django automatically generates admin UI based on your project
models.
For INSTALLED_APPS make sure you have −
If you already have a superuser or have forgotten it, you can always create one using the following code −
 Once connected with your superuser account, you will see the following screen −
 That interface will let you administrate Django groups and users, and
all registered models in your app. The interface gives you the ability
to do at least the "CRUD" (Create, Read, Update, Delete) operations on
your models.
That interface will let you administrate Django groups and users, and
all registered models in your app. The interface gives you the ability
to do at least the "CRUD" (Create, Read, Update, Delete) operations on
your models.
Starting the Admin Interface
The Admin interface depends on the django.countrib module. To have it working you need to make sure some modules are imported in the INSTALLED_APPS and MIDDLEWARE_CLASSES tuples of the myproject/settings.py file.For INSTALLED_APPS make sure you have −
INSTALLED_APPS = (
   'django.contrib.admin',
   'django.contrib.auth',
   'django.contrib.contenttypes',
   'django.contrib.sessions',
   'django.contrib.messages',
   'django.contrib.staticfiles',
   'myapp',
)
For MIDDLEWARE_CLASSES −
MIDDLEWARE_CLASSES = (
   'django.contrib.sessions.middleware.SessionMiddleware',
   'django.middleware.common.CommonMiddleware',
   'django.middleware.csrf.CsrfViewMiddleware',
   'django.contrib.auth.middleware.AuthenticationMiddleware',
   'django.contrib.messages.middleware.MessageMiddleware',
   'django.middleware.clickjacking.XFrameOptionsMiddleware',
)
Before launching your server, to access your Admin Interface, you need to initiate the database −
$ python manage.py migratesyncdb will create necessary tables or collections depending on your db type, necessary for the admin interface to run. Even if you don't have a superuser, you will be prompted to create one.
If you already have a superuser or have forgotten it, you can always create one using the following code −
$ python manage.py createsuperuserNow to start the Admin Interface, we need to make sure we have configured a URL for our admin interface. Open the myproject/url.py and you should have something like −
from django.conf.urls import patterns, include, url

from django.contrib import admin
admin.autodiscover()

urlpatterns = patterns('',
   # Examples:
   # url(r'^$', 'myproject.views.home', name = 'home'),
   # url(r'^blog/', include('blog.urls')),

   url(r'^admin/', include(admin.site.urls)),
)
Now just run the server.
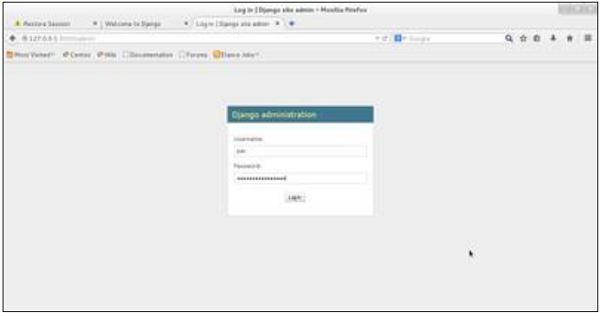
$ python manage.py runserverAnd your admin interface is accessible at: http://127.0.0.1:8000/admin/
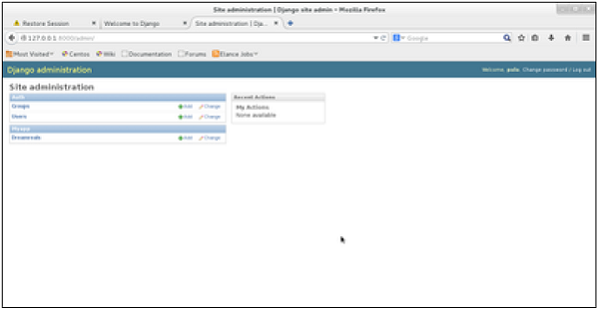
Once connected with your superuser account, you will see the following screen −
That interface will let you administrate Django groups and users, and
all registered models in your app. The interface gives you the ability
to do at least the "CRUD" (Create, Read, Update, Delete) operations on
your models.
No comments:
Post a Comment