
Google Plus - Introduction
Google+ (Google Plus) is an interest-based social networking site owned by Google Inc. Launched in 2011, this platform brings together people with similar interest. Such group of people can build a community and share their ideas through photos and posts.Google+ is unique in way in that it allows more transparency in what one shares and with whom it is shared. The Google+ menu bar is displayed on other Google services when one logs in the google account.
 Some of the most prominent features of Google+ are as follows −
- Posts where one can update the status.
- Circles are used to share information with different groups.
- Sparks offer videos that users might like.
- Hangouts & Huddles are for video chat with a friend or a group of friends.
Google+ Versus Other Platforms
Google+ offers rich features like Hangouts, Google Events, Google Communities, Google Circles, etc. Other social platforms are standalone networking platforms. Google+ is integrated with all Google products and services.Google+ helps to boost our SERP ranking, which is not possible with Facebook, Twitter, etc. Whatever we post on Google+ gets indexed in a short span of time enhancing the real-time search. Google+ uses rich snippets to optimize results. This enhances the credibility points for every activity on Google+.
Google+ Personal Page
Google+ personal profile page is where we can upload our pictures. A personal profile page provides the flexibility to engage with people. The profile should be actual with accurate name and pictures which are easily accessible. The default is personal and everything we post is private. Google+ personal page represents an individual and we can manage it as an individual. Basically, the person who creates the profile can manage it. Members of the circle can only like or comment on our posts and photos.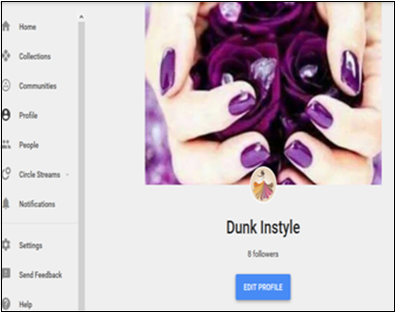
Business Profile Page
Google+ business page is similar to Facebook business page where our posts and uploaded pictures is visible to the users who like our page. We can comment or interact with people who comment on our business page. More than one person can use/manage the page unlike the personal profile page, where only the one has the right to maintain it.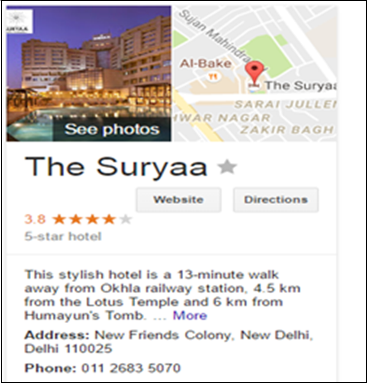 In this case, the default is public where anyone can like or comment on our page. Google+ page represents a business, brand, etc. hence we can name the page accordingly. Google+ business page has a feature ‘customer reviews’ which is not on personal profile page. It is a very efficient way to attract more users. Customer reviews makes the page look trustworthy to new users. The page also contains insights which shows how many people are engaging or viewing the page.
Google Plus - Business Page Setting
Google+ has over 300 million active users. Hence, it can be used for business purpose to reach millions of customers worldwide. The Google+ platform is managed through a dashboard ‘Google My Business’. It uses maps, search, and Google+ to make it easy for our brand to be more visible on search. It allows users to share their experiences in the form of reviews. We can use these reviews to get more credibility, improve our search rank and influence the buyers. To set up a business page, first we have to create an account.Visit business.google.com or Google My Business locations. In case there are many businesses in different places, we have to set up an account for all of them individually. Click the hamburger ☰ icon on the top left corner of the page.
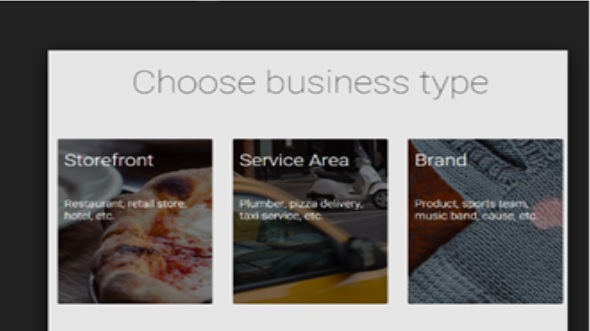
Click the Create business account. Enter the business type, it offers three options to choose from −
- Storefront − Choose this option if the customers are to visit our business place. In the search results, Google+ will show the location, the duration and other contact information like phone number, address, etc.
- Service area − Choose this option if the customers are to be served at their place. In the search results, Google+ will show location, duration, and other contact information, such as phone number, address, etc.
- Brand − In search results, Google+ will not show the location, duration, and other contact information.
 Service area and Storefront are options for local businesses, and brand is for the product type. From option 1 and 2, if we select one of them then we’ll be prompted to select the business name and the location.
Add the business info. Make the business profile look decent and appealing to others by adding photos of the brand and also by creating a URL which provides a recognizable web address of the brand.
We can also connect the business page to the existing pages by selecting a location. Click Manage this location. Click the hamburger icon on the top left hand side of the page. Select settings and then click Connect a different page. Choose the Google+ page that is to be connected to the business account page from the dropdown menu and click Done. An account will be created. We can rename or delete the business account any time we feel like.
Google Plus - Creating a New Account
Following are the steps to create a new account.- Step 1 − Create a Gmail account. It is always advisable not to use the existing account if we are creating an account for business purposes. Create a new account and allow only business team members to your circles.
- Step 2 − Open https://plus.google.com/
- Step 3 − Click the hamburger icon ☰ situated on the top left side of the page that pops up.
- Step 4 − Open the option ‘Join Google+’.
- Step 5 − Create a public profile by adding name, DoB, gender, etc. and click Upgrade.
- Step 6 − Search for people that we want to add to the page and click Continue.
- Step 7 − Follow things of interest such as entertainment, news, fashion, etc.
- Step 8 − Put a face to the name, mention the place of work, and educational qualifications. Click ‘Finish’ once done filling all these details.
- Step 9 − Build circles and communities.
- Step 10 − Post contents, profile and cover pictures.
Navigating Through Google Plus
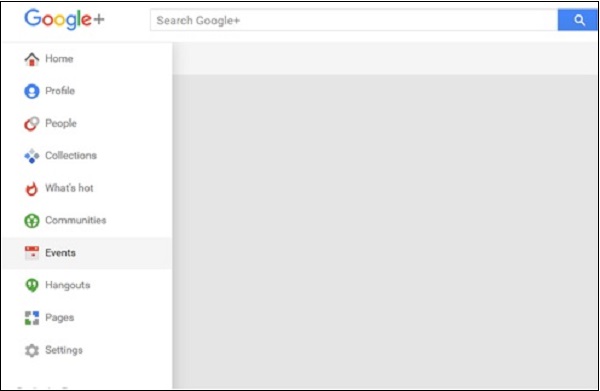
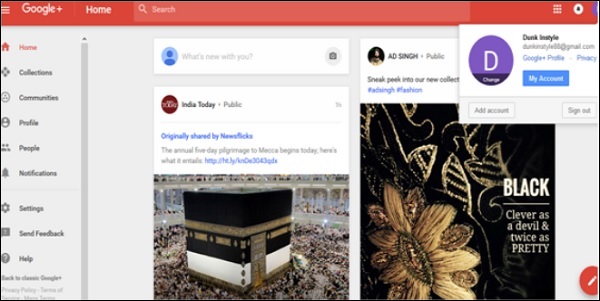
When we land on Google+ page, we will come across a left sidebar.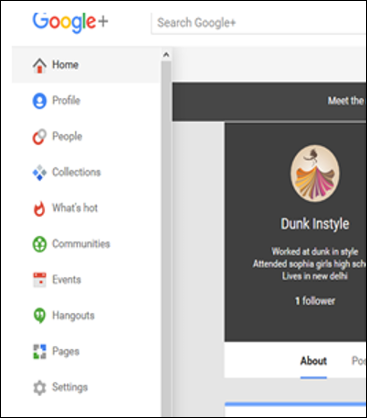 Following are the tabs on the sidebar.
- Home tab is the timeline comprising the posts shared by others.
- Collections tab is where we can collect different posts under different attributes. This is helpful for self as well as others to easily find what they want to see.
- Communities tab refers to groups of different people who share the same interest as ours. We can join a community to see what is going on in people’s life, share our ideas, etc.
- Profile tab is the intro page. This is where we can write a short description of our page or business. Users can view our interest boards and posts.
- People tab is where we can see our followers and who we are following. This is where we receive some suggestion from the application as to who could be our interest or pal.
- Notification tab is where we will be notified of all the activities taking place in our account.
- Setting tab is an important tab. Using this tab, we can set our account as we wish to. We can edit people activities related to our account such as who can send notifications and comment on our posts, who can view our activities. We can even decide the privacy of our photos and videos. Edit how our profile looks to people and restrict our stream layout. We can even share our location if we desire.
- Feedback button, as the name suggests, allows us to send feedback.
- Help section supports us with issues we are having difficulty with.
Google Plus - Adding Business Details
To add business details to Google+ page, we need to have access to My Business section. Google My Business is a platform which makes it easy to find and connect with customers. It uses search, maps, etc. to make the brand visible to search results. Business details help potential customers locate us and know important details about our business.
Google Plus - Uploading Profile Picture
In this chapter, we will discuss how you can upload a profile picture in your Google+ account.Step 1 − Open Google+ account using the link https://plus.google.com
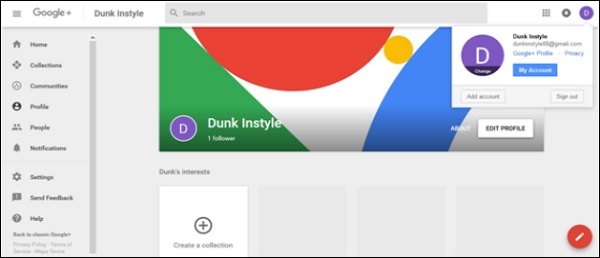
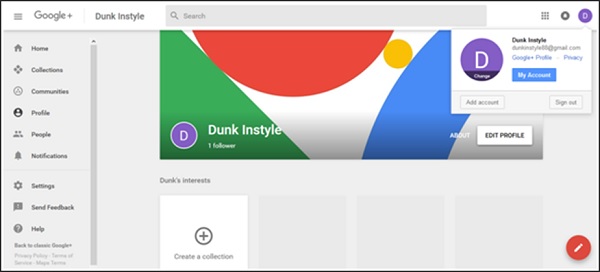 Step 2 − Click the drop-down menu (hamburger icon) situated on the left corner of Google+ page.
Step 3 − Click ‘Profile’ from the options.
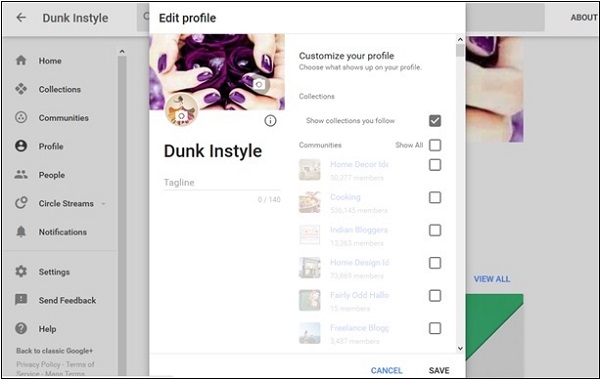
 Step 4 − Click the option ‘Edit profile’.
Step 5 − Choose from the following options −
- Upload photos (drag photo from computer drives)
- photos/albums (select the photos from the existing ones)
- Web camera (take a new click with web camera)
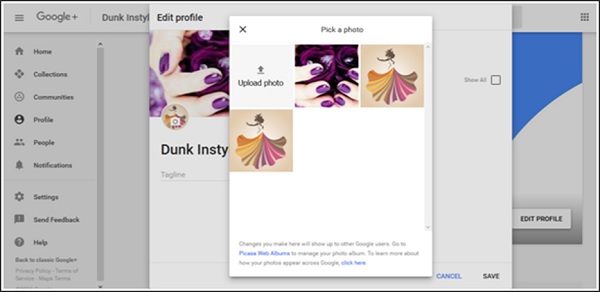 Step 6 − Crop and rotate the photo if desired.
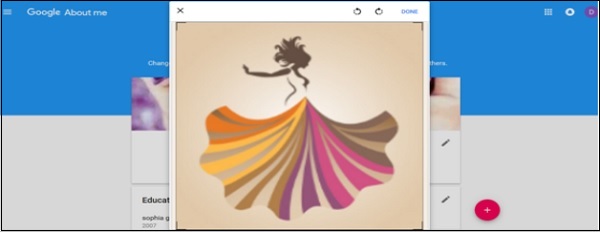 Step 7 − Finally click the option ‘Save’.
Google Plus - Adding a Cover Picture
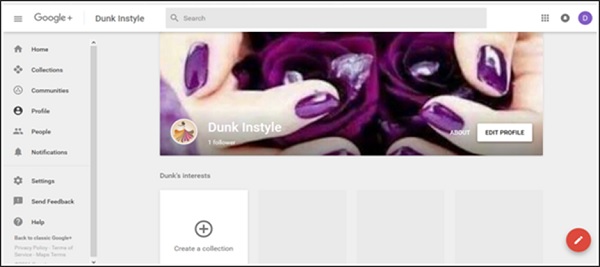
In this chapter, we will discuss how you can add a cover picture in your Google+ account.Step 1 − Open Google+ account.
 Step 2 − Click the drop-down menu (hamburger icon) situated on the left corner of Google+ page.
Step 3 − Click ‘Profile’ from the options.
 Step 4 − Click the option ‘Edit profile'.
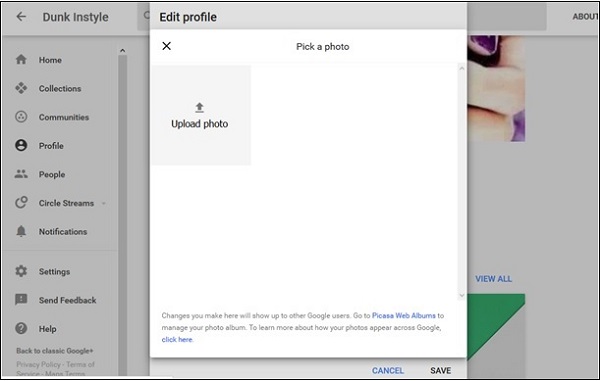 Step 5 − Choose from the following options.
- Upload photos (drag photo from computer drives)
- photos/albums (select the photos from the existing ones)
- Web camera (take a new click with web camera)
 Step 7 − Finally, click the option ‘Save’.
Google Plus - Circles
Google Circles can be used to group together different people. It may different members of the family, colleagues, or a group of people having similar interest. When we add people to a particular circle, they receive a notification of being added to the circle. Members of a circle can view the posts and photos in the circle. We can also add or remove people from circles at any time. Circles help to share the right information with the right people.For example, it is a great way to share jokes with ‘friends’ circle, while sharing business matters with ‘work’ circle. People added to circles can also be available on our Google Hangout. By default people and pages added to circles are publicly visible. However, we can change the privacy options from settings. There is a daily limit of adding 5000 pages and profiles within all our circles. If we have reached this limit, we have to wait for another day to add more profiles and pages.
How to Create a Circle?
Step 1 − Open Google+ account.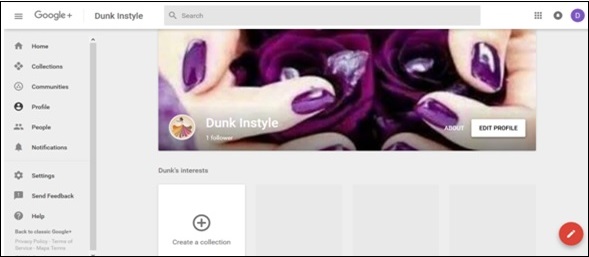 Step 2 − Click ‘People’ from the navigation menu.
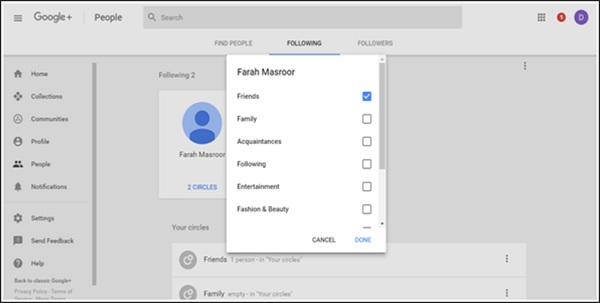
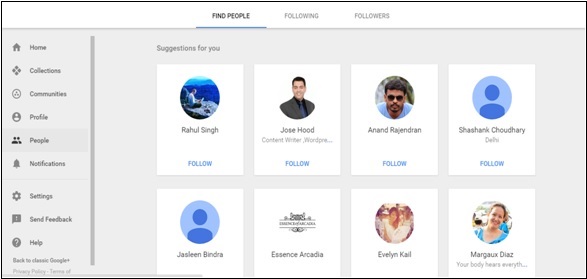 Step 3 − Click the ‘Following’ tab as shown in following screenshot.
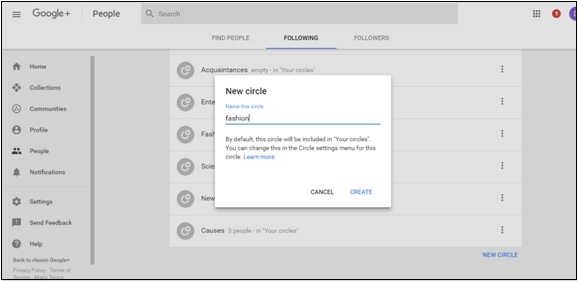
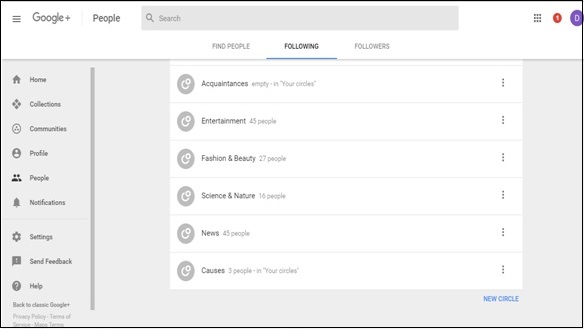 Step 4 − Scroll down and click New Circle as seen in the above screenshot.
Step 5 − Name the circle and once done, click ‘Create’.
Adding People to Circles
Step 1 − Open the profile of the person who is to be added to the circle.Step 2 − Click the circle that the person is to be added to.
Step 3 − Click Done.
Removing People From Circles
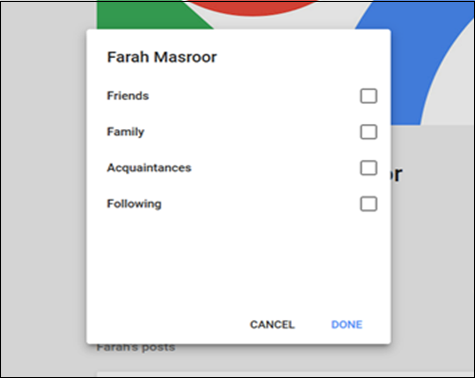
Step 1 − Open the profile of the person to be removed from the circle.Step 2 − Click the circle that the person is in and from the menu uncheck the circle.
Step 3 − Click Done.
Google Plus - Communities
Google+ Communities play a major role in finding people with similar hobbies or interests. It helps to bring people together for discussing particular interests for example fashion, science, animals, etc. Communities are places where the users who are added to it share or ask specific questions or comments on a related topic. People can be invited to join the community and the page can be managed through pinned posts, hashtags, etc. A moderator can even police the person who shares anything unrelated to the community. In case we do not to receive notifications, we can turn them off from the community page.We can create our own community. Before creating our profile, certain things to be kept in mind are −
- Check the settings, to make sure whether it is to be public or private.
- Photo gives the first impression. Hence, choose the photo wisely that portrays the community well.
- 'About’ section is important. It is the section people use to acquire information about the community. Write clear and logical information about the community such that people understand the purpose of building the community and what we want to share through the community.
Creating a Community
Step 1 − Select ‘Communities’ from the navigation menu.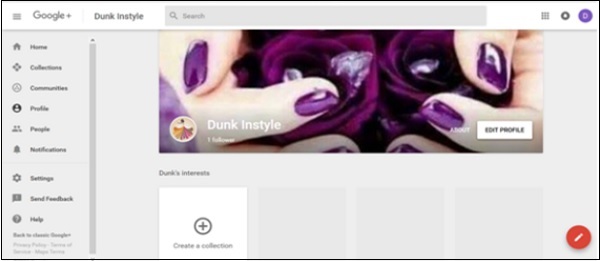 Step 2 − Click ‘Create Community’.
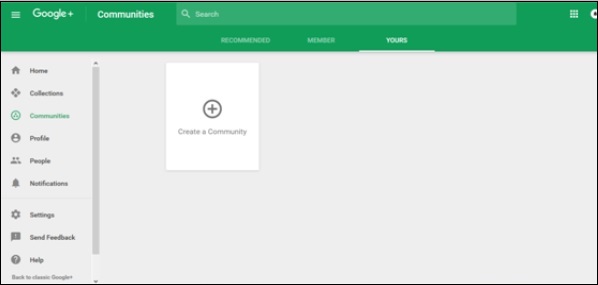 Step 3 − Choose the privacy option, whether the community should be ‘public’ or ‘private’.
Step 4 − Name the ‘Community’.
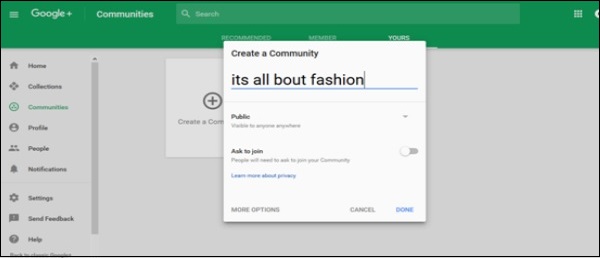 Step 5 − Click ‘Done’.
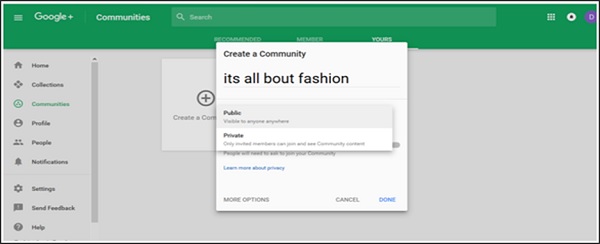 Step 6 − Add or invite people to the ‘Community’ and share the community to receive large audience.
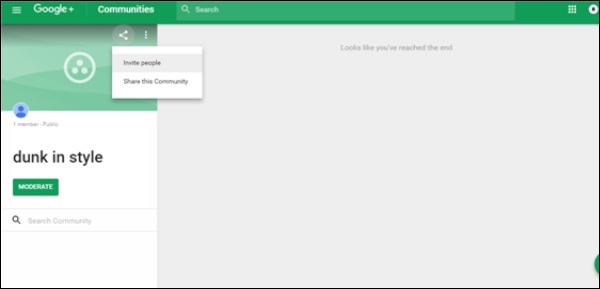
Difference Between Public and Private Community
Private Community − When we choose the private option for our community, we have to choose the option if people can search for our community or not.Public Community − When we choose the public option for our community, we have to choose the option if people can ask for permission to join your community or not.
Make sure you choose this option carefully because you don't have option to alter your choice later.
Google Plus - Hangouts
This communication platform by Google, includes video chat, messaging, and VOIP features. It is a free service from Google that provides both single chat or group chats. Group chat can take place with up to 10 persons. Google Hangouts users can easily share files such as images and videos with other users.This platform also offers “hangouts on Air” option using which we can broadcast live video chatting and discussions to the world through your Google+. These video chats and discussion is accessible to all. It can be edited and a copy of the broadcast can be shared though YouTube channel.
Hangouts is a good way to communicate with anyone and easily get an instant reply. Moreover, you can upload your video or pictures to one or many friends at a time.
To broadcast our Hangouts on Air, all we need is −
- YouTube channel − Make sure to have a YouTube account. Create an account, if there isn’t one.
- Google+ profile − Make sure the Google+ page is connected to YouTube account. Nowadays they are automatically connected, however existing users should connect it to Google+ page.
Creating a Hangout
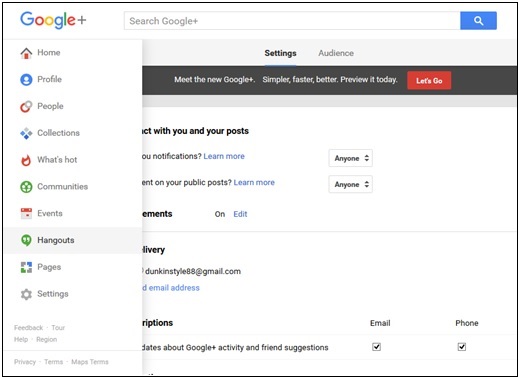
Step 1 − Open Google+ page.Step 2 − Search for Hangouts in the drop-down menu located on the left side of the page.
Step 3 − Click “+ New Hangout”. Check and add people to be added to Hangouts.
 Step 4 − Step 4: Choose the format for Hangouts, i.e. either video or text hangout. We can also alter text chat to video chat any time by clicking the camera button that appears on the top of the chat window.
 We can share emoticons or pictures through Hangouts. We can also add filters to the pictures and videos. When we are done chatting, click the Close (x) button.
Google Plus - Events
Google+ Events page helps in organizing an upcoming event or occasion. It helps anyone using Gmail to add certain events in their calendars. All information about the particular event can be populated with just one click.The event automatically gets added to Google calendar of those who are invited and are already in the circles. We can invite as many people or even the entire circle/community at the same time. Click ‘+invite name, circles’ and select the privacy as ‘public’. By doing so, anyone can find the event and access the details.
Events automatically get synchronized with guests’ calendars. Everyone attending can share the photos/videos to the shared album. Guests can even inform whether they are going to attend the event or not. If there is a change in the date of the event, guests will be notified by email. They will receive a notification for the change in place, date, time, etc.
Creating a Google+ Event
Step 1 − Open Google+ account.Step 2 − Click the ‘Events’ tab.
 Step 3 − Click ‘Create event’.
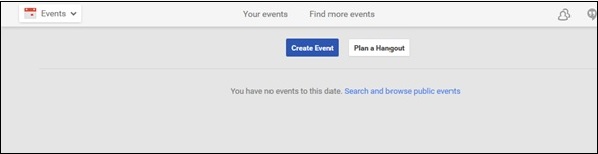 Step 4 − Fill all the information about the event such as ‘Title’, ‘start/end date’, ‘location’, ‘description’.
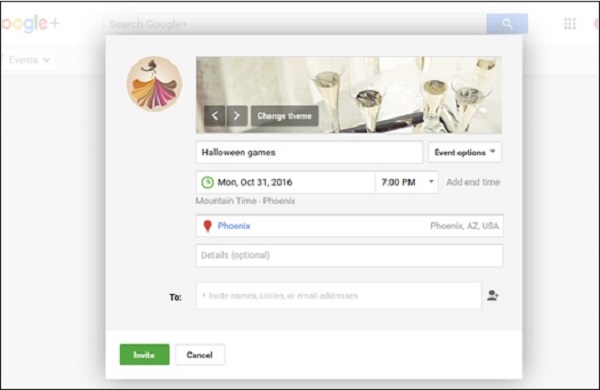 Step 5 − Upload the cover picture. Make sure the cover picture depicts the event.
Step 6 − Check/uncheck the following options.
- Guests can invite other people.
- Guests can add photos.
- Hide guests list.
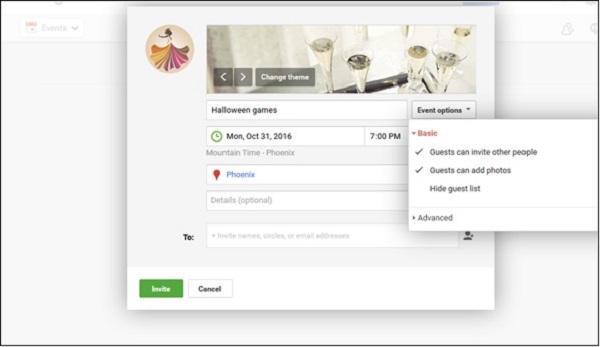 Step 7 − Add more description via ‘Advanced’ tab.
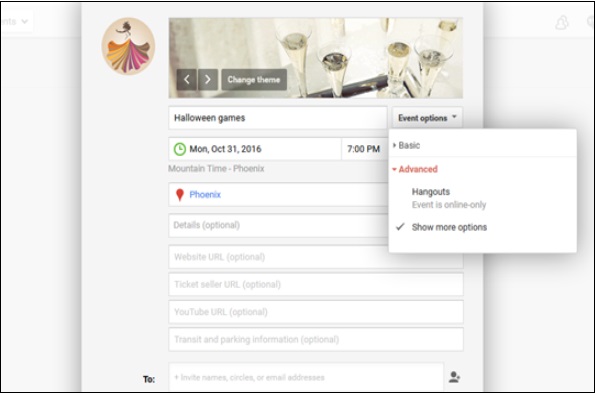 Step 8 − Invite people who we want to come to the event by clicking the green ‘invite’ button.
Step 9 − Publish the event.
Google Plus - Uploading a Post
We can upload posts on our Google+ profile easily and share it with people in our communities/circles or others who we want to share it with. When we share our post, it is visible on the receiver’s news feed. The post also appears on our profile page and people can comment, like, or share the post. We can also tag people to our post using “+ and their name.Let’s go step by step and learn how we can upload a post in Google+.
Step 1 − Open your Google+ account.
 Step 2 − On the profile page “what’s new with you?” will appear. Click it.
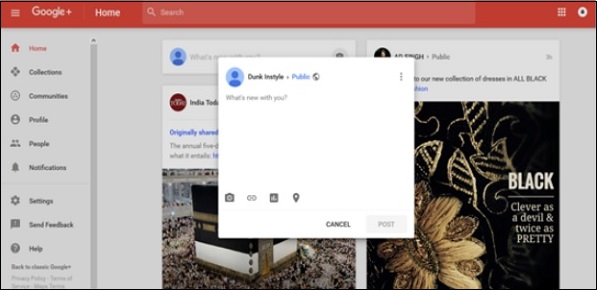 Step 3 − Write the post. We can also copy paste the content.
Step 4 − Tag anyone if desired. Add the location if needed.
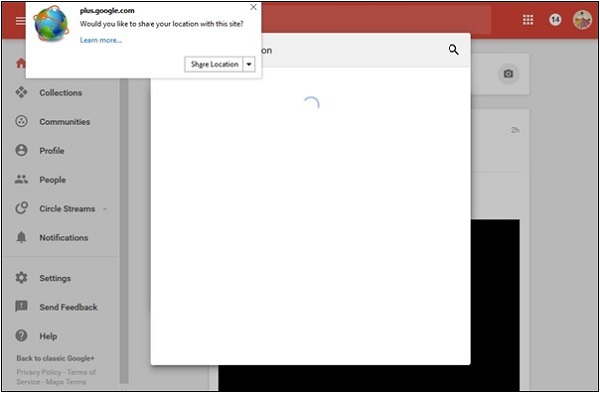 Step 5 − Select whether the post should be public or private.
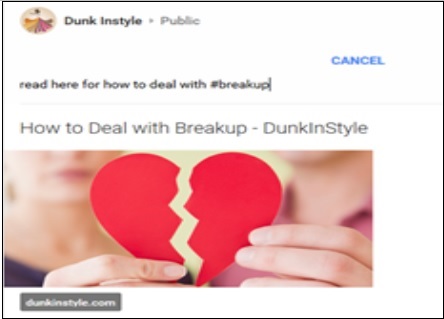 Step 6 − Once done, click the ‘Post’ option. The post appears on our page as well as on the profile page of the persons tagged to the post.
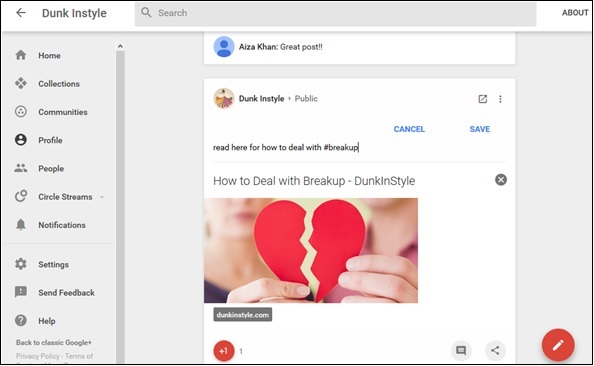
No comments:
Post a Comment