Make sure to create a unique custom URL as we will not be able to change it later. These URLs are advanced and easy to recognize.
Getting a Custom URL for Google+ Profile
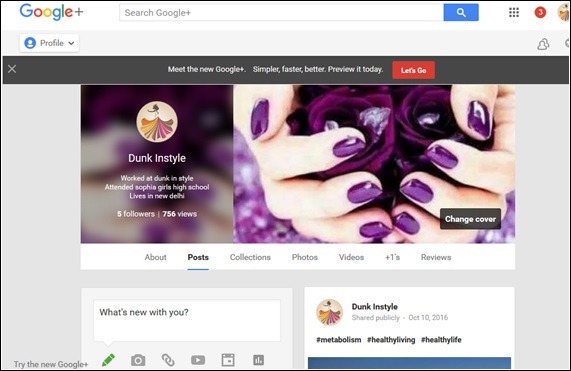
Step 1 − Open the Google+ account.Step 2 − On the top left corner, click the hamburger
Step 3 − Choose the option ‘Profile’.
 Step 4 − Check near the profile, there is an option ‘About’. Click it.
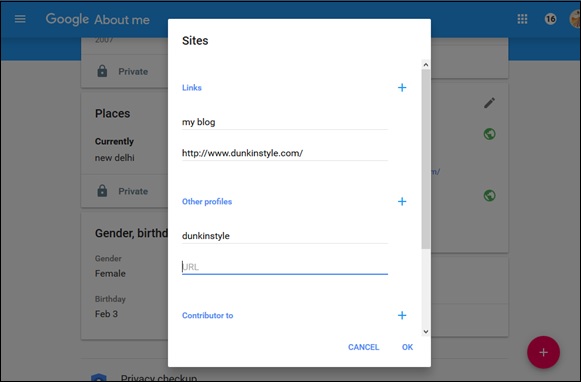
Step 5 − Scroll down to ‘links’ and search the header ‘google+URL’.
Step 6 − Click ‘Get URL’.
 Step 7 − View the options of custom URLs to choose from. Remember to make it unique by adding special numbers and letters.
Step 8 − Next, click ‘I agree to the terms of service’.
Step 9 − Click ‘Change URL’.
The service will ask us to verify our account using the mobile number.
Step 10 − Type the number and click ‘Send code’.
Step 11 − Check and enter the code and click ‘Verify’.
Step 12 − Always keep in mind the URL cannot be changed later, so do it carefully and click ‘Confirm choice’.
Note − We cannot alter our custom URL, however, we do have a choice to change which letters we want to capitalize or which accents we want to have.
Conditions of Getting a Custom URL for Profile
Following are the conditions to be fulfilled according Google+ policy to obtain a custom URL.- Account must be at least 30 days old.
- Profile page should have a profile photo.
- Account should have 10 or more followers.
- Account should have a proper standing.
Google+ Custom URL for Business Page
To be eligible for custom URL for business, Google+ page must be a verified business page. The page can also become eligible for custom URL, if it is linked to a website. If the page meets any one of these requirements, we get a notification on the top of the page.On opening Google+ account, go to the ‘business page’. Check the ‘I agree to the terms of services’ box. There will be three key elements in this policy.
- Google has the right to “reclaim custom URLs or can remove them for any reason, and without notice.” .
- You can get the custom URLs for free but Google “may start charging a fee for the URLs.” .
- Your custom URLs must not contain words or phrases that is offensive and violates the Google policy.

No comments:
Post a Comment