
In this chapter, let’s discuss how you can create a badge in Google+.
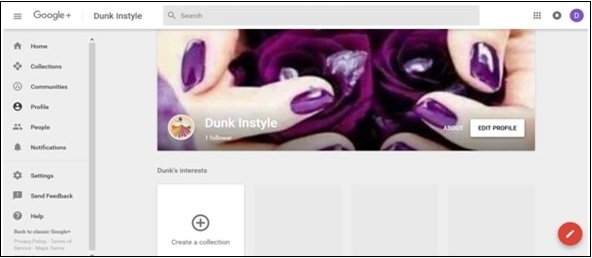
Step 1 − Log in to Google+ account.
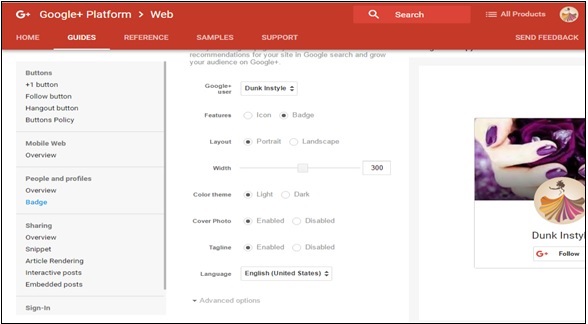
 Step 2 − Open developers.google.com.
Step 3 − Enter the required fields. Google+ offers options of adjusting the width (180-450 pixels), the layout (portrait or landscape), the theme (dark or light), cover photo, tagline, etc.
 Step 4 − Once done with the editing process, we will receive a code. Copy the full code.
Step 5 − Go to the WordPress dashboard and select appearance → widgets.
Step 6 − Add the text widget to the sidebar where we want the ‘follow’ option to appear.
Step 7 − Paste the copied code to the widget field. Now, automatically the badge starts appearing on the page.
Step 1 − Log in to Google+ account.
Step 3 − Enter the required fields. Google+ offers options of adjusting the width (180-450 pixels), the layout (portrait or landscape), the theme (dark or light), cover photo, tagline, etc.
Step 4 − Once done with the editing process, we will receive a code. Copy the full code.Step 5 − Go to the WordPress dashboard and select appearance → widgets.
Step 6 − Add the text widget to the sidebar where we want the ‘follow’ option to appear.
Step 7 − Paste the copied code to the widget field. Now, automatically the badge starts appearing on the page.
No comments:
Post a Comment