
Before creating an actual "Hello, World!" application using Node.js,
let us see the components of a Node.js application. A Node.js
application consists of the following three important components −
 Congratulations, you have your first HTTP server up and running which is responding to all the HTTP requests at port 8081.
- Import required modules − We use the require directive to load Node.js modules.
- Create server − A server which will listen to client's requests similar to Apache HTTP Server.
- Read request and return response − The server created in an earlier step will read the HTTP request made by the client which can be a browser or a console and return the response.
Creating Node.js Application
Step 1 - Import Required Module
We use the require directive to load the http module and store the returned HTTP instance into an http variable as follows −var http = require("http");
Step 2 - Create Server
We use the created http instance and call http.createServer() method to create a server instance and then we bind it at port 8081 using the listen method associated with the server instance. Pass it a function with parameters request and response. Write the sample implementation to always return "Hello World".http.createServer(function (request, response) { // Send the HTTP header // HTTP Status: 200 : OK // Content Type: text/plain response.writeHead(200, {'Content-Type': 'text/plain'}); // Send the response body as "Hello World" response.end('Hello World\n'); }).listen(8081); // Console will print the message console.log('Server running at http://127.0.0.1:8081/');The above code is enough to create an HTTP server which listens, i.e., waits for a request over 8081 port on the local machine.
Step 3 - Testing Request & Response
Let's put step 1 and 2 together in a file called main.js and start our HTTP server as shown below −var http = require("http"); http.createServer(function (request, response) { // Send the HTTP header // HTTP Status: 200 : OK // Content Type: text/plain response.writeHead(200, {'Content-Type': 'text/plain'}); // Send the response body as "Hello World" response.end('Hello World\n'); }).listen(8081); // Console will print the message console.log('Server running at http://127.0.0.1:8081/');Now execute the main.js to start the server as follows −
$ node main.jsVerify the Output. Server has started.
Server running at http://127.0.0.1:8081/
Make a Request to the Node.js Server
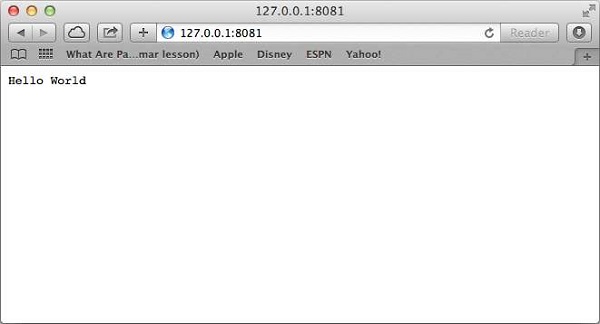
Open http://127.0.0.1:8081/ in any browser and observe the following result.
Congratulations, you have your first HTTP server up and running which is responding to all the HTTP requests at port 8081.
No comments:
Post a Comment