
To create an action in a controller class, you should define a public
method whose name starts with the word action. The return data of an
action represents the response to be sent to the end user.
Step 1 − Let us define the hello-world action in our ExampleController.
 Action IDs are usually verbs, such as create, update, delete and so
on. This is because actions are often designed to perform a particular
change if a resource.
Action IDs are usually verbs, such as create, update, delete and so
on. This is because actions are often designed to perform a particular
change if a resource.
Action IDs should contain only these characters − English letters in lower case, digits, hyphens, and underscores.
There are two types of actions: inline and standalone.
Inline actions are defined in the controller class. The names of the actions are derived from action IDs this way −
Step 1 − Create a components folder inside your project root. Inside that folder create a file called GreetingAction.php with the following code.
Step 2 − Modify the ExampleController.php file this way.
Step 3 − Go to http://localhost:8080/index.php?r=example/greeting. You will see the following output.
 Step 4 − You can also use actions to redirect users to other URLs. Add the following action to the ExampleController.php.
The action methods can take parameters, called action parameters. Their values are retrieved from $_GET using the parameter name as the key.
Step 5 − Add the following action to our example controller.
 Each controller has a default action. When a route contains the
controller ID only, it means that the default action is requested. By
default, the action is index. You can easily override this property in the controller.
Each controller has a default action. When a route contains the
controller ID only, it means that the default action is requested. By
default, the action is index. You can easily override this property in the controller.
Step 7 − Modify our ExampleController this way.
 To fulfill the request, the controller will undergo the following lifecycle −
Step 1 − Let us define the hello-world action in our ExampleController.
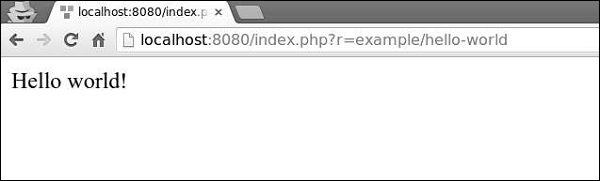
<?php
   namespace app\controllers;
   use yii\web\Controller;
   class ExampleController extends Controller {
      public function actionIndex() {
         $message = "index action of the ExampleController";
         return $this->render("example",[
            'message' => $message
         ]);
      }
      public function actionHelloWorld() {
         return "Hello world!";
      }
   }
?>
Step 2 − Type http://localhost:8080/index.php?r=example/hello-world in the address bar of the web browser. You will see the following.
Action IDs are usually verbs, such as create, update, delete and so
on. This is because actions are often designed to perform a particular
change if a resource.Action IDs should contain only these characters − English letters in lower case, digits, hyphens, and underscores.
There are two types of actions: inline and standalone.
Inline actions are defined in the controller class. The names of the actions are derived from action IDs this way −
- Turn the first letter in all words of the action ID into uppercase.
- Remove hyphens.
- Add the action prefix.
- index becomes actionIndex.
- hello-world(as in the example above) becomes actionHelloWorld.
Create a Standalone Action Class
To create a standalone action class, you should extend yii\base\Action or a child class, and implement a run() method.Step 1 − Create a components folder inside your project root. Inside that folder create a file called GreetingAction.php with the following code.
<?php
   namespace app\components;
   use yii\base\Action;
   class GreetingAction extends Action {
      public function run() {
         return "Greeting";
      }
   }
?>
We have just created a reusable action. To use it in our ExampleController, we should declare our action in the action map by overriding the actions() method.
Step 2 − Modify the ExampleController.php file this way.
<?php
   namespace app\controllers;
   use yii\web\Controller;
   class ExampleController extends Controller {
      public function actions() {
         return [
            'greeting' => 'app\components\GreetingAction',
         ];
      }
      public function actionIndex() {
         $message = "index action of the ExampleController";

         return $this->render("example",[
            'message' => $message
         ]);
      }
      public function actionHelloWorld() {
         return "Hello world!";
      }
   }
?>
The actions() method returns an array whose values are class names and keys are action IDs.
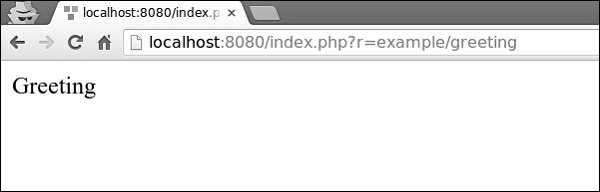
Step 3 − Go to http://localhost:8080/index.php?r=example/greeting. You will see the following output.
Step 4 − You can also use actions to redirect users to other URLs. Add the following action to the ExampleController.php.public function actionOpenGoogle() { // redirect the user browser to http://google.com return $this->redirect('http://google.com'); }Now, if you open http://localhost:8080/index.php?r=example/open-google, you will be redirected to http://google.com.
The action methods can take parameters, called action parameters. Their values are retrieved from $_GET using the parameter name as the key.
Step 5 − Add the following action to our example controller.
public function actionTestParams($first, $second) {
   return "$first $second";
}
Step 6 − Type the URL http://localhost:8080/index.php?r=example/testparams&first=hello&second=world in the address bar of your web browser, you will see the following output.
Each controller has a default action. When a route contains the
controller ID only, it means that the default action is requested. By
default, the action is index. You can easily override this property in the controller.Step 7 − Modify our ExampleController this way.
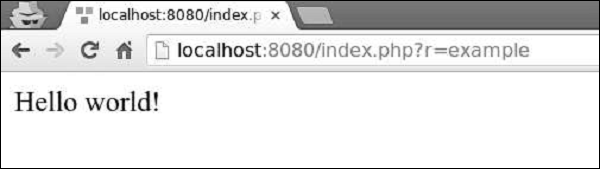
<?php
   namespace app\controllers;
   use yii\web\Controller;
   class ExampleController extends Controller {
      public $defaultAction = "hello-world";
      /* other actions */
   }
?>
Step 8 − Now, if you go to http://localhost:8080/index.php?r=example, you will see the following.
To fulfill the request, the controller will undergo the following lifecycle −- The yii\base\Controller:init() method is called.
- The controller creates an action based on the action ID.
- The controller sequentially calls the beforeAction() method of the web application, module, and the controller.
- The controller runs the action.
- The controller sequentially calls the afterAction() method of the web application, module, and the controller.
- The application assigns action result to the response.
Important Points
The Controllers should −- Be very thin. Each action should contain only a few lines of code.
- Use Views for responses.
- Not embed HTML.
- Access the request data.
- Call methods of models.
- Not process the request data. These should be processed in the model.
No comments:
Post a Comment