
The following example show how to use File Upload Control in forms
using Spring Web MVC framework. To start with it, let us have working
Eclipse IDE in place and follow the following steps to develop a Dynamic
Form based Web Application using Spring Web Framework:
FileModel.java
Second service method fileUpload() will be called against a POST method on the HelloWeb/fileUploadPage URL. You will prepare your file to be uploaded based on submitted information. Finally a "success" view will be returned from the service method, which will result in rendering success.jsp.
fileUpload.jsp
success.jsp
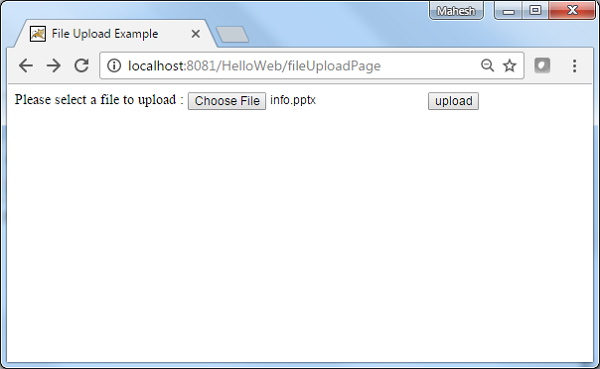
Now start your Tomcat server and make sure you are able to access other web pages from webapps folder using a standard browser. Now try a URL http://localhost:8080/HelloWeb/fileUploadPage and you should see the following result if everything is fine with your Spring Web Application:
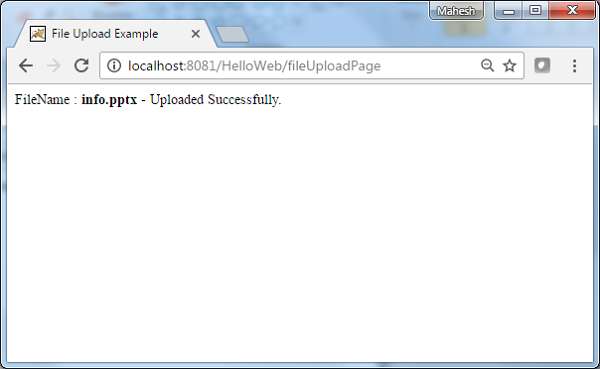
 After submitting required information click on submit button to
submit the form. You should see the following result if everything is
fine with your Spring Web Application:
After submitting required information click on submit button to
submit the form. You should see the following result if everything is
fine with your Spring Web Application:
| Step | Description |
|---|---|
| 1 | Create a project with a name HelloWeb under a package com.tutorialspoint as explained in the Spring MVC - Hello World Example chapter. |
| 2 | Create a Java classes FileModel, FileUploadController under the com.tutorialspoint package. |
| 3 | Create a view files fileUpload.jsp, success.jsp under jsp sub-folder. |
| 4 | Create a folder temp under WebContent sub-folder. |
| 5 | Download Apache Commons FileUpload library commons-fileupload.jar and Apache Commons IO library commons-io.jar. Put them in your CLASSPATH. |
| 6 | The final step is to create the content of all the source and configuration files and export the application as explained below. |
package com.tutorialspoint;

import org.springframework.web.multipart.MultipartFile;

public class FileModel {
   private MultipartFile file;

   public MultipartFile getFile() {
      return file;
   }

   public void setFile(MultipartFile file) {
      this.file = file;
   }
}
FileUploadController.java
package com.tutorialspoint;

import java.io.File;
import java.io.IOException;

import javax.servlet.ServletContext;

import org.springframework.beans.factory.annotation.Autowired;
import org.springframework.stereotype.Controller;
import org.springframework.ui.ModelMap;
import org.springframework.util.FileCopyUtils;
import org.springframework.validation.BindingResult;
import org.springframework.validation.annotation.Validated;
import org.springframework.web.bind.annotation.RequestMapping;
import org.springframework.web.bind.annotation.RequestMethod;
import org.springframework.web.multipart.MultipartFile;
import org.springframework.web.servlet.ModelAndView;

@Controller
public class FileUploadController {

   @Autowired
   ServletContext context;

   @RequestMapping(value = "/fileUploadPage", method = RequestMethod.GET)
   public ModelAndView fileUploadPage() {
      FileModel file = new FileModel();
      ModelAndView modelAndView = new ModelAndView("fileUpload", "command", file);
      return modelAndView;
   }

   @RequestMapping(value="/fileUploadPage", method = RequestMethod.POST)
   public String fileUpload(@Validated FileModel file, BindingResult result, ModelMap model) throws IOException {
      if (result.hasErrors()) {
         System.out.println("validation errors");
         return "fileUploadPage";
      } else {
         System.out.println("Fetching file");
         MultipartFile multipartFile = file.getFile();
         String uploadPath = context.getRealPath("") + File.separator + "temp" + File.separator;
         //Now do something with file...
         FileCopyUtils.copy(file.getFile().getBytes(), new File(uploadPath+file.getFile().getOriginalFilename()));
         String fileName = multipartFile.getOriginalFilename();
         model.addAttribute("fileName", fileName);
         return "success";
      }
   }
}
HelloWeb-servlet.xml
<beans xmlns="http://www.springframework.org/schema/beans"
   xmlns:context="http://www.springframework.org/schema/context"
   xmlns:xsi="http://www.w3.org/2001/XMLSchema-instance"
   xsi:schemaLocation="
   http://www.springframework.org/schema/beans
   http://www.springframework.org/schema/beans/spring-beans-3.0.xsd
   http://www.springframework.org/schema/context
   http://www.springframework.org/schema/context/spring-context-3.0.xsd">

   <context:component-scan base-package="com.tutorialspoint" />

   <bean class="org.springframework.web.servlet.view.InternalResourceViewResolver">
      <property name="prefix" value="/WEB-INF/jsp/" />
      <property name="suffix" value=".jsp" />
   </bean>

   <bean id="multipartResolver"
      class="org.springframework.web.multipart.commons.CommonsMultipartResolver" />
</beans>
Here the first service method fileUploadPage(), we have passed a blank FileModel object in the ModelAndView object with name "command" because the spring framework expects an object with name "command" if you are using <form:form> tags in your JSP file. So when fileUploadPage() method is called it returns fileUpload.jsp view.
Second service method fileUpload() will be called against a POST method on the HelloWeb/fileUploadPage URL. You will prepare your file to be uploaded based on submitted information. Finally a "success" view will be returned from the service method, which will result in rendering success.jsp.
fileUpload.jsp
<%@ page contentType="text/html; charset=UTF-8" %>
<%@ taglib prefix="form" uri="http://www.springframework.org/tags/form"%>
<html>
<head>
<title>File Upload Example</title>
</head>
<body>
   <form:form method="POST" modelAttribute="fileUpload"
      enctype="multipart/form-data">
      Please select a file to upload :
      <input type="file" name="file" />
      <input type="submit" value="upload" />
   </form:form>
</body>
</html>
Here We're using modelAttribute attribute with value="fileUpload" to map file Upload control with server model.
success.jsp
<%@ page contentType="text/html; charset=UTF-8" %>
<html>
<head>
<title>File Upload Example</title>
</head>
<body>
   FileName :
   <b> ${fileName} </b> - Uploaded Successfully.
</body>
</html>
Once you are done with creating source and configuration files, export your application. Right click on your application and use Export > WAR File option and save your HelloWeb.war file in Tomcat's webapps folder.
Now start your Tomcat server and make sure you are able to access other web pages from webapps folder using a standard browser. Now try a URL http://localhost:8080/HelloWeb/fileUploadPage and you should see the following result if everything is fine with your Spring Web Application:
After submitting required information click on submit button to
submit the form. You should see the following result if everything is
fine with your Spring Web Application:
No comments:
Post a Comment