
When a web application handles a request, it generates a response
object, which contains HTTP headers, body, and HTTP status code. In most
cases, you will use the response application component. By default, it
is an instance of yii\web\Response.
To manage response HTTP status codes, use the yii\web\Response::$statusCode property. The default value of yii\web\Response::$statusCode is 200.
Step 1 − Add a function named actionTestResponse to the SiteController.
 If you want to indicate that the request is unsuccessful, you may throw one of the predefined HTTP exceptions −
 Step 5 − You can send HTTP headers by modifying the headers property of the response component. To add a new header to a response, modify the actionTestResponse function as given in the following code.
 Yii supports the following response formats −
 Yii implements a browser redirection by sending a Location HTTP header. You can call the yii\web\Response::redirect() method to redirect the user browser to a URL.
Step 9 − Modify the actionTestResponse function this way.
 The response is not sent until the yii\web\Response::send() function is called. By default, this method is called at the end of the yii\base\Application::run() method. To send a response, the yii\web\Response::send() method follows these steps −
To manage response HTTP status codes, use the yii\web\Response::$statusCode property. The default value of yii\web\Response::$statusCode is 200.
Step 1 − Add a function named actionTestResponse to the SiteController.
public function actionTestResponse() {
   Yii::$app→response->statusCode = 201;
}
Step 2 − If you point your web browser at http://localhost:8080/index.php?r=site/testresponse, you should notice the 201 Created response HTTP status.
If you want to indicate that the request is unsuccessful, you may throw one of the predefined HTTP exceptions −- yii\web\BadRequestHttpException − status code 400.
- yii\web\UnauthorizedHttpException − status code 401.
- yii\web\ForbiddenHttpException − status code 403.
- yii\web\NotFoundHttpException − status code 404.
- yii\web\MethodNotAllowedHttpException − status code 405.
- yii\web\NotAcceptableHttpException − status code 406.
- yii\web\ConflictHttpException − status code 409.
- yii\web\GoneHttpException − status code 410.
- yii\web\UnsupportedMediaTypeHttpException − status code 415.
- yii\web\TooManyRequestsHttpException − status code 429.
- yii\web\ServerErrorHttpException − status code 500.
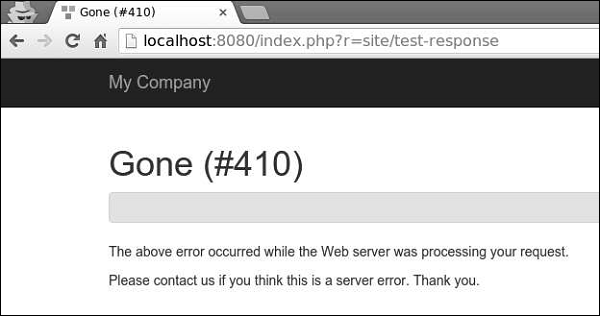
public function actionTestResponse() {
   throw new \yii\web\GoneHttpException;
}
Step 4 − Type http://localhost:8080/index.php?r=site/test-response in the address bar of the web browser, you can see the 410 Gone response HTTP status as shown in the following image.
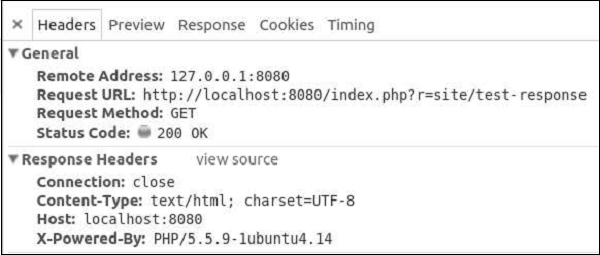
Step 5 − You can send HTTP headers by modifying the headers property of the response component. To add a new header to a response, modify the actionTestResponse function as given in the following code.public function actionTestResponse() { Yii::$app->response->headers->add('Pragma', 'no-cache'); }Step 6 − Go to http://localhost:8080/index.php?r=site/test-response, you will see our Pragma header.
Yii supports the following response formats −- HTML − implemented by yii\web\HtmlResponseFormatter.
- XML − implemented by yii\web\XmlResponseFormatter.
- JSON − implemented by yii\web\JsonResponseFormatter.
- JSONP − implemented by yii\web\JsonResponseFormatter.
- RAW − the response without any formatting.
public function actionTestResponse() {
   \Yii::$app->response->format = \yii\web\Response::FORMAT_JSON;
   return [
      'id' => '1',
      'name' => 'Ivan',
      'age' => 24,
      'country' => 'Poland',
      'city' => 'Warsaw'
   ];
}
Step 8 − Now, type http://localhost:8080/index.php?r=site/test-response in the address bar, you can see the following JSON response.
Yii implements a browser redirection by sending a Location HTTP header. You can call the yii\web\Response::redirect() method to redirect the user browser to a URL.Step 9 − Modify the actionTestResponse function this way.
public function actionTestResponse() {
   return $this->redirect('http://www.tutorialspoint.com/');
}
Now, if you go to http://localhost:8080/index.php?r=site/test-response, your browser will be redirected at the TutorialsPoint web site.
Sending Files
Yii provides the following methods to support file sending −- yii\web\Response::sendFile() − Sends an existing file.
- yii\web\Response::sendStreamAsFile() − Sends an existing file stream as a file.
- yii\web\Response::sendContentAsFile() − Sends a text string as a file.
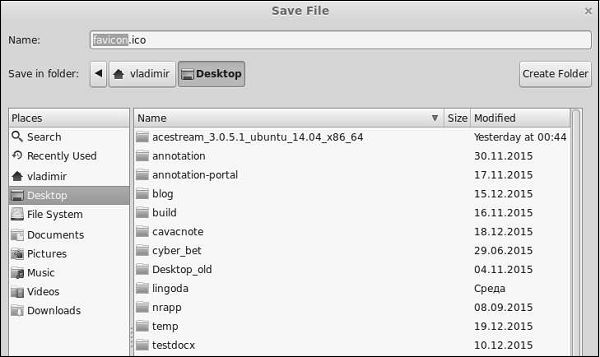
public function actionTestResponse() {
   return \Yii::$app->response->sendFile('favicon.ico');
}
Type http://localhost:8080/index.php?r=site/test-response, you will see a download dialog window for the favicon.ico file −
The response is not sent until the yii\web\Response::send() function is called. By default, this method is called at the end of the yii\base\Application::run() method. To send a response, the yii\web\Response::send() method follows these steps −- Triggers the yii\web\Response::EVENT_BEFORE_SEND event.
- Calls the yii\web\Response::prepare() method.
- Triggers the yii\web\Response::EVENT_AFTER_PREPARE event.
- Calls the yii\web\Response::sendHeaders() method.
- Calls the yii\web\Response::sendContent() method.
- Triggers the yii\web\Response::EVENT_AFTER_SEND event.
No comments:
Post a Comment