
In this chapter, we will discuss on how to install plug-ins on popular IDE’s (Integrated Development Environment). Rexx as a programming language is also available in popular IDE’s such as Eclipse. Let’s look at how we can get the required plugin’s in these IDE’s, so that you have more choices in working with Rexx.
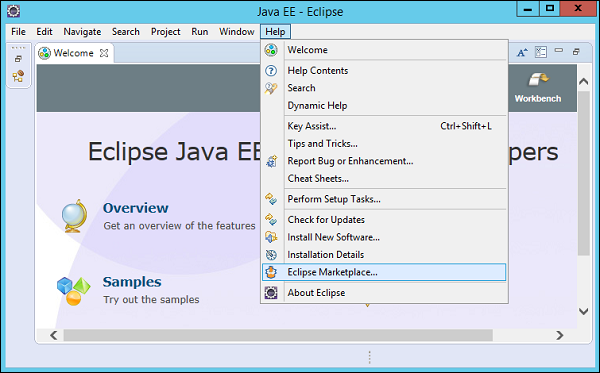
Step 1 − Open Eclipse and click on the Menu item, Help → Eclipse Marketplace as shown in the following screenshot.
 Step 2 − In the next dialog box, enter Rexx in the search criteria and click on the search button.
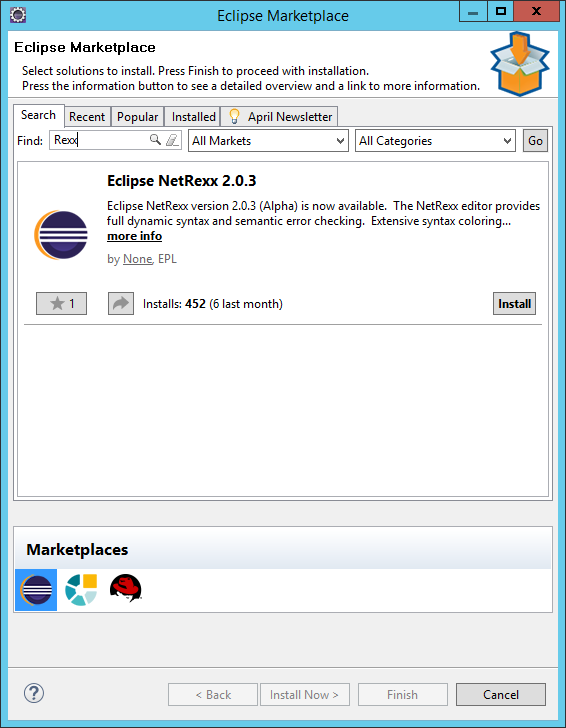 Once done, click the Install button.
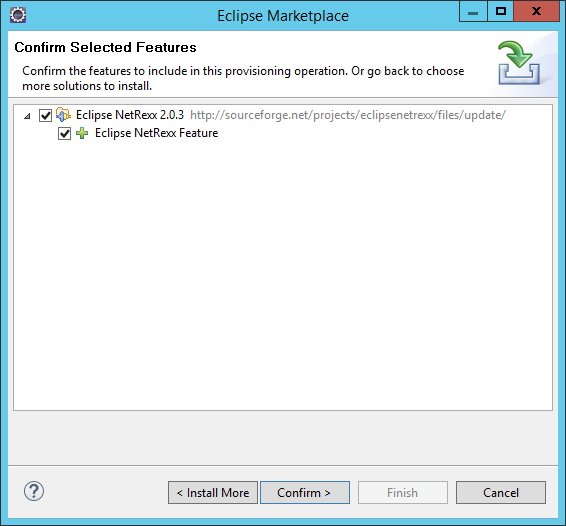
Step 3 − Click on the Confirm button to further continue with the features installation.
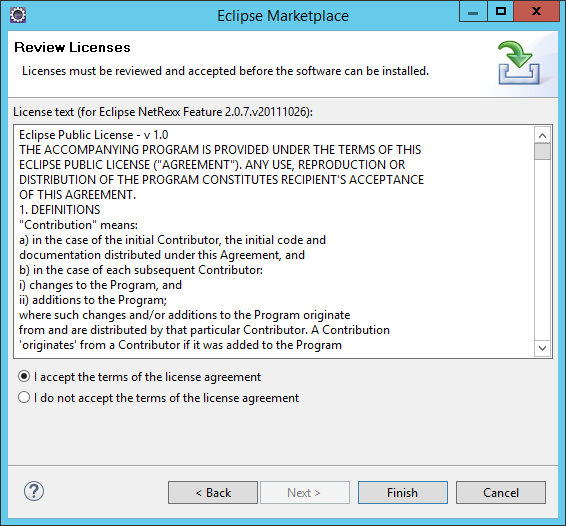
 Step 4 − Eclipse will then download the necessary files to
start off with the installation. Once done, Eclipse will ask for
accepting the license agreements. Click on accepting the license
agreements and then click on the Finish button as shown in the following
screenshot.
Step 4 − Eclipse will then download the necessary files to
start off with the installation. Once done, Eclipse will ask for
accepting the license agreements. Click on accepting the license
agreements and then click on the Finish button as shown in the following
screenshot.
 Eclipse will then start installing the software in the background.
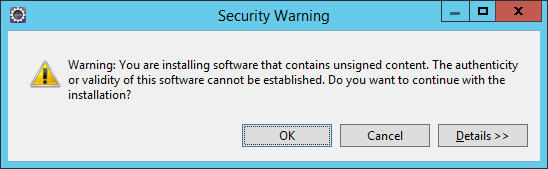
Step 5 − You will probably get a security warning (as shown in the following screenshot). Click on the OK button to proceed.
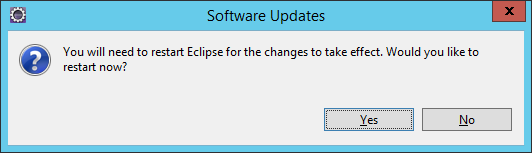
 Step 6 − You will be prompted to restart Eclipse once the updates are installed. Click Yes to restart Eclipse.
Installation in Eclipse
To make a trouble-free installation of Rexx in Eclipse, you will need to adhere to the following steps.Step 1 − Open Eclipse and click on the Menu item, Help → Eclipse Marketplace as shown in the following screenshot.
Step 2 − In the next dialog box, enter Rexx in the search criteria and click on the search button.
Once done, click the Install button.Step 3 − Click on the Confirm button to further continue with the features installation.
Step 4 − Eclipse will then download the necessary files to
start off with the installation. Once done, Eclipse will ask for
accepting the license agreements. Click on accepting the license
agreements and then click on the Finish button as shown in the following
screenshot.
Eclipse will then start installing the software in the background.Step 5 − You will probably get a security warning (as shown in the following screenshot). Click on the OK button to proceed.
Step 6 − You will be prompted to restart Eclipse once the updates are installed. Click Yes to restart Eclipse.
No comments:
Post a Comment