
The Form Component is used to create a form in the tapestry
page for user input. A form can contain text fields, date fields,
checkbox fields, select options, submit button and more.
This chapter explains about some of the notable form components in detail.
Result − After requesting the page,http://localhost:8080/myFirstApplication/checkbox it produces the following result.
Requesting the page will produce the following result −
http://localhost:8080/myFirstApplication/Text
http://localhost:8080/myFirstApplication/Password
http://localhost:8080/myFirstApplication/TxtArea**
http://localhost:8080/myFirstApplication/SelectOption
http://localhost:8080/myFirstApplication/Radiobutton
http://localhost:8080/myFirstApplication/SubmitComponent
Let us consider the following simple example to understand the process of validation.
Create a page Validate as shown below.
http://localhost:8080/myFirstApplication/Validate
This chapter explains about some of the notable form components in detail.
Checkbox Component
A Checkbox Component is used to take a choice between two mutually exclusive options. Create a page using the Checkbox as shown below −Checkbox.java
package com.example.MyFirstApplication.pages;

import org.apache.tapestry5.annotations.Property;

public class Checkbox {
   @Property
   private boolean check1;

   @Property
   private boolean check2;
}
Now, create a corresponding template Checkbox.tml as shown below −
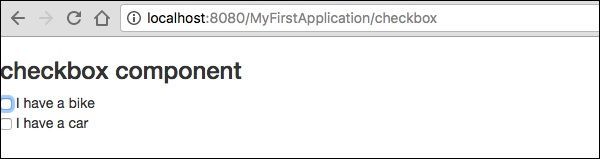
<html t:type = "newlayout" title = "About MyFirstApplication"
   xmlns:t = "http://tapestry.apache.org/schema/tapestry_5_4.xsd"
   xmlns:p = "tapestry:parameter">

   <h3> checkbox component</h3>
   <t:form>
      <t:checkbox t:id = "check1"/> I have a bike <br/>
      <t:checkbox t:id = "check2"/> I have a car
   </t:form>

</html>
Here, the checkbox parameter id matches to the corresponding Boolean value.
Result − After requesting the page,http://localhost:8080/myFirstApplication/checkbox it produces the following result.
TextField Component
The TextField component allows the user to edit a single line of text. Create a page Text as shown below.Text.java
package com.example.MyFirstApplication.pages;

import org.apache.tapestry5.annotations.Property;
import org.apache.tapestry5.corelib.components.TextField;public class Text {
   @Property
   private String fname;
   @Property
   private String lname;
}
Then, create a corresponding template as shown below – Text.tml
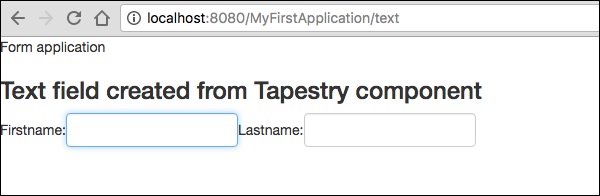
<html t:type = "newlayout" title = "About MyFirstApplication"
   xmlns:t = "http://tapestry.apache.org/schema/tapestry_5_4.xsd"
   xmlns:p = "tapestry:parameter">
   <p> Form application </p>

   <body>
      <h3> Text field created from Tapestry component </h3>
      <t:form>
         <table>
            <tr>
               <td>
                  Firstname: </td> <td><t:textfield t:id = "fname" />
               </td>
               <td>Lastname: </td> <td> <t:textfield t:id = "lname" /> </td>
            </tr>
         </table>
      </t:form>
   </body>

</html>
Here, the Text page includes a property named fname and lname. The component id's are accessed by the properties.
Requesting the page will produce the following result −
http://localhost:8080/myFirstApplication/Text
PasswordField Component
The PasswordField is a specialized text field entry for password. Create a page Password as shown below −Password.java
package com.example.MyFirstApplication.pages;

import org.apache.tapestry5.annotations.Property;
import org.apache.tapestry5.corelib.components.PasswordField;

public class Password {
   @Property
   private String pwd;
}
Now, create a corresponding template file is as shown below −
Password.tml
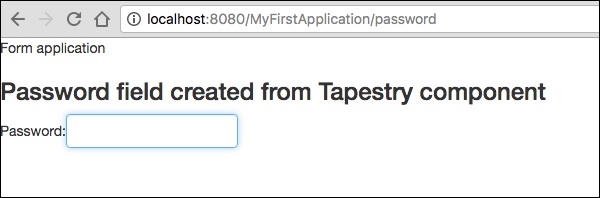
<html t:type = "newlayout" title = "About MyFirstApplication"
   xmlns:t = "http://tapestry.apache.org/schema/tapestry_5_4.xsd"
   xmlns:p = "tapestry:parameter">
   <p> Form application </p>
   <h3> Password field created from Tapestry component </h3>

   <t:form>
      <table>
         <tr>
            <td> Password: </td>
            <td><t:passwordfield t:id = "pwd"/> </td>
         </tr>
      </table>
   </t:form>

</html>
Here, the PasswordField component has the parameter id, which points to the property pwd. Requesting the page will produce the following result −
http://localhost:8080/myFirstApplication/Password
TextArea Component
The TextArea component is a multi-line input text control. Create a page TxtArea as shown below.TxtArea.java
package com.example.MyFirstApplication.pages;

import org.apache.tapestry5.annotations.Property;
import org.apache.tapestry5.corelib.components.TextArea;

public class TxtArea {
   @Property
   private String str;
}
Then, create a corresponding template file is as shown below.
TxtArea.tml
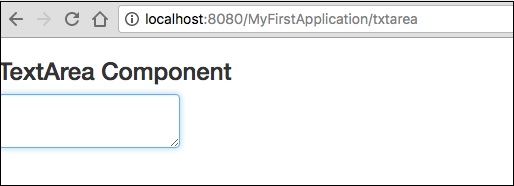
<html t:type = "newlayout" title = "About MyFirstApplication"
   xmlns:t = "http://tapestry.apache.org/schema/tapestry_5_4.xsd"
   xmlns:p = "tapestry:parameter">
   <h3>TextArea component </h3>

   <t:form>
      <table>
         <tr>
            <td><t:textarea t:id = "str"/>
            </td>
         </tr>
      </table>
   </t:form>

</html>
Here, the TextArea component parameter id points to the property “str”. Requesting the page will produce the following result −
http://localhost:8080/myFirstApplication/TxtArea**
Select Component
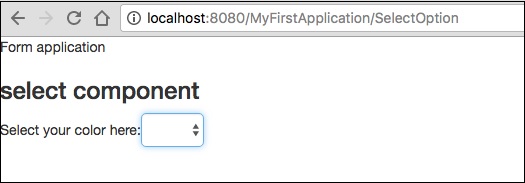
The Select component contains a drop-down list of choices. Create a page SelectOption as shown below.SelectOption.java
package com.example.MyFirstApplication.pages;

import org.apache.tapestry5.annotations.Property;
import org.apache.tapestry5.corelib.components.Select;

public class SelectOption {
   @Property
   private String color0;

   @Property

   private Color1 color1;
   public enum Color1 {
      YELLOW, RED, GREEN, BLUE, ORANGE
   }
}
Then, create a corresponding template is as follows −
SelectOption.tml
<html t:type = "newlayout" title = "About MyFirstApplication"
   xmlns:t = "http://tapestry.apache.org/schema/tapestry_5_4.xsd"
   xmlns:p = "tapestry:parameter">
   <p> Form application </p>
   <h3> select component </h3>

   <t:form>
      <table>
         <tr>
            <td> Select your color here: </td>
            <td> <select t:type = "select" t:id = "color1"></select></td>
         </tr>
      </table>
   </t:form>

</html>
Here, the Select component has two parameters −
- Type − Type of the property is an enum.
- Id − Id points to the Tapestry property “color1”.
http://localhost:8080/myFirstApplication/SelectOption
RadioGroup Component
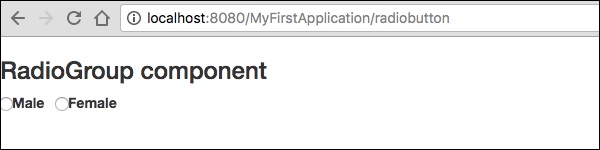
The RadioGroup component provides a container group for Radio components. The Radio and RadioGroup components work together to update a property of an object. This component should wrap around other Radio components. Create a new page “Radiobutton.java” as shown below −Radiobutton.java
package com.example.MyFirstApplication.pages;

import org.apache.tapestry5.PersistenceConstants;
import org.apache.tapestry5.annotations.Persist;
import org.apache.tapestry5.annotations.Property;

public class Radiobutton {
   @Property
   @Persist(PersistenceConstants.FLASH)
   private String value;
}
Then, create a corresponding template file is as shown below −
Radiobutton.tml
<html t:type = "Newlayout" title = "About MyFirstApplication"
   xmlns:t = "http://tapestry.apache.org/schema/tapestry_5_4.xsd"
   xmlns:p = "tapestry:parameter">
   <h3>RadioGroup component </h3>

   <t:form>
      <t:radiogroup t:id = "value">
         <t:radio t:id = "radioT" value = "literal:T" label = "Male" />
         <t:label for = "radioT"/>
         <t:radio t:id = "radioF" value = "literal:F" label = "Female"/>
         <t:label for = "radioF"/>
      </t:radiogroup>
   </t:form>

</html>
Here, the RadioGroup component id is binding with property “value”. Requesting the page will produce the following result.
http://localhost:8080/myFirstApplication/Radiobutton
Submit Component
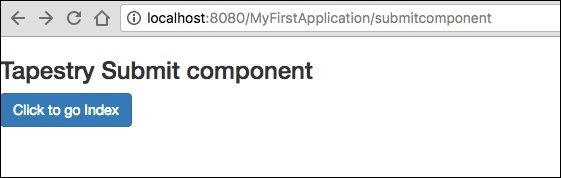
When a user clicks a submit button, the form is sent to the address specified in the action setting of the tag. Create a page SubmitComponent as shown below.package com.example.MyFirstApplication.pages; import org.apache.tapestry5.annotations.InjectPage; public class SubmitComponent { @InjectPage private Index page1; Object onSuccess() { return page1; } }Now, create a corresponding template file as shown below.
SubmitComponent.tml
<html t:type = "newlayout" title = "About MyFirstApplication"
   xmlns:t = "http://tapestry.apache.org/schema/tapestry_5_4.xsd"
   xmlns:p = "tapestry:parameter">
   <h3>Tapestry Submit component </h3>

   <body>
      <t:form>
         <t:submit t:id = "submit1" value = "Click to go Index"/>
      </t:form>
   </body>

</html>
Here, the Submit component submits the value to the Index page. Requesting the page will produce the following result −
http://localhost:8080/myFirstApplication/SubmitComponent
Form Validation
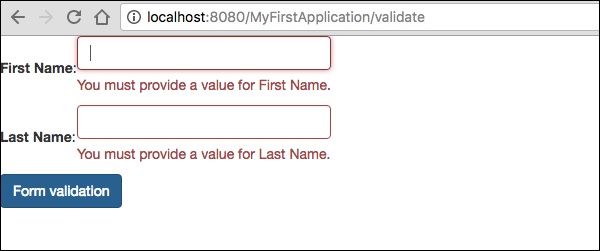
Form validation normally occurs at the server after the client has entered all the necessary data and then submitted the form. If the data entered by a client was incorrect or simply missing, the server would have to send all the data back to the client and request that the form be resubmitted with correct information.Let us consider the following simple example to understand the process of validation.
Create a page Validate as shown below.
Validate.java
package com.example.MyFirstApplication.pages;

import org.apache.tapestry5.annotations.Property;
import org.apache.tapestry5.PersistenceConstants;
import org.apache.tapestry5.annotations.Persist;

public class Validate {
   @Property
   @Persist(PersistenceConstants.FLASH)
   private String firstName;

   @Property
   @Persist(PersistenceConstants.FLASH)
   private String lastName;
}
Now, create a corresponding template file as shown below.
Validate.tml
<html t:type = "newlayout" title = "About MyFirstApplication"
   xmlns:t = "http://tapestry.apache.org/schema/tapestry_5_4.xsd"
   xmlns:p = "tapestry:parameter">

   <t:form>
      <table>
         <tr>
            <td><t:label for = "firstName"/>:</td>
            <td><input t:type = "TextField" t:id = "firstName"
            t:validate = "required, maxlength = 7" size = "10"/></td>
         </tr>
         <tr>
            <td><t:label for = "lastName"/>:</td>
            <td><input t:type = "TextField" t:id = "lastName"
            t:validate = "required, maxLength = 5" size = "10"/></td>
         </tr>
      </table>
      <t:submit t:id = "sub" value =" Form validation"/>
   </t:form>

</html>
Form Validation has the following significant parameters −
- Max − defines the maximum value, for e.g. = «maximum value, 20».
- MaxDate − defines the maxDate, for e.g. = «maximum date, 06/09/2013». Similarly, you can assign MinDate as well.
- MaxLength − maxLength for e.g. = «maximum length, 80».
- Min − minimum.
- MinLength − minimum Length for e.g. = «minmum length, 2».
- Email − Email validation which uses either standard email regexp ^\w[._\w]*\w@\w[-._\w]*\w\.\w2,6$ or none.
http://localhost:8080/myFirstApplication/Validate
No comments:
Post a Comment