
Now before you can start working on Erlang, you need to ensure that you have a fully functional version of Erlang running on your system. This section will look into the installation of Erlang and its subsequent configuration on a windows machine to get started with Erlang.Try it Option Online
You really do not need to set up your own environment to start learning Erlang programming language. Reason is very simple, we have already set up Erlang Programming environment online, so that you can compile and execute all the available examples online at the same time when you are doing your theory work.
This gives you confidence in what you are reading and to check the result with different options. Feel free to modify any example and execute it online.
Try the following example using our online compiler option available at CodingGround
% hello world program
-module(helloworld).
-export([start/0]).

start() ->
   io:fwrite("Hello, world!\n").
For most of the examples given in this tutorial, you will find Try it option in our website code sections at the top right corner that will take you to the online compiler. So just make use of it and enjoy your learning.
Ensure that the following system requirements are met before proceeding with the installation.
System Requirements
| Memory | 2 GB RAM (recommended) |
| Disk Space | No minimum requirement. Preferably to have enough storage to store the applications which will be created using Erlang. |
| Operating System Version | Erlang can be installed on Windows, Ubuntu/Debian, Mac OS X. |
Downloading Erlang
To download Erlang, one must go to the following url − http://www.erlang.org/downloadsThis page has a variety of downloads and also the steps required to download and install the language on Linux and Mac platforms.
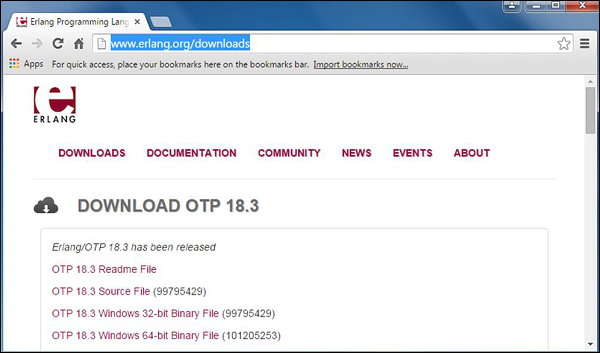 Click on the ‘OTP 18.3 Windows 32-bit Binary File’ to begin the download of the Erlang Windows Installation file.
Erlang Installation
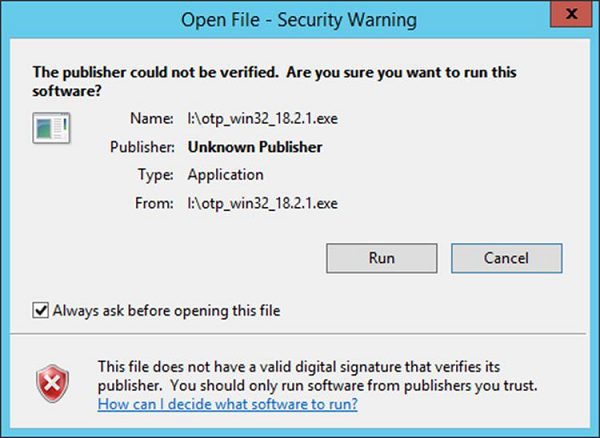
The following steps detail how Erlang can be installed on Windows −Step 1 − Launch the Installer downloaded in the earlier section. After the installer starts, click Run.
 Step 2 − Click Next on the following screen to accept the default components, which will be installed.
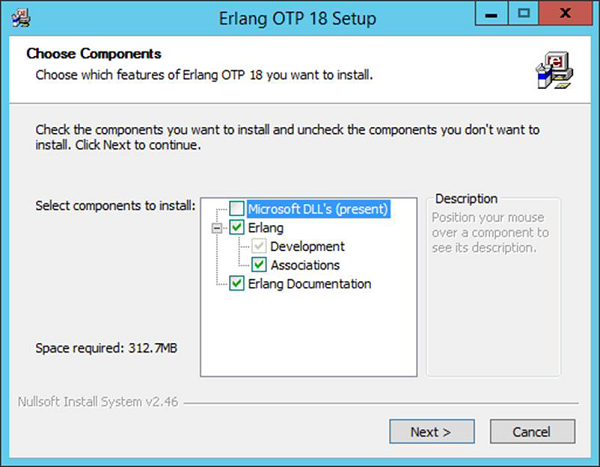 Step 3 − Accept the default installation path and click Next.
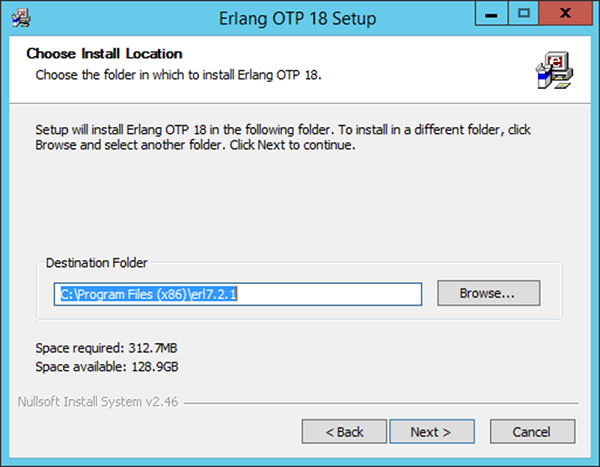 Step 4 − Accept the default Start Menu item, which will be created and click Next.
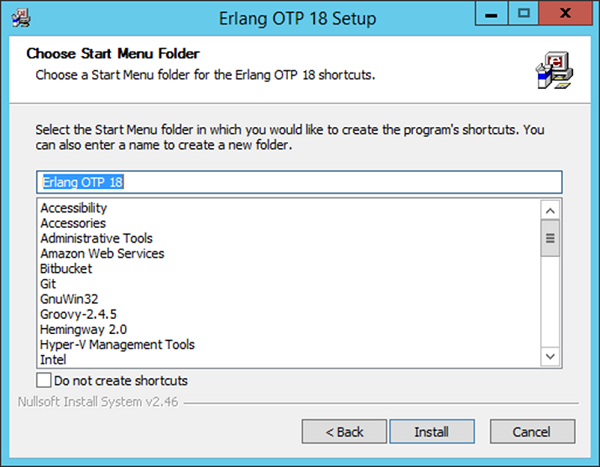 Step 5 − After the installation is complete, click Close to complete the installation.
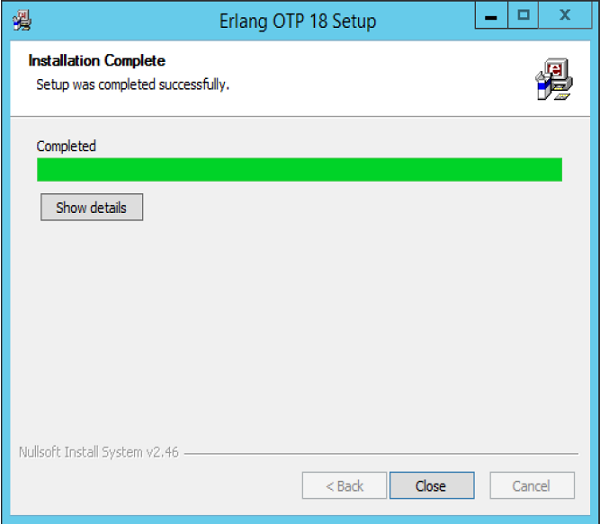
Erlang Configuration
After the installation is complete the following configuration needs to be carried out to ensure that Erlang starts working on the system.| OS | Output |
|---|---|
| Windows | Append the String; C:\Program Files(x86)\erl7.2.1\bin OR C:\Program Files\erl7.2.1\bin to the end of the system variable PATH. |
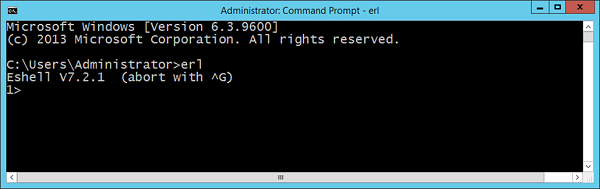 Congratulations, you now have erl successfully configured on your laptop.
Installation of Plugin-ins on Popular IDE’s
Erlang as a programming language is also available in popular IDE’s such as Eclipse and IntelliJ. Let’s look at how we can get the required plugin’s in these IDE’s so that you have more choices in working with Erlang.Installation in Eclipse
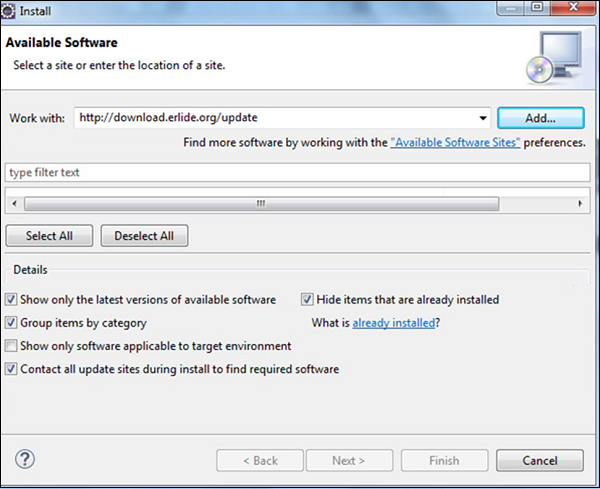
Step 1 − Open Eclipse and click the Menu item, Help → Install New Software.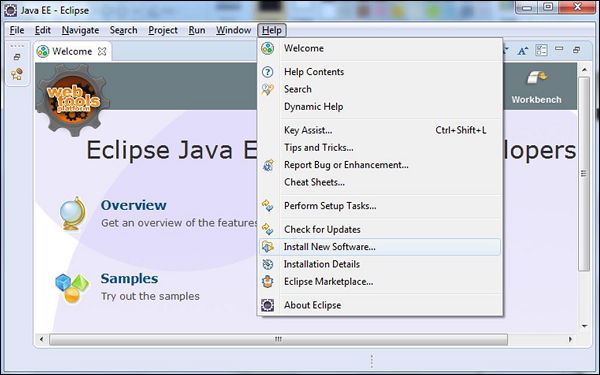 Step 2 − Enter the Work with link as http://download.erlide.org/update
Then click Add.
 Step 3 − You will then be prompted to enter a Name for the plugin, enter the name as Erlide. Click Ok.
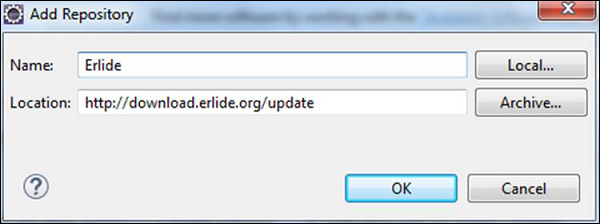 Step 4 − Eclipse will then scan the link provided and get the required plugins. Check the plugins and click Next.
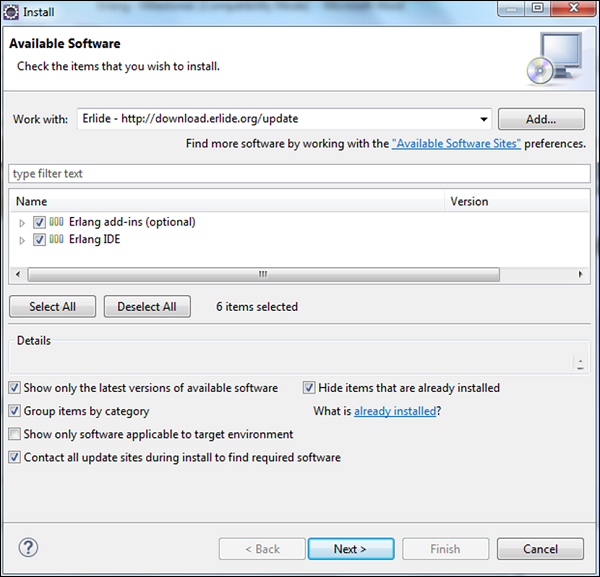 Step 5 − In the next dialog box, Eclipse will show all the components which will be installed. Click Next.
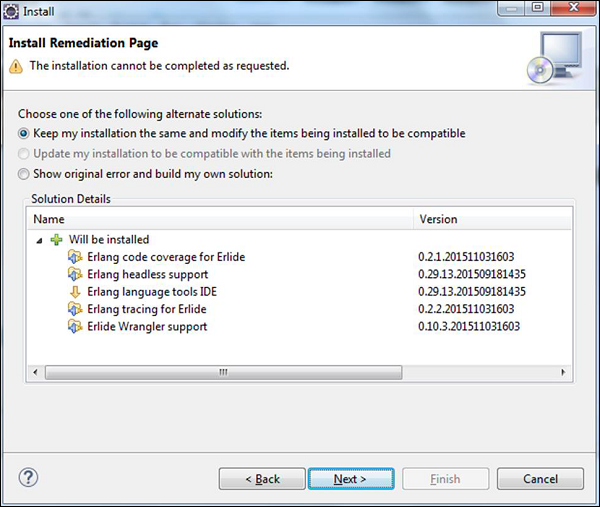 Step 6 − In the next dialog box, Eclipse will just ask to review the components being installed. Click Next.
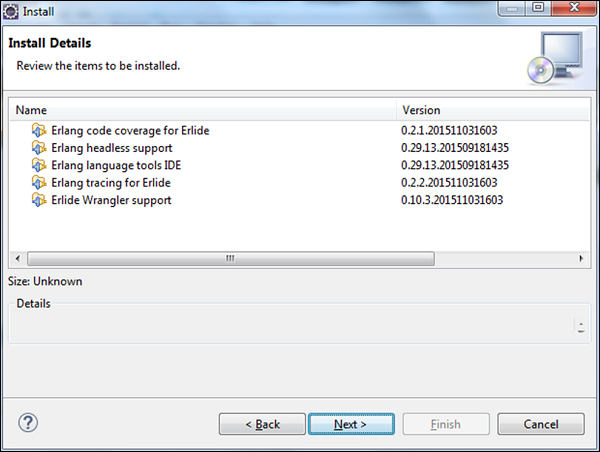 Step 7 − In the next dialog box, you just need to accept the license agreement. Finally, click the Finish button.
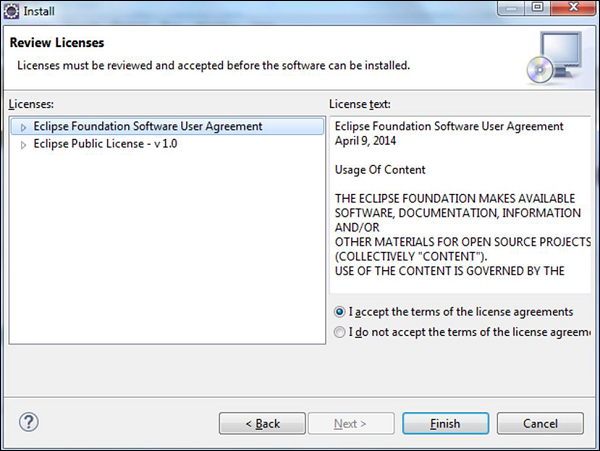 The installation will then begin, and once completed, it will prompt you to restart Eclipse.
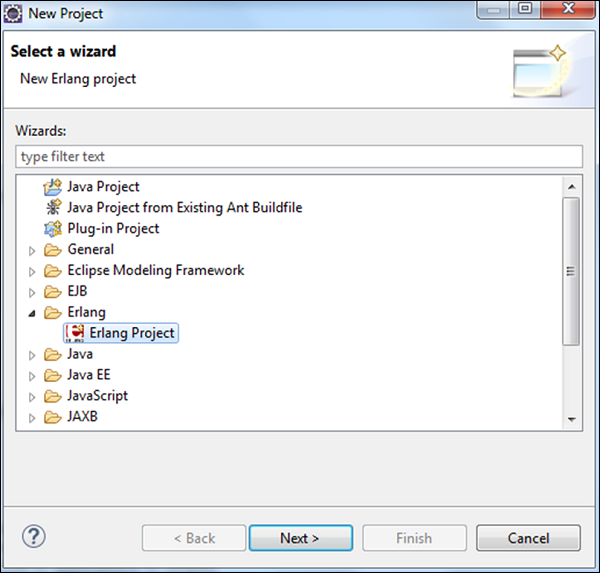
Once Eclipse is restarted, when you create a project, you will be able to see Erlang as an option as well.
Installation in IntelliJ
Please follow the subsequent steps to install IntelliJ in your computer.Step 1 − Open IntelliJ and click Configure → Plugins.
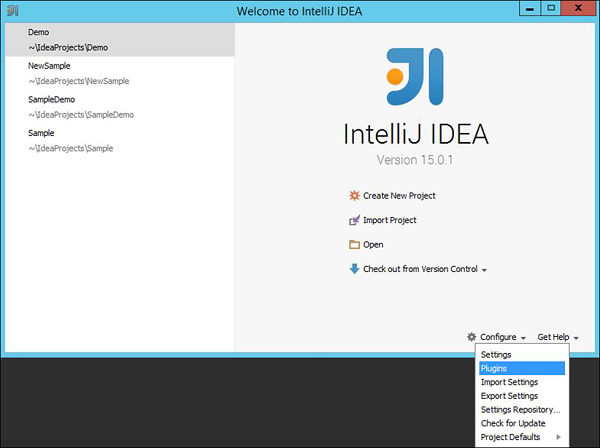 Step 2 − Type Erlang in the search box. You will get Erlang plugin on the right hand side of the screen. Click the Install button.
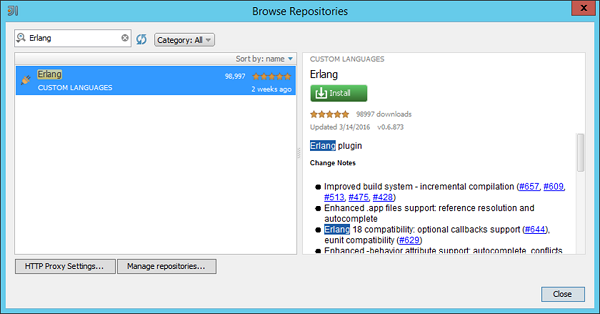 Step 3 − After the Erlang plugin is installed, you will be prompted to restart the IDE.
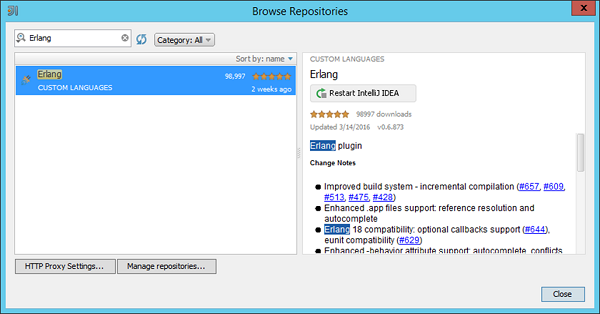 When you restart the IDE and try to create a new project, you will see the option to create an Erlang project.
No comments:
Post a Comment