
This chapter explains about the built-in components that Tapestry has
with suitable examples. Tapestry supports more than 65 built-in
components. You can also create custom components. Let us cover some of
the notable components in detail.
Create a page IfSample.java as shown below −
Result − http://localhost:8080/MyFirstApplication/ifsample
Create a page Unless.java as follows.
Result − http://localhost:8080/MyFirstApplication/unless
Create a Loop page as shown below −
Result − http://localhost:8080/myFirstApplication/pagelink
 After clicking the count value, the page will display the event name in the URL as shown in the following output screenshot.
Create a page “ActivationLinks.java” as shown below,
Result − http://localhost:8080/myFirstApplication/ActivationsLink
Create a page “Alerts” as shown in the following program.
Requesting the page will produce the following result −
http://localhost:8080/myFirstApplication/Alerts
If Component
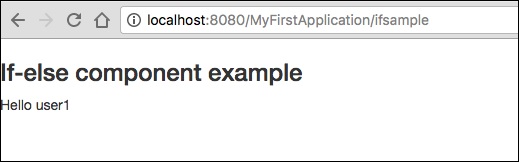
The if component is used to render a block conditionally. The condition is checked by a test parameter.Create a page IfSample.java as shown below −
package com.example.MyFirstApplication.pages;

public class Ifsample {
   public String getUser() {
      return "user1";
   }
}
Now, create a corresponding template file as follows −
<html t:type = "newlayout" title = "About MyFirstApplication"
   xmlns:t = "http://tapestry.apache.org/schema/tapestry_5_4.xsd"
   xmlns:p = "tapestry:parameter">

   <h3>If-else component example </h3>
   <t:if test = "user">
      Hello ${user}
      <p:else>
         <h4> You are not a Tapestry user </h4>
      </p:else>
   </t:if>
</html>
Requesting the page will render the result as shown below.
Result − http://localhost:8080/MyFirstApplication/ifsample
Unless and Delegate Component
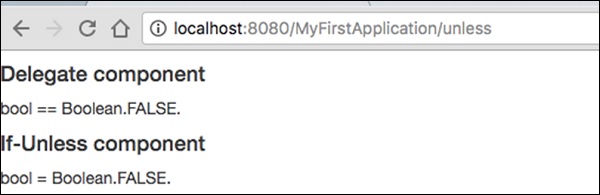
The unless component is just the opposite of the if component that was discussed above. While, the delegate component does not do any rendering on its own. Instead, it normally delegates the markup to block element. Unless and if components can use delegate and block to conditionally swap the dynamic content.Create a page Unless.java as follows.
package com.example.MyFirstApplication.pages;

import org.apache.tapestry5.Block;
import org.apache.tapestry5.annotations.Property;
import org.apache.tapestry5.ioc.annotations.Inject;
import org.apache.tapestry5.PersistenceConstants;
import org.apache.tapestry5.annotations.Persist;

public class Unless {
   @Property
   @Persist(PersistenceConstants.FLASH)
   private String value;
   @Property
   private Boolean bool;
   @Inject
   Block t, f, n;

   public Block getCase() {
      if (bool == Boolean.TRUE ) {
         return t;
      } else {
         return f;
      }
   }
}
Now, create a corresponding template file as follows −
<html t:type = "newlayout" title = "About MyFirstApplication"
   xmlns:t = "http://tapestry.apache.org/schema/tapestry_5_4.xsd"
   xmlns:p = "tapestry:parameter">

   <h4> Delegate component </h4>
   <div class = "div1">
      <t:delegate to = "case"/>
   </div>
   <h4> If-Unless component </h4>

   <div class = "div1">
      <t:if test = "bool">
         <t:delegate to = "block:t"/>
      </t:if>
      <t:unless test = "bool">
         <t:delegate to = "block:notT"/>
      </t:unless>
   </div>

   <t:block id = "t">
      bool == Boolean.TRUE.
   </t:block>

   <t:block id = "notT">
      bool = Boolean.FALSE.
   </t:block>

   <t:block id = "f">
      bool == Boolean.FALSE.
   </t:block>
</html>
Requesting the page will render the result as shown below.
Result − http://localhost:8080/MyFirstApplication/unless
Loop Component
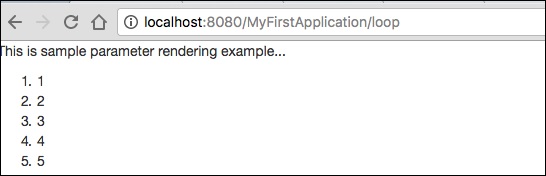
The loop component is the basic component to loop over a collection items and render the body for every value / iteration.Create a Loop page as shown below −
Loop.java
package com.example.MyFirstApplication.pages;

import org.apache.tapestry5.annotations.Property;
public class Loop {
   @Property
   private int i;
}
Then, create the corresponding template Loop.tml
Loop.tml
<html t:type = "newlayout" title = "About MyFirstApplication"
   xmlns:t = "http://tapestry.apache.org/schema/tapestry_5_4.xsd"
   xmlns:p = "tapestry:parameter">

   <p>This is sample parameter rendering example...</p>
   <ol>
      <li t:type = "loop" source = "1..5" value = "var:i">${var:i}</li>
   </ol>
</html>
Loop component has the following two parameters −
- source − Collection source. 1…5 is a property expansion used to create an array with a specified range.
- var − Render variable. Used to render the current value in the body of the template.
PageLink Component
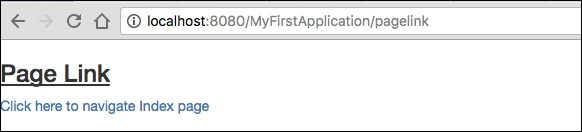
A PageLink component is used to link a page from one page to another page. Create a PageLink test page as below − PageLink.java.package com.example.MyFirstApplication.pages; public class PageLink { }Then, create a corresponding template file as shown below −
PageLink.tml
<html t:type = "newlayout" title = "About MyFirstApplication"
   xmlns:t = "http://tapestry.apache.org/schema/tapestry_5_4.xsd"
   xmlns:p = "tapestry:parameter">

   <body>
      <h3><u>Page Link</u> </h3>
      <div class = "page">
         <t:pagelink page = "Index">Click here to navigate Index page</t:pagelink>
         <br/>
      </div>
   </body>

</html>
The PageLink component has a page parameter which should refer the target tapestry page.
Result − http://localhost:8080/myFirstApplication/pagelink
EventLink Component
The EventLink component sends the event name and the corresponding parameter through the URL. Create an EventsLink page class as shown below.EventsLink.java
package com.example.MyFirstApplication.pages;

import org.apache.tapestry5.annotations.Property;
public class EventsLink {
   @Property
   private int x;
   void onActivate(int count) {
      this.x = x;
   }
   int onPassivate() {
      return x;
   }
   void onAdd(int value) {
      x += value;
   }
}
Then, create a corresponding “EventsLink” template file as follows −
EventsLink.tml
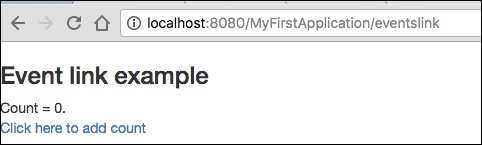
<html t:type = "newlayout" title = "About MyFirstApplication"
   xmlns:t = "http://tapestry.apache.org/schema/tapestry_5_4.xsd"
   xmlns:p = "tapestry:parameter">

   <h3> Event link example </h3>
   AddedCount = ${x}. <br/>
   <t:eventlink t:event = "add" t:context = "literal:1">
      Click here to add count
   </t:eventlink><br/>
</html>
EventLink has the following two parameters −
- Event − The name of the event to be triggered in the EventLink component. By default, it points to the id of the component.
- Context − It is an optional parameter. It defines the context for the link.
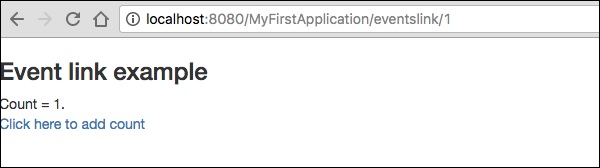
After clicking the count value, the page will display the event name in the URL as shown in the following output screenshot.
ActionLink Component
The ActionLink component is similar to the EventLink component, but it only sends the target component id. The default event name is action.Create a page “ActivationLinks.java” as shown below,
ActivationLinks.java
package com.example.MyFirstApplication.pages;

import org.apache.tapestry5.annotations.Property;
public class ActivationLinks {
   @Property
   private int x;
   void onActivate(int count) {
      this.x = x;
   }
   int onPassivate() {
      return x;
   }
   void onActionFromsub(int value) {
      x -= value;
   }
}
Now, create a corresponding template file as shown below −
ActivationLinks.tml
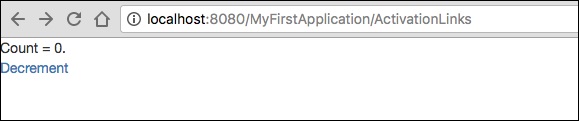
<html t:type = "Newlayout" title = "About MyFirstApplication"
   xmlns:t = "http://tapestry.apache.org/schema/tapestry_5_4.xsd"
   xmlns:p = "tapestry:parameter">

   <div class = "div1">
      Count = ${count}. <br/>
      <t:actionlink t:id = "sub" t:context = "literal:1">
         Decrement
      </t:actionlink><br/>
   </div>

</html>
Here, the OnActionFromSub method will be called when clicking the ActionLink component.
Result − http://localhost:8080/myFirstApplication/ActivationsLink
Alert Component
An alert dialog box is mostly used to give a warning message to the users. For example, if the input field requires some mandatory text but the user does not provide any input, then as a part of validation, you can use an alert box to give a warning message.Create a page “Alerts” as shown in the following program.
Alerts.java
package com.example.MyFirstApplication.pages;

public class Alerts {
   public String getUser() {
      return "user1";
   }
}
Then, create a corresponding template file as follows −
Alerts.tml
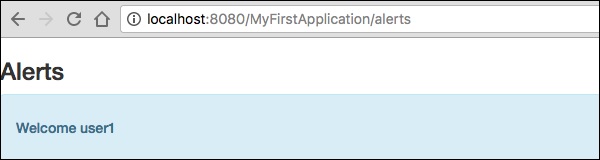
<html t:type = "Newlayout" title = "About MyFirstApplication"
   xmlns:t = "http://tapestry.apache.org/schema/tapestry_5_4.xsd"
   xmlns:p = "tapestry:parameter">

   <h3>Alerts</h3>
   <div class = "alert alert-info">
      <h5> Welcome ${user} </h5>
   </div>

</html>
An Alert has three severity levels, which are −
- Info
- Warn
- Error
Requesting the page will produce the following result −
http://localhost:8080/myFirstApplication/Alerts
No comments:
Post a Comment