TestWeb-servlet.xml
<bean class="org.springframework.web.servlet.view.ResourceBundleViewResolver">
   <property name="basename" value="views" />
</bean>
- Here basename refers to name of the resource bundle which carries the views. Default name of resource bundle is views.properties which can be overridden using basename property.
hello.(class)=org.springframework.web.servlet.view.JstlView
hello.url=/WEB-INF/jsp/hello.jsp
For example, using above configuration, if URI
- /hello is requested, DispatcherServlet will forward the request to the hello.jsp defined by bean hello in views.properties.
- Here "hello" is the view name to be matched. class refers to view type and url is the view's location.
| Step | Description |
|---|---|
| 1 | Create a project with a name TestWeb under a package com.tutorialspoint as explained in the Spring MVC - Hello World Example chapter. |
| 2 | Create a Java classes HelloController under the com.tutorialspoint package. |
| 3 | Create a view file hello.jsp under jsp sub-folder. |
| 4 | Create a properties file views.properties under src folder. |
| 5 | Download JSTL library jstl.jar. Put it in your CLASSPATH. |
| 6 | The final step is to create the content of all the source and configuration files and export the application as explained below. |
package com.tutorialspoint;

import org.springframework.stereotype.Controller;
import org.springframework.web.bind.annotation.RequestMapping;
import org.springframework.web.bind.annotation.RequestMethod;
import org.springframework.ui.ModelMap;

@Controller
@RequestMapping("/hello")
public class HelloController{

   @RequestMapping(method = RequestMethod.GET)
   public String printHello(ModelMap model) {
      model.addAttribute("message", "Hello Spring MVC Framework!");

      return "hello";
   }

}
TestWeb-servlet.xml
<beans xmlns="http://www.springframework.org/schema/beans"
   xmlns:context="http://www.springframework.org/schema/context"
   xmlns:xsi="http://www.w3.org/2001/XMLSchema-instance"
   xsi:schemaLocation="
   http://www.springframework.org/schema/beans
   http://www.springframework.org/schema/beans/spring-beans-3.0.xsd
   http://www.springframework.org/schema/context
   http://www.springframework.org/schema/context/spring-context-3.0.xsd">

   <context:component-scan base-package="com.tutorialspoint" />

   <bean class="org.springframework.web.servlet.view.ResourceBundleViewResolver">
      <property name="basename" value="views" />
   </bean>
</beans>
views.properties
hello.(class)=org.springframework.web.servlet.view.JstlView
hello.url=/WEB-INF/jsp/hello.jsp
hello.jsp
<%@ page contentType="text/html; charset=UTF-8" %>
<html>
<head>
<title>Hello World</title>
</head>
<body>
   <h2>${message}</h2>
</body>
</html>
Once you are done with creating source and configuration files, export your application. Right click on your application and use Export > WAR File option and save your HelloWeb.war file in Tomcat's webapps folder.
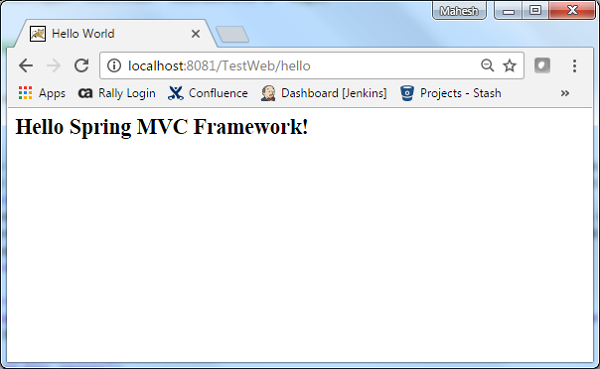
Now start your Tomcat server and make sure you are able to access other web pages from webapps folder using a standard browser. Now try to access the URL http://localhost:8080/HelloWeb/hello and if everything is fine with your Spring Web Application, you should see the following result:


No comments:
Post a Comment