
You can load and modify images using the classes provided by JavaFX in the package javafx.scene.image. JavaFX supports the image formats like Bmp, Gif, Jpeg, Png.
This chapter teaches you how to load images in to JavaFX, how to project an image in multiple views and how to alter the pixels of an image.
To the constructor of the class, you have to pass either of the following −
Save this code in a file with the name ImageExample.java.
Save this code in a file with the name MultipleViews.java.
Following is an example which demonstrates how to read and write pixels of an image. Here, we are reading the color value of an image and making it darker.
Save this code in a file with the name WritingPixelsExample.java.
This chapter teaches you how to load images in to JavaFX, how to project an image in multiple views and how to alter the pixels of an image.
Loading an Image
You can load an image in JavaFX by instantiating the class named Image of the package javafx.scene.image.To the constructor of the class, you have to pass either of the following −
- An InputStream object of the image to be loaded or,
- A string variable holding the URL for the image.
//Passing FileInputStream object as a parameter
FileInputStream inputstream = new FileInputStream("C:\\images\\image.jpg");
Image image = new Image(inputstream);

//Loading image from URL
//Image image = new Image(new FileInputStream("url for the image));
After loading the image, you can set the view for the image by instantiating the ImageView class and passing the image to its constructor as follows −ImageView imageView = new ImageView(image);
Example
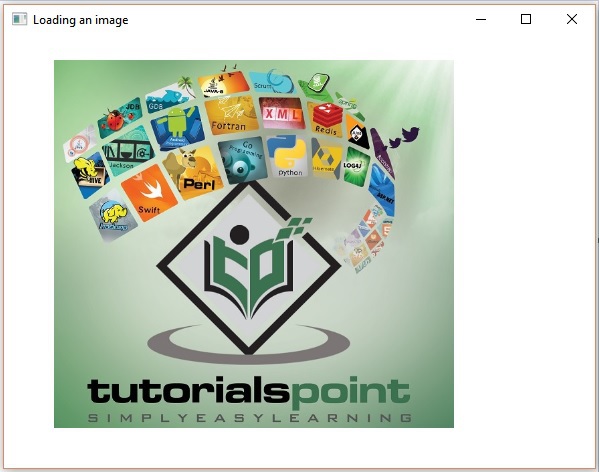
Following is an example which demonstrates how to load an image in JavaFX and set the view.Save this code in a file with the name ImageExample.java.
import java.io.FileInputStream;
import java.io.FileNotFoundException;
import javafx.application.Application;
import javafx.scene.Group;
import javafx.scene.Scene;
import javafx.scene.image.Image;
import javafx.scene.image.ImageView;
import javafx.stage.Stage;

public class ImageExample extends Application {
   @Override
   public void start(Stage stage) throws FileNotFoundException {
      //Creating an image
      Image image = new Image(new FileInputStream("path of the image"));

      //Setting the image view
      ImageView imageView = new ImageView(image);

      //Setting the position of the image
      imageView.setX(50);
      imageView.setY(25);

      //setting the fit height and width of the image view
      imageView.setFitHeight(455);
      imageView.setFitWidth(500);

      //Setting the preserve ratio of the image view
      imageView.setPreserveRatio(true);

      //Creating a Group object
      Group root = new Group(imageView);

      //Creating a scene object
      Scene scene = new Scene(root, 600, 500);

      //Setting title to the Stage
      stage.setTitle("Loading an image");

      //Adding scene to the stage
      stage.setScene(scene);

      //Displaying the contents of the stage
      stage.show();
   }
   public static void main(String args[]) {
      launch(args);
   }
}
Compile and execute the saved java file from the command prompt using the following commands.
Javac ImageExample.java
java ImageExample
On executing, the above program generates a JavaFX window as follows −
Multiple Views of an Image
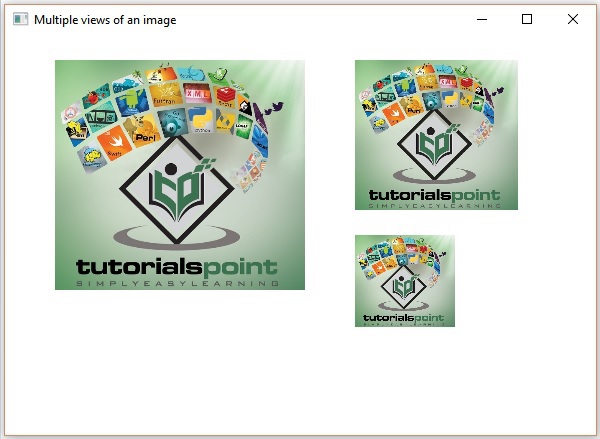
You can also set multiple views for an image in the same scene. The following program is an example that demonstrates how to set various views for an image in a scene in JavaFX.Save this code in a file with the name MultipleViews.java.
import java.io.FileInputStream;
import java.io.FileNotFoundException;
import javafx.application.Application;
import javafx.scene.Group;
import javafx.scene.Scene;
import javafx.scene.image.Image;
import javafx.scene.image.ImageView;
import javafx.stage.Stage;

public class MultipleViews extends Application {
   @Override
   public void start(Stage stage) throws FileNotFoundException {
      //Creating an image
      Image image = new Image(new FileInputStream("file path"));

      //Setting the image view 1
      ImageView imageView1 = new ImageView(image);

      //Setting the position of the image
      imageView1.setX(50);
      imageView1.setY(25);

      //setting the fit height and width of the image view
      imageView1.setFitHeight(300);
      imageView1.setFitWidth(250);

      //Setting the preserve ratio of the image view
      imageView1.setPreserveRatio(true);

      //Setting the image view 2
      ImageView imageView2 = new ImageView(image);

      //Setting the position of the image
      imageView2.setX(350);
      imageView2.setY(25);

      //setting the fit height and width of the image view
      imageView2.setFitHeight(150);
      imageView2.setFitWidth(250);

      //Setting the preserve ratio of the image view
      imageView2.setPreserveRatio(true);

      //Setting the image view 3
      ImageView imageView3 = new ImageView(image);

      //Setting the position of the image
      imageView3.setX(350);
      imageView3.setY(200);

      //setting the fit height and width of the image view
      imageView3.setFitHeight(100);
      imageView3.setFitWidth(100);

      //Setting the preserve ratio of the image view
      imageView3.setPreserveRatio(true);

      //Creating a Group object
      Group root = new Group(imageView1, imageView2, imageView3);

      //Creating a scene object
      Scene scene = new Scene(root, 600, 400);

      //Setting title to the Stage
      stage.setTitle("Multiple views of an image");

      //Adding scene to the stage
      stage.setScene(scene);

      //Displaying the contents of the stage
      stage.show();
   }
   public static void main(String args[]) {
      launch(args);
   }
}
Compile and execute the saved java file from the command prompt using the following commands.
Javac MultipleViews.java
java MultipleViews
On executing, the above program generates a JavaFX window as follows −
Writing Pixels
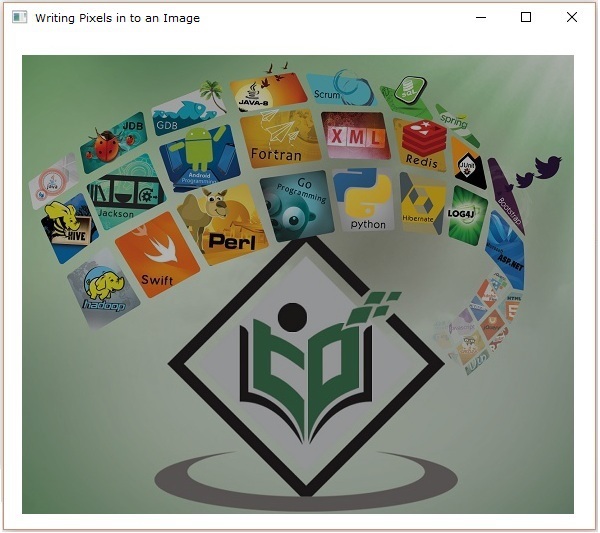
JavaFX provides classes named PixelReader and PixelWriter classes to read and write pixels of an image. The WritableImage class is used to create a writable image.Following is an example which demonstrates how to read and write pixels of an image. Here, we are reading the color value of an image and making it darker.
Save this code in a file with the name WritingPixelsExample.java.
import java.io.FileInputStream;
import java.io.FileNotFoundException;
import javafx.application.Application;

import javafx.scene.Group;
import javafx.scene.Scene;

import javafx.scene.image.Image;
import javafx.scene.image.ImageView;
import javafx.scene.image.PixelReader;
import javafx.scene.image.PixelWriter;
import javafx.scene.image.WritableImage;

import javafx.scene.paint.Color;
import javafx.stage.Stage;

public class WritingPixelsExample extends Application {
   @Override
   public void start(Stage stage) throws FileNotFoundException {
      //Creating an image
      Image image = new Image(new FileInputStream("C:\\images\\logo.jpg"));
      int width = (int)image.getWidth();
      int height = (int)image.getHeight();

      //Creating a writable image
      WritableImage wImage = new WritableImage(width, height);

      //Reading color from the loaded image
      PixelReader pixelReader = image.getPixelReader();

      //getting the pixel writer
      PixelWriter writer = wImage.getPixelWriter();

      //Reading the color of the image
      for(int y = 0; y < height; y++) {
         for(int x = 0; x < width; x++) {
            //Retrieving the color of the pixel of the loaded image
            Color color = pixelReader.getColor(x, y);

            //Setting the color to the writable image
            writer.setColor(x, y, color.darker());

            //Setting the view for the writable image
            ImageView imageView = new ImageView(wImage);

            //Creating a Group object
            Group root = new Group(imageView);

            //Creating a scene object
            Scene scene = new Scene(root, 600, 500);

            //Setting title to the Stage
            stage.setTitle("Writing pixels ");

            //Adding scene to the stage
            stage.setScene(scene);

            //Displaying the contents of the stage
            stage.show();
         }
      }
   }
   public static void main(String args[]) {
      launch(args);
   }
}
Compile and execute the saved java file from the command prompt using the following commands.
Javac WritingPixelsExample.java
java WritingPixelsExample
On executing, the above program generates a JavaFX window as follows −
No comments:
Post a Comment