
Ruby on Rails - Introduction
What is Ruby?
Before we ride on Rails, let us recapitulate a few points of Ruby, which is the base of Rails.Ruby is the successful combination of −
Ruby is −
- A high-level programming language.
- Interpreted like Perl, Python, Tcl/TK.
- Object-oriented like Smalltalk, Eiffel, Ada, Java.
Why Ruby?
Ruby originated in Japan and now it is gaining popularity in US and Europe as well. The following factors contribute towards its popularity −- Easy to learn
- Open source (very liberal license)
- Rich libraries
- Very easy to extend
- Truly object-oriented
- Less coding with fewer bugs
- Helpful community
- Performance Issues − Although it rivals Perl and Python, it is still an interpreted language and we cannot compare it with high-level programming languages like C or C++.
- Threading model − Ruby does not use native threads. Ruby threads are simulated in the VM rather than running as native OS threads.
Sample Ruby Code
Here is a sample Ruby code to print "Hello Ruby"# The Hello Class class Hello def initialize( name ) @name = name.capitalize end def salute puts "Hello #{@name}!" end end # Create a new object h = Hello.new("Ruby") # Output "Hello Ruby!" h.saluteOutput − This will produce the following result −
Hello Ruby!
Embedded Ruby
Ruby provides a program called ERB (Embedded Ruby), written by Seki Masatoshi. ERB allows you to put Ruby codes inside an HTML file. ERB reads along, word for word, and then at a certain point, when it encounters a Ruby code embedded in the document, it starts executing the Ruby code.You need to know only two things to prepare an ERB document −
- If you want some Ruby code executed, enclose it between <% and %>.
- If you want the result of the code execution to be printed out, as a part of the output, enclose the code between <%= and %>.
<% page_title = "Demonstration of ERB" %>
<% salutation = "Dear programmer," %>

<html>

   <head>
      <title><%= page_title %></title>
   </head>

   <body>
      <p><%= salutation %></p>
      <p>This is an example of how ERB fills out a template.</p>
   </body>

</html>
Now, run the program using the command-line utility erb.
tp> erb erbdemo.rbThis will produce the following result −
<html>

   <head>
      <title>Demonstration of ERb</title>
   </head>

   <body>
      <p>Dear programmer,</p>
      <p>This is an example  of how ERb fills out a template.</p>
   </body>

</html>
What is Rails?
- An extremely productive web-application framework.
- Written in Ruby by David Heinemeier Hansson.
- You could develop a web application at least ten times faster with Rails than you could with a typical Java framework.
- An open source Ruby framework for developing database-backed web applications.
- Configure your code with Database Schema.
- No compilation phase required.
Full Stack Framework
- Includes everything needed to create a database-driven web application, using the Model-View-Controller pattern.
- Being a full-stack framework means all the layers are built to work seamlessly together with less code.
- Requires fewer lines of code than other frameworks.
Convention over Configuration
- Rails shuns configuration files in favor of conventions, reflection, and dynamic runtime extensions.
- Your application code and your running database already contain everything that Rails needs to know!
Rails Strengths
Rails is packed with features that make you more productive, with many of the following features building on one other.Metaprogramming
Where other frameworks use extensive code generation from scratch, Rail framework uses Metaprogramming techniques to write programs. Ruby is one of the best languages for Metaprogramming, and Rails uses this capability well. Rails also uses code generation but relies much more on Metaprogramming for the heavy lifting.Active Record
Rails introduces the Active Record framework, which saves objects into the database. The Rails version of the Active Record discovers the columns in a database schema and automatically attaches them to your domain objects using metaprogramming.Convention over configuration
Most web development frameworks for .NET or Java force you to write pages of configuration code. If you follow the suggested naming conventions, Rails doesn't need much configuration.Scaffolding
You often create temporary code in the early stages of development to help get an application up quickly and see how major components work together. Rails automatically creates much of the scaffolding you'll need.Built-in testing
Rails creates simple automated tests you can then extend. Rails also provides supporting code called harnesses and fixtures that make test cases easier to write and run. Ruby can then execute all your automated tests with the rake utility.Three environments
Rails gives you three default environments: development, testing, and production. Each behaves slightly differently, making your entire software development cycle easier. For example, Rails creates a fresh copy of the Test database for each test run.Ruby on Rails - Installation
To develop a web application using Ruby on Rails Framework, you need to install the following software −- Ruby
- The Rails Framework
- A Web Server
- A Database System
Rails works with many database systems, including MySQL, PostgreSQL, SQLite, Oracle, DB2 and SQL Server. Please refer to a corresponding Database System Setup manual to set up your database.
Let's look at the installation instructions for Rails on Windows and Linux.
Rails Installation on Windows
Follow the steps given below for installing Ruby on Rails.Step 1: Check Ruby Version
First, check if you already have Ruby installed. Open the command prompt and type ruby -v. If Ruby responds, and if it shows a version number at or above 2.2.2, then type gem --version. If you don't get an error, skip Install Ruby step. Otherwise, we'll install a fresh Ruby.Step 2: Install Ruby
If Ruby is not installed, then download an installation package from rubyinstaller.org. Follow the download link, and run the resulting installer. This is an exe file rubyinstaller-2.2.2.x.exe and will be installed in a single click. It's a very small package, and you'll get RubyGems as well along with this package. Please check the Release Notes for more detail.
Step 3: Install Rails
Install Rails − With Rubygems loaded, you can install all of Rails and its dependencies using the following command through the command line −C:\> gem install rails
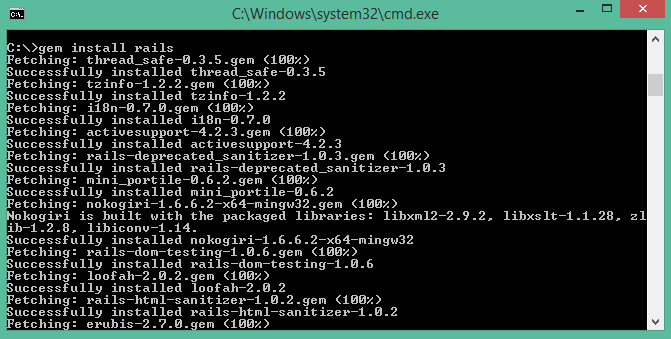 Note − The above command may take some time to install all dependencies. Make sure you are connected to the internet while installing gems dependencies.
Step 4: Check Rails Version
Use the following command to check the rails version.C:\> rails -vOutput
Rails 4.2.4Congratulations! You are now on Rails over Windows.
Rails Installation on Linux
We are installing Ruby On Rails on Linux using rbenv. It is a lightweight Ruby Version Management Tool. The rbenv provides an easy installation procedure to manage various versions of Ruby, and a solid environment for developing Ruby on Rails applications.Follow the steps given below to install Ruby on Rails using rbenv tool.
Step 1: Install Prerequisite Dependencies
First of all, we have to install git - core and some ruby dependences that help to install Ruby on Rails. Use the following command for installing Rails dependencies using yum.tp> sudo yum install -y git-core zlib zlib-devel gcc-c++ patch readline readline-devel libyaml-devel libffi-devel openssl-devel make bzip2 autoconf automake libtool bison curl sqlite-devel
Step 2: Install rbenv
Now we will install rbenv and set the appropriate environment variables. Use the following set of commands to get rbenv for git repository.tp> git clone git://github.com/sstephenson/rbenv.git .rbenv tp> echo 'export PATH="$HOME/.rbenv/bin:$PATH"' >> ~/.bash_profile tp> echo 'eval "$(rbenv init -)"' >> ~/.bash_profile tp> exec $SHELL tp> git clone git://github.com/sstephenson/ruby-build.git ~/.rbenv/plugins/ruby-build tp> echo 'export PATH="$HOME/.rbenv/plugins/ruby-build/bin:$PATH"' << ~/.bash_profile tp> exec $SHELL
Step 3: Install Ruby
Before installing Ruby, determine which version of Ruby you want to install. We will install Ruby 2.2.3. Use the following command for installing Ruby.tp> rbenv install -v 2.2.3Use the following command for setting up the current Ruby version as default.
tp> rbenv global 2.2.3Use the following command to verify the Ruby version.
tp> ruby -vOutput
ruby 2.2.3p173 (2015-08-18 revivion 51636) [X86_64-linux]Ruby provides a keyword gem for installing the supported dependencies; we call them gems. If you don't want to install the documentation for Ruby-gems, then use the following command.
tp> echo "gem: --no-document" > ~/.gemrcThereafter, it is better to install the Bundler gem, because it helps to manage your application dependencies. Use the following command to install bundler gem.
tp> gem install bundler
Step 4: Install Rails
Use the following command for installing Rails version 4.2.4.tp> install rails -v 4.2.4Use the following command to make Rails executable available.
tp> rbenv rehashUse the following command for checking the rails version.
tp> rails -vOutput
tp> Rails 4.2.4Ruby on Rails framework requires JavaScript Runtime Environment (Node.js) to manage the features of Rails. Next, we will see how we can use Node.js to manage Asset Pipeline which is a Rails feature.
Step 5: Install JavaScript Runtime
Let us install Node.js from the Yum repository. We will take Node.js from EPEL yum repository. Use the following command to add the EPEL package to the yum repository.tp> sudo yum -y install epel-releaseUse the following command for installing the Node.js package.
tp> sudo yum install nodejsCongratulations! You are now on Rails over Linux.
Step 6: Install Database
By default, Rails uses sqlite3, but you may want to install MySQL, PostgreSQL, or other RDBMS. This is optional; if you have the database installed, then you may skip this step and it is not mandatory that you have a database installed to start the rails server. For this tutorial, we are using PostgreSQL database. Therefore use the following commands to install PostgreSQL.tp> sudo yum install postgresql-server postgresql-contribAccept the prompt, by responding with a y. Use the following command to create a PostgreSQl database cluster.
tp> sudo postgresql-setup initdbUse the following command to start and enable PostgreSQL.
tp> sudo systemctl start postgresql
tp> sudo systemctl enable postgresql
Keeping Rails Up-to-Date
Assuming you have installed Rails using RubyGems, keeping it up-to-date is relatively easy. We can use the same command in both Windows and Linux platform. Use the following command −tp> gem update railsOutput
The following screenshot shows a Windows command prompt. The Linux terminal also provides the same output.
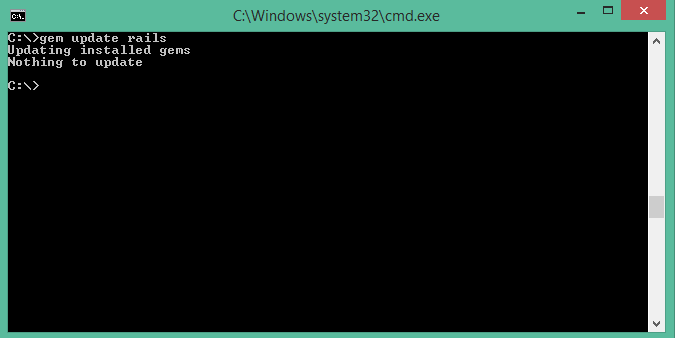 This will automatically update your Rails installation. The next time you restart your application, it will pick up this latest version of Rails. While using this command, make sure you are connected to the internet.
Installation Verification
You can verify if everything is set up according to your requirements or not. Use the following command to create a demo project.tp> rails new demoOutput
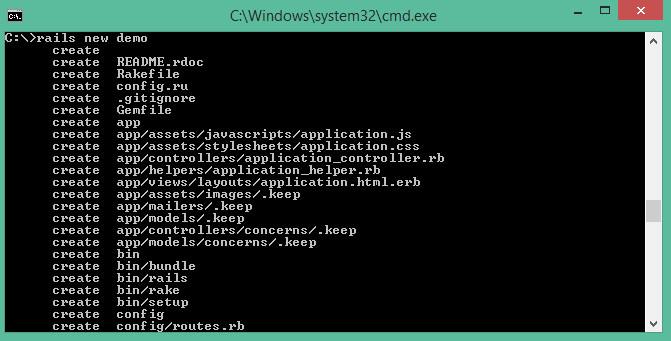 It will generate a demo rail project; we will discuss about it later. Currently we have to check if the environment is set up or not. Next, use the following command to run WEBrick web server on your machine.
tp> cd demo
tp> rails server
It will generate auto-code to start the server
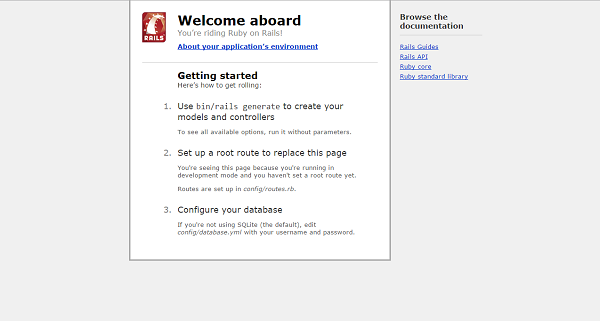
 Now open your browser and type the following −
http://localhost:3000It should display a message, something like, "Welcome aboard" or "Congratulations".
No comments:
Post a Comment