Grav Administration Panel plugin is a web graphical user
interface (GUI) for Grav. It can easily create and modify pages. It is
an optional plugin and to work effectively Grav does not depend on this
totally. The Admin provides limited views for easy usage of Grav.
We need to install the admin, form, email and login plugins to make your admin plugin run properly. As all plugins has dependencies, you need to agree when it prompts you to install other plugins while installing admin plugin and these is available via GPM (Grav Package Manager). We'll study more about GPM in chapter Grav - GPM .
Following command is used to install admin plugin using command prompt.
After downloading all the plugins, extract all the zip files and store in the <your_folder_name>/user/plugins folder. In the Plugin folder, you can store plugins with unique name; the name should be related to the function of the plugin. The folder can be renamed as admin/, email/, form/ and login/. It is necessary to store all the four plugins in the Plugin folder together; otherwise the admin panel won't work properly.

Features
Following are the features of administration panel:- Enable or disable the plugins present in the plugin manager list.
- You can create, edit, copy and delete the pages easily.
- List of latest page updates gets displayed on the Dashboard.
- Latest available updates can be viewed easily by just one click.
- Find the particular pages from the list by using search box.
- It consist of functionality of the forget password.
- Media files can be uploaded by drag-n-drop method.
- Allows editing via yaml or forms in normal and expert modes.
- Dashboard consists of site activity, latest page updates and maintenance status.
- It consists of Ajax powered backup and clear-cache capabilities.
- It consist of site and system configuration management.
- New plugins and themes installation powered by GPM.
- Automatic password encryption feature is provided during user login.
- It provides code editor that highlights powerful syntax with instant Grav-powered preview.
- Installed theme listing and configurations can be done by using Theme manager.
- It also manages the logged-in users.
Installation
To access the admin plugin, we need to run the latest Grav. You can run the following command in the CLI(command line interface).$ bin/gpm selfupgrade -fThe selfupgrade is used to update Grav to the latest version available. -f is used to refresh GPM(Grav Package Manager) index.
We need to install the admin, form, email and login plugins to make your admin plugin run properly. As all plugins has dependencies, you need to agree when it prompts you to install other plugins while installing admin plugin and these is available via GPM (Grav Package Manager). We'll study more about GPM in chapter Grav - GPM .
Following command is used to install admin plugin using command prompt.
$ bin/gpm install admin
Manual Installation
We can install the administration panel manually by downloading the following plugins individually:After downloading all the plugins, extract all the zip files and store in the <your_folder_name>/user/plugins folder. In the Plugin folder, you can store plugins with unique name; the name should be related to the function of the plugin. The folder can be renamed as admin/, email/, form/ and login/. It is necessary to store all the four plugins in the Plugin folder together; otherwise the admin panel won't work properly.
Creating User
We can create user account by using command line interface. Use the below command to create an user account.$bin/grav newuserOtherwise, you can also create user account manually by writing the following lines of code:
email: admin@tutorials.com
access:
  admin:
    login: true
    super: true
  site:
    login: true
fullname: 'Tutorials Point'
title: tp
password: 'Password'
Save the above lines in the <your_folder_name>/user/account/admin.yaml file. The name which you have used to save your above code will be the username for your login i.e. admin. You can edit the email, fullname, title and password according to your needs.
Usage
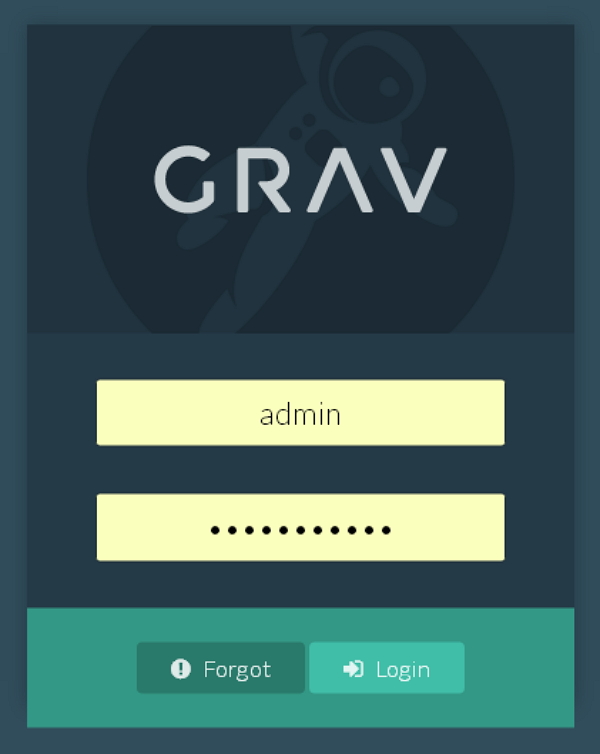
You can access the administration panel by pointing your browser to the localhost/<your_folder_name>/admin and you will get a screen as shown below. You can set the username and password in yaml file as specified in the creating user section.

No comments:
Post a Comment