
Magento CMS (Content Management System) section is used to manage all
web site pages. It is a way of promoting the products by providing
valuable information to the customers and increases visibility to search
engines. It can be used to create rich content for your web store.
The CMS section contains following topics:
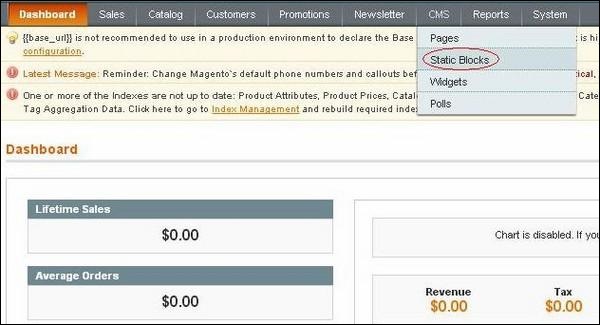
Step (1): Go to CMS menu and click on the Static Blocks option.
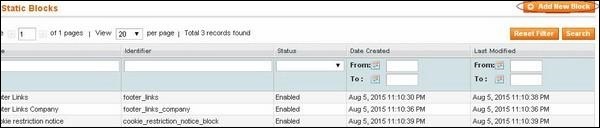
 Step (2): You can create new block by clicking on the Add New Block button.
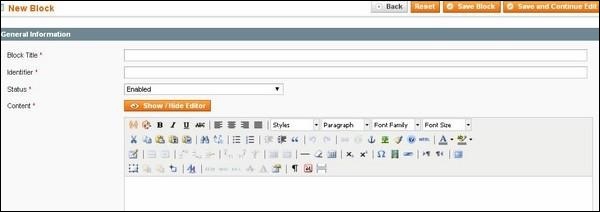
 Step (3): Next it will open a window for creating new block as shown below.
 It contains following fields:
You can create the widget by using following steps:
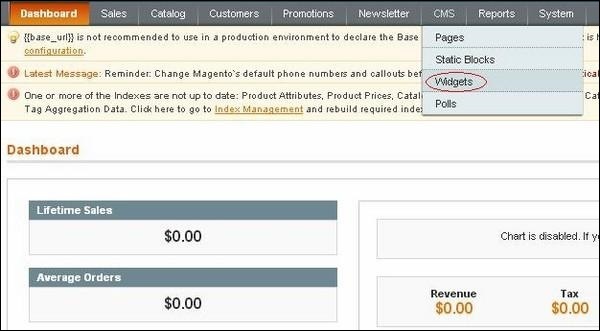
Step (1): Go to CMS menu and click on the Widgets option.
 Step (2): To create new widget, click the Add New Widget Instance button.
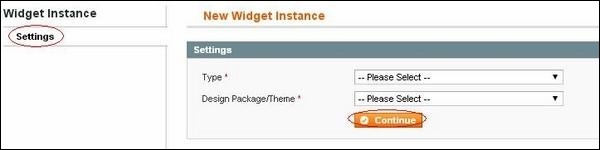
 Step (3): Under the settings section, select the Type of the widget and Design Package/Theme and click the Continue button.
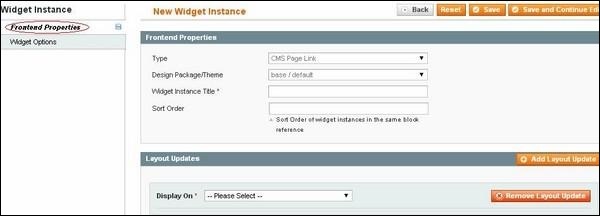
 Step (4): Next it displays the Frontend Properties and Layout Updates sections.
 In the Frontend Properties section, do the following:
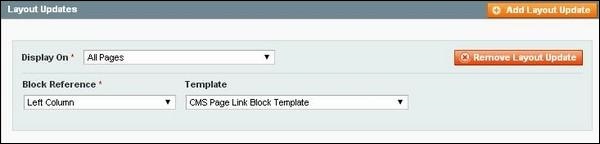 In the Block Reference list, select the section of your page layout where you want
the widget to appear and set the template with Link Block Template or Inline Template.
In the Block Reference list, select the section of your page layout where you want
the widget to appear and set the template with Link Block Template or Inline Template.
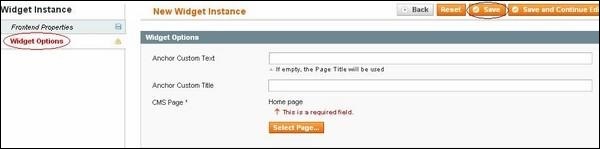
Step (5): Click Save and Continue Edit button to save your changes and continue editing. Next it will open Widget Options panel with the below options.
 It contains following options:
You can create the poll by using following steps:
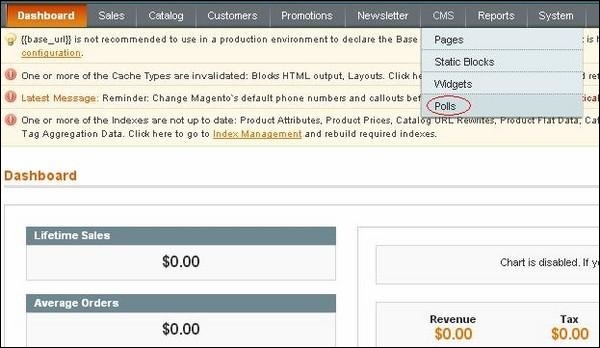
Step (1): Go to CMS menu and click on the Polls option.
 Step (2): Next it will open a Poll Manager window where you can add new poll as shown in the image below.
 Step (2): In the Poll Information section, do the following:
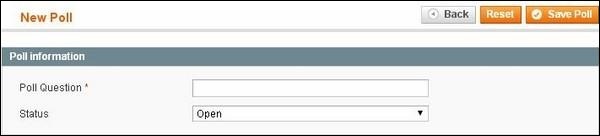 Enter the Poll Question and you can set the Status to "Open" or "Closed".
Step (3): In the Poll Answers section, do the following:
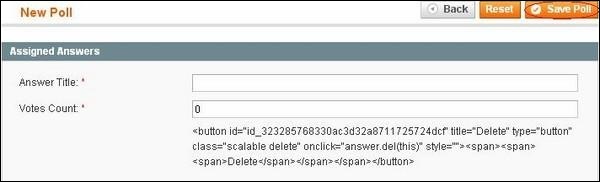 In the Answer Title field, enter the answer as you want it to
appear in the poll for which you had enter the poll question and to
weight an answer, enter a number in the Votes Count field. When complete, click the Save Poll button.
In the Answer Title field, enter the answer as you want it to
appear in the poll for which you had enter the poll question and to
weight an answer, enter a number in the Votes Count field. When complete, click the Save Poll button.
The CMS section contains following topics:
Pages
You can create or setup new pages in Magento. You can include text, images, blocks of content etc. For more information on setting up new pages, you can refer this link Setting up New Pages.Static Blocks
Static block is a piece of content can be used anywhere in the pages. Magento allows creating blocks of content that can be used through the store and can be added to any page or another block. To create static blocks, just follow the below steps:Step (1): Go to CMS menu and click on the Static Blocks option.
Step (2): You can create new block by clicking on the Add New Block button.
Step (3): Next it will open a window for creating new block as shown below.
It contains following fields:- Block Title: It adds the title for the block.
- Identifier: It assigns identifier to block which uses lower case characters, underscores etc.
- Status: Set this field as "Enabled" to make block visible.
- Content: It includes content of the block and uses editor to format text, creates links, tables, add images etc.
Widgets
Widget allows displaying wide range of content and placing it at block references in the store. They can be inserted into pages, blocks or they can have blocks inserted into the widget.You can create the widget by using following steps:
Step (1): Go to CMS menu and click on the Widgets option.
Step (2): To create new widget, click the Add New Widget Instance button.
Step (3): Under the settings section, select the Type of the widget and Design Package/Theme and click the Continue button.
Step (4): Next it displays the Frontend Properties and Layout Updates sections.
In the Frontend Properties section, do the following:- Widget Instance Title: It specifies the title for the widget. It is only for internal use and won't be visible to the customers.
- Sort Order: It is used to specify the order of the block when listed with others.
In the Block Reference list, select the section of your page layout where you want
the widget to appear and set the template with Link Block Template or Inline Template.Step (5): Click Save and Continue Edit button to save your changes and continue editing. Next it will open Widget Options panel with the below options.
It contains following options:- Anchor Custom Text: It adds custom text for the widget.
- Anchor Custom Title: It adds custom title for the widget.
- CMS Page: It allows selecting the CMS page with the widget.
Polls
Polls are used to get customer's opinions and preferences. The poll results appear immediately after response is submitted.You can create the poll by using following steps:
Step (1): Go to CMS menu and click on the Polls option.
Step (2): Next it will open a Poll Manager window where you can add new poll as shown in the image below.
Step (2): In the Poll Information section, do the following:
Enter the Poll Question and you can set the Status to "Open" or "Closed".Step (3): In the Poll Answers section, do the following:
In the Answer Title field, enter the answer as you want it to
appear in the poll for which you had enter the poll question and to
weight an answer, enter a number in the Votes Count field. When complete, click the Save Poll button.
No comments:
Post a Comment