
Rexx (Restructured Extended Executor) is designed to be a
scripting language. Its goal is to make scripting as easy, fast,
reliable, and error-free as possible. Many programming languages are
designed for compatibility with older languages, and are written for
specific audiences or platforms. Rexx ignores extraneous objectives.
It was designed from day one to be powerful, yet easy to use.
Rexx was designed and first implemented, in assembly language, as an 'own-time' project between 20th March 1979 and the middle of 1982 by Mike Cowlishaw of IBM, originally as a scripting programming language to replace the languages EXEC and EXEC 2. It was designed to be a macro or scripting language for any system. As such, Rexx is considered a precursor to Tcl and Python. Rexx was also intended by its creator to be a simplified and easier to learn version of the PL/I programming language.
Ensure the following System requirements are met before proceeding with the installation.
This page has a variety of downloads for various versions of Rexx as shown in the following screenshot.
 Click on the ‘ooRexx install files’ in the table with the header of Release 4.2.0.
After this, you will be re-directed to the following page.
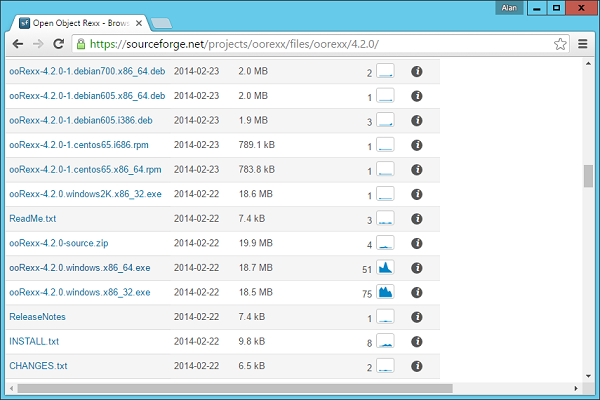 Click on the ooRexx-4.2.0.windows.x86_64.exe to download the 64-bit version of the software. We will discuss regarding the installation of the software in the following chapter.
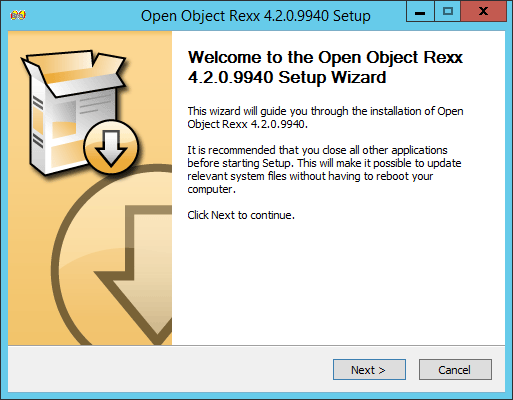
Step 1 − Launch the Installer downloaded in the earlier section. After the installer starts, click on the Run button.
 Step 2 − Click the next button on the following screen to proceed with the installation.
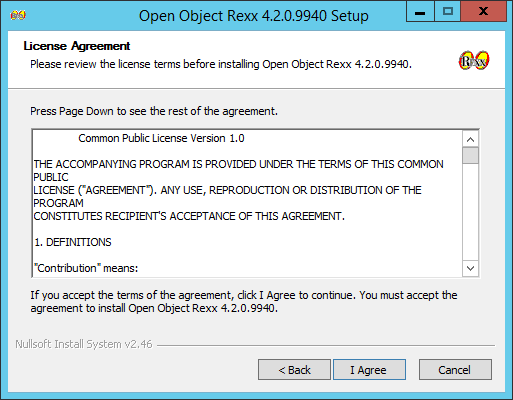
 Step 3 − Click on the I Agree button to proceed.
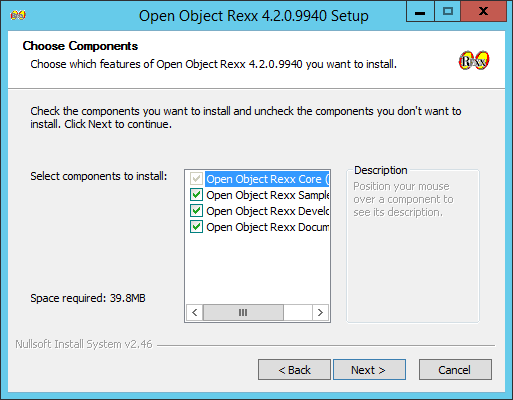
 Step 4 − Accept the default components and then click on the next button.
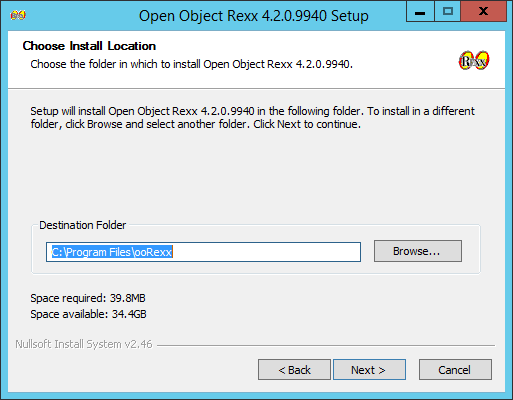
 Step 5 − Choose the installation location and click on the Next button.
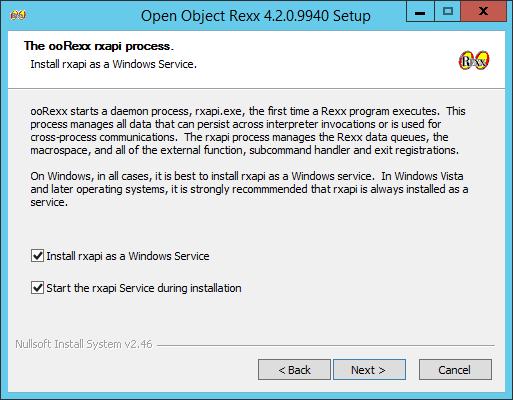
 Step 6 − Accept the default processes which will be installed and click on the Next button.
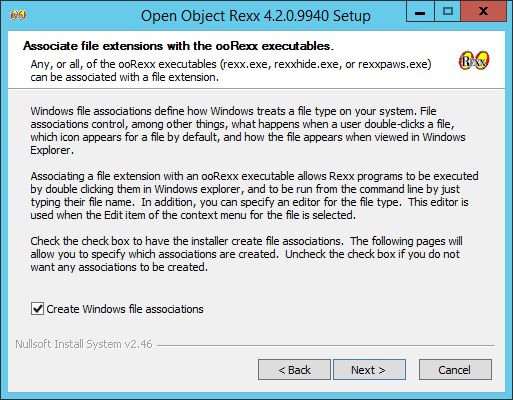
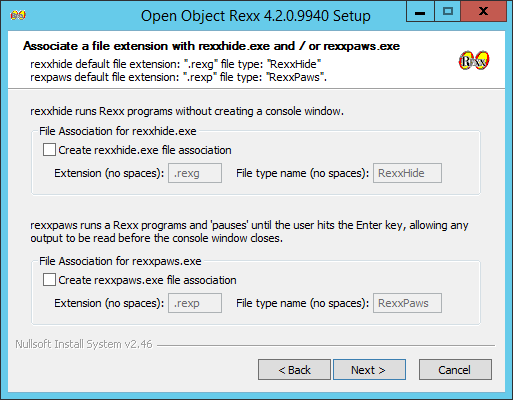
 Step 7 − Choose the default file associations and click on the Next button.
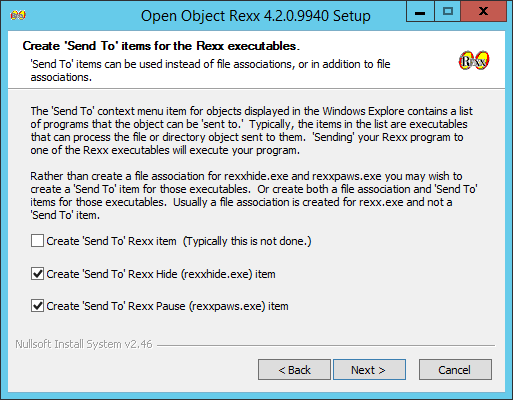
 Step 8 − Click on the check boxes of send Rexx items to the
executables and then click on the Next button as shown in the following
screenshot.
Step 8 − Click on the check boxes of send Rexx items to the
executables and then click on the Next button as shown in the following
screenshot.
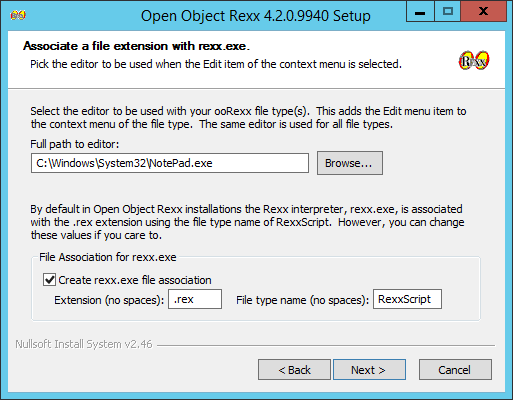
 Step 9 − In the next screen, choose the editor for working
with Rexx files. Keep the notepad as the default option. Also accept the
default extension for each Rexx file.
Step 9 − In the next screen, choose the editor for working
with Rexx files. Keep the notepad as the default option. Also accept the
default extension for each Rexx file.
 Step 10 − Accept the default settings on the following screen
that comes up and click on the Next button to proceed further with the
installation.
Step 10 − Accept the default settings on the following screen
that comes up and click on the Next button to proceed further with the
installation.
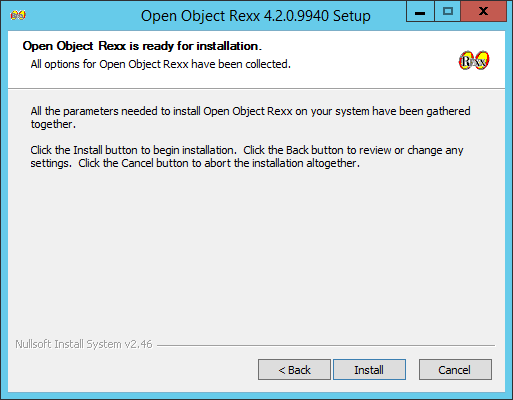
 Step 11 − Finally click on the Install button to proceed with the installation.
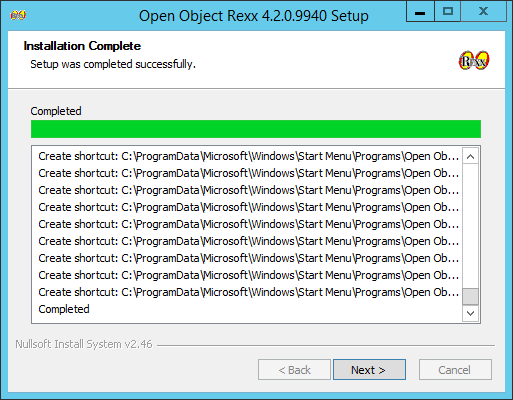
 Step 12 − Once the installation is complete, you need to click on the Next button to proceed further.
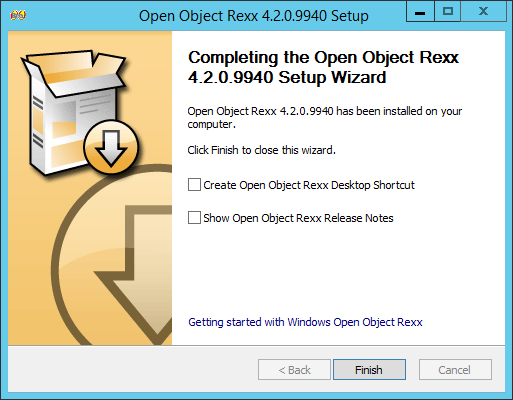
 Step 13 − Click on the Finish button to complete the installation.
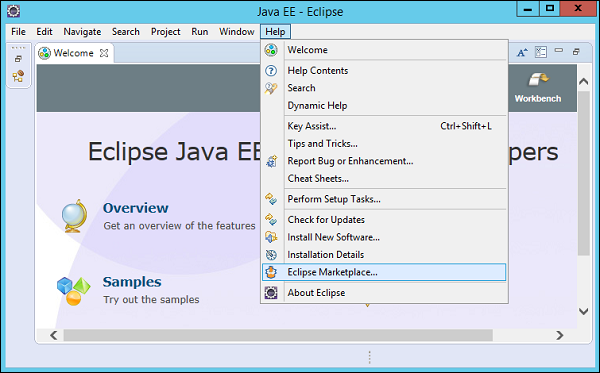
Step 1 − Open Eclipse and click on the Menu item, Help → Eclipse Marketplace as shown in the following screenshot.
 Step 2 − In the next dialog box, enter Rexx in the search criteria and click on the search button.
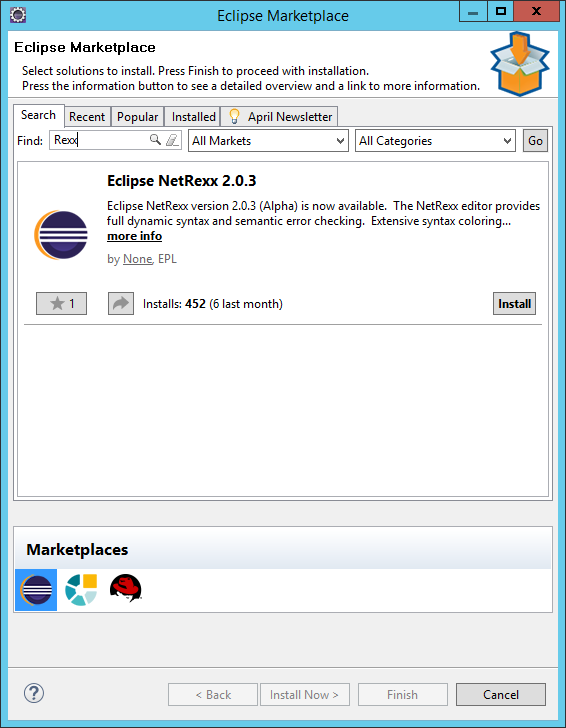 Once done, click the Install button.
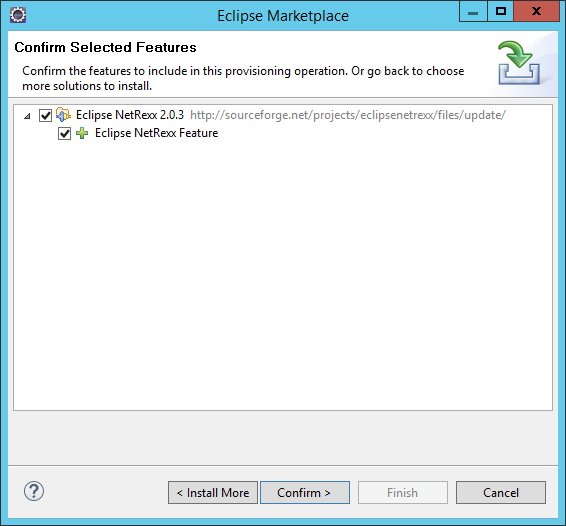
Step 3 − Click on the Confirm button to further continue with the features installation.
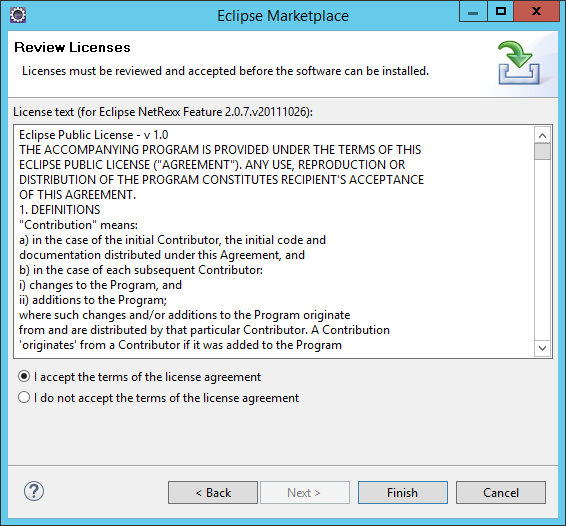
 Step 4 − Eclipse will then download the necessary files to
start off with the installation. Once done, Eclipse will ask for
accepting the license agreements. Click on accepting the license
agreements and then click on the Finish button as shown in the following
screenshot.
Step 4 − Eclipse will then download the necessary files to
start off with the installation. Once done, Eclipse will ask for
accepting the license agreements. Click on accepting the license
agreements and then click on the Finish button as shown in the following
screenshot.
 Eclipse will then start installing the software in the background.
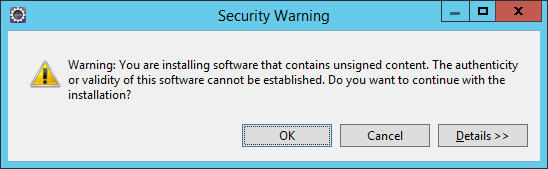
Step 5 − You will probably get a security warning (as shown in the following screenshot). Click on the OK button to proceed.
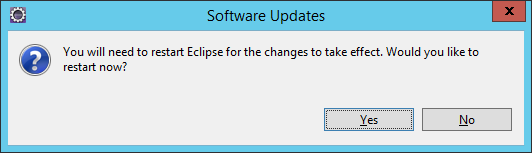
 Step 6 − You will be prompted to restart Eclipse once the updates are installed. Click Yes to restart Eclipse.
The following things need to be noted about the above program −
It was designed from day one to be powerful, yet easy to use.
Rexx was designed and first implemented, in assembly language, as an 'own-time' project between 20th March 1979 and the middle of 1982 by Mike Cowlishaw of IBM, originally as a scripting programming language to replace the languages EXEC and EXEC 2. It was designed to be a macro or scripting language for any system. As such, Rexx is considered a precursor to Tcl and Python. Rexx was also intended by its creator to be a simplified and easier to learn version of the PL/I programming language.
Features of Rexx
Rexx as a programming language has the following key features −- Simple syntax
- The ability to route commands to multiple environments
- The ability to support functions, procedures and commands associated with a specific invoking environment.
- A built-in stack, with the ability to interoperate with the host stack if there is one.
- Small instruction set containing just two dozen instructions
- Freeform syntax
- Case-insensitive tokens, including variable names
- Character string basis
- Dynamic data typing, no declarations
- No reserved keywords, except in local context
- No include file facilities
- Arbitrary numerical precision
- Decimal arithmetic, floating-point
- A rich selection of built-in functions, especially string and word processing
- Automatic storage management
- Crash protection
- Content addressable data structures
- Associative arrays
- Straightforward access to system commands and facilities
- Simple error-handling, and built-in tracing and debugger
- Few artificial limitations
- Simplified I/O facilities
Rexx - Environment
Before you can start working on Rexx, you need to ensure that you have a fully functional version of Rexx running on your system. This chapter will explain the installation of Rexx and its subsequent configuration on a Windows machine to get started with Rexx.Try it Option Online
We have set up the Rexx Programming environment on-line, so that you can compile and execute all the available examples on line. It gives you confidence in what you are reading and enables you to verify the programs with different options. Feel free to modify any example and execute it on-line.
Try the following example using our on-line compiler available at CodingGround.
/* Main program */
say "Hello World"
For most of the examples given in this tutorial, you will find a Try it option in our website code sections at the top right corner that will take you to the online compiler. So just make use of it and enjoy your learning.
Ensure the following System requirements are met before proceeding with the installation.
System Requirements
| Memory | 2 GB RAM (recommended) |
|---|---|
| Disk Space | No minimum requirement. Preferably to have enough storage to store the programs which will be created using Rexx. |
| Operating System Version | Rexx can be installed on Windows, Ubuntu/Debian, Mac OS X. |
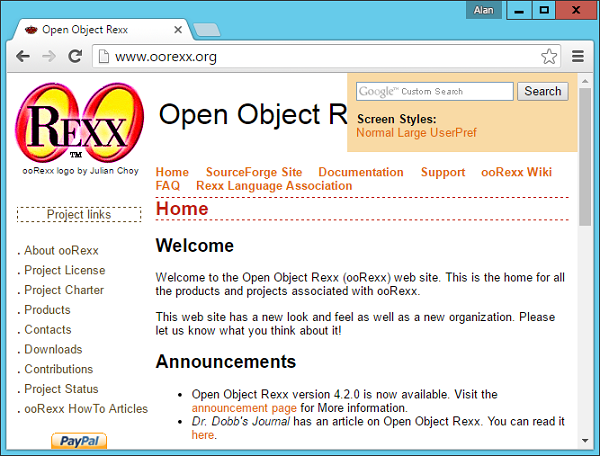
Downloading Rexx
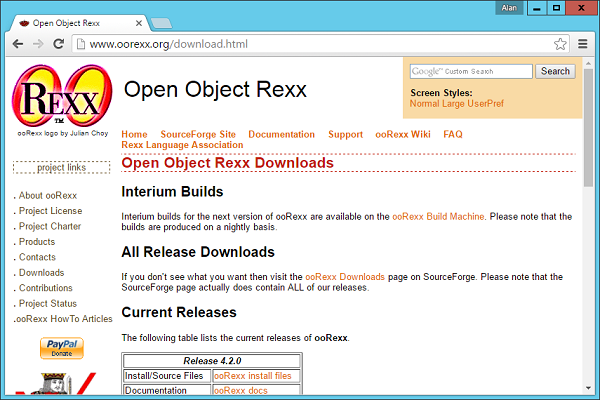
To download Rexx, you should use the following URL − http://www.oorexx.org/download.htmlThis page has a variety of downloads for various versions of Rexx as shown in the following screenshot.
Click on the ‘ooRexx install files’ in the table with the header of Release 4.2.0.After this, you will be re-directed to the following page.
Click on the ooRexx-4.2.0.windows.x86_64.exe to download the 64-bit version of the software. We will discuss regarding the installation of the software in the following chapter.Rexx - Installation
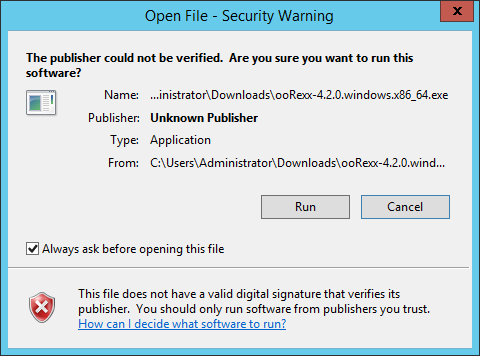
The following steps will explain in detail how Rexx can be installed on a Windows system.Step 1 − Launch the Installer downloaded in the earlier section. After the installer starts, click on the Run button.
Step 2 − Click the next button on the following screen to proceed with the installation.
Step 3 − Click on the I Agree button to proceed.
Step 4 − Accept the default components and then click on the next button.
Step 5 − Choose the installation location and click on the Next button.
Step 6 − Accept the default processes which will be installed and click on the Next button.
Step 7 − Choose the default file associations and click on the Next button.
Step 8 − Click on the check boxes of send Rexx items to the
executables and then click on the Next button as shown in the following
screenshot.
Step 9 − In the next screen, choose the editor for working
with Rexx files. Keep the notepad as the default option. Also accept the
default extension for each Rexx file.
Step 10 − Accept the default settings on the following screen
that comes up and click on the Next button to proceed further with the
installation.
Step 11 − Finally click on the Install button to proceed with the installation.
Step 12 − Once the installation is complete, you need to click on the Next button to proceed further.
Step 13 − Click on the Finish button to complete the installation.
Rexx - Installation of Plugin-Ins
In this chapter, we will discuss on how to install plug-ins on popular IDE’s (Integrated Development Environment). Rexx as a programming language is also available in popular IDE’s such as Eclipse. Let’s look at how we can get the required plugin’s in these IDE’s, so that you have more choices in working with Rexx.Installation in Eclipse
To make a trouble-free installation of Rexx in Eclipse, you will need to adhere to the following steps.Step 1 − Open Eclipse and click on the Menu item, Help → Eclipse Marketplace as shown in the following screenshot.
Step 2 − In the next dialog box, enter Rexx in the search criteria and click on the search button.
Once done, click the Install button.Step 3 − Click on the Confirm button to further continue with the features installation.
Step 4 − Eclipse will then download the necessary files to
start off with the installation. Once done, Eclipse will ask for
accepting the license agreements. Click on accepting the license
agreements and then click on the Finish button as shown in the following
screenshot.
Eclipse will then start installing the software in the background.Step 5 − You will probably get a security warning (as shown in the following screenshot). Click on the OK button to proceed.
Step 6 − You will be prompted to restart Eclipse once the updates are installed. Click Yes to restart Eclipse.
Rexx - Basic Syntax
In order to understand the basic syntax of Rexx, let us first look at a simple Hello World program.Example
/* Main program */
say "Hello World"
One can see how simple the hello world program is. It is a simple script line which is used to execute the Hello World program.
The following things need to be noted about the above program −
- The say command is used to output a value to the console.
- The /* */ is used for comments in Rexx.
Hello World
No comments:
Post a Comment