
Just like various shapes, you can also create a text node in JavaFX. The text node is represented by the class named Text, which belongs to the package javafx.scene.text.
This class contains several properties to create text in JavaFX and modify its appearance. This class also inherits the Shape class which belongs to the package javafx.scene.shape.
Therefore, in addition to the properties of the text like font, alignment, line spacing, text, etc. It also inherits the basic shape node properties such as strokeFill, stroke, strokeWidth, strokeType, etc.
After instantiating the Text class, you need to set value to this property using the setText() method as shown below.

You can change the font size and color of the text using the setFont() method. This method accepts an object of the Font class.
The class named Font of the package javafx.scene.text is used to define the font for the text. This class contains a static method named font().
This method accepts four parameters namely −
Save this code in a file with the name TextFontExample.java.
You can set the color to the text using the setFill() method of the shape (inherited) class as follows −
Save this code in a file with the name StrokeExample.java.
You can strike through the text using the method setStrikethrough(). This accepts a Boolean value, pass the value true to this method to strike through the text as shown in the following code box −
This class contains several properties to create text in JavaFX and modify its appearance. This class also inherits the Shape class which belongs to the package javafx.scene.shape.
Therefore, in addition to the properties of the text like font, alignment, line spacing, text, etc. It also inherits the basic shape node properties such as strokeFill, stroke, strokeWidth, strokeType, etc.
Creating a Text Node
Since the class Text of the package javafx.scene.text represents the text node in JavaFX, you can create a text by instantiating this class as follows −Text text = new Text();The class Text contains a property named text of string type, which represents the text that is to be created.
After instantiating the Text class, you need to set value to this property using the setText() method as shown below.
String text = "Hello how are you"
Text.setText(text);
You can also set the position (origin) of the text by specifying the values to the properties x and y using their respective setter methods namely setX() and setY() as shown in the following code block −
text.setX(50);
text.setY(50);
Example
The following program is an example demonstrating how to create a text node in JavaFX. Save this code in a file with name TextExample.java.import javafx.application.Application; import javafx.scene.Group; import javafx.scene.Scene; import javafx.stage.Stage; import javafx.scene.text.Text; public class TextExample extends Application { @Override public void start(Stage stage) { //Creating a Text object Text text = new Text(); //Setting the text to be added. text.setText("Hello how are you"); //setting the position of the text text.setX(50); text.setY(50); //Creating a Group object Group root = new Group(text); //Creating a scene object Scene scene = new Scene(root, 600, 300); //Setting title to the Stage stage.setTitle("Sample Application"); //Adding scene to the stage stage.setScene(scene); //Displaying the contents of the stage stage.show(); } public static void main(String args[]){ launch(args); } }Compile and execute the saved java file from the command prompt using the following commands.
javac TextExample.java
java TextExample
On executing, the above program generates a JavaFX window displaying the specified text as follows −
Position and Font of the Text
By default, the text created by text class is of the font…, size…, and black in color.You can change the font size and color of the text using the setFont() method. This method accepts an object of the Font class.
The class named Font of the package javafx.scene.text is used to define the font for the text. This class contains a static method named font().
This method accepts four parameters namely −
- family − This is of a String type and represents the family of the font that we want to apply to the text.
- weight − This property represents the weight of the font. It accepts 9 values, which are − FontWeight.BLACK, FontWeight.BOLD, FontWeight.EXTRA_BOLD, FontWeight.EXTRA_LIGHT, LIGHT, MEDIUM, NORMAL, SEMI_BOLD, THIN.
- posture − This property represents the font posture (regular or italic). It accepts two values FontPosture.REGULAR and FontPosture.ITALIC.
- size − This property is of type double and it represents the size of the font.
text.setFont(Font.font("verdana", FontWeight.BOLD, FontPosture.REGULAR, 20));
Example
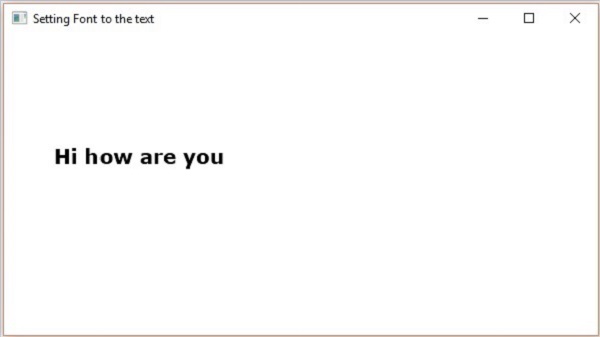
The following program is an example demonstrating how to set font of the text node in JavaFX. In here, we are setting the font to Verdana, weight to bold, posture to regular and size to 20.Save this code in a file with the name TextFontExample.java.
import javafx.application.Application;
import javafx.scene.Group;
import javafx.scene.Scene;
import javafx.stage.Stage;
import javafx.scene.text.Font;
import javafx.scene.text.FontPosture;
import javafx.scene.text.FontWeight;
import javafx.scene.text.Text;

public class TextFontExample extends Application {
   @Override
   public void start(Stage stage) {
      //Creating a Text object
      Text text = new Text();

      //Setting font to the text
      text.setFont(Font.font("verdana", FontWeight.BOLD, FontPosture.REGULAR, 20));

      //setting the position of the text
      text.setX(50);
      text.setY(130);

      //Setting the text to be added.
      text.setText("Hi how are you");

      //Creating a Group object
      Group root = new Group(text);

      //Creating a scene object
      Scene scene = new Scene(root, 600, 300);

      //Setting title to the Stage
      stage.setTitle("Setting Font to the text");

      //Adding scene to the stage
      stage.setScene(scene);

      //Displaying the contents of the stage
      stage.show();
   }
   public static void main(String args[]){
      launch(args);
   }
}
Compile and execute the saved java file from the command prompt using the following commands.
javac TextFontExample.java
java TextFontExample
On executing, the above program generates a JavaFX window displaying the text with the specified font as follows −
Stroke and Color
The Text class also inherits the class Shape of the package. Therefore, you can use javafx.scene.shape with which you can set the stroke and color to the text node too.You can set the color to the text using the setFill() method of the shape (inherited) class as follows −
text.setFill(Color.BEIGE);Similarly, you can set the stroke color of the text using the method setStroke(). While the width of the stroke can be set using the method setStrokeWidth() as follows −
//Setting the color
text.setFill(Color.BROWN);

//Setting the Stroke
text.setStrokeWidth(2);

//Setting the stroke color
text.setStroke(Color.BLUE);
Example
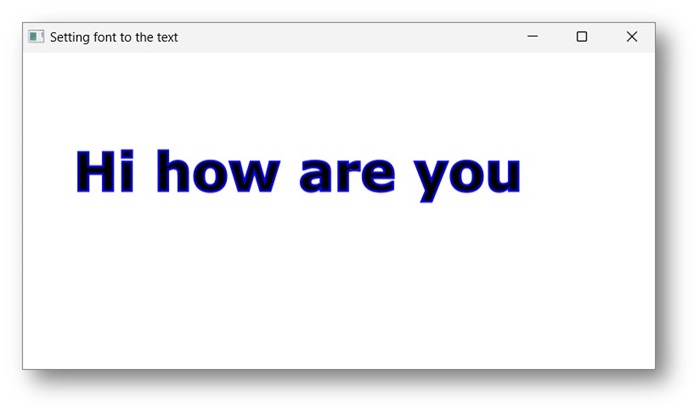
The following program is an example that demonstrates how to set the color, strokeWidth and strokeColor, of the text node. In this code, we are setting stroke color to – blue, text color to – brown and the stroke width to – 2.Save this code in a file with the name StrokeExample.java.
import javafx.application.Application;
import javafx.scene.Group;
import javafx.scene.Scene;
import javafx.scene.paint.Color;
import javafx.stage.Stage;
import javafx.scene.text.Font;
import javafx.scene.text.FontPosture;
import javafx.scene.text.FontWeight;
import javafx.scene.text.Text;

public class StrokeExample extends Application {
   @Override
   public void start(Stage stage) {
      //Creating a Text object
      Text text = new Text();

      //Setting font to the text
      text.setFont(Font.font("verdana", FontWeight.BOLD, FontPosture.REGULAR, 50));

      //setting the position of the text
      text.setX(50);
      text.setY(130);

      //Setting the color
      text.setFill(Color.BROWN);

      //Setting the Stroke
      text.setStrokeWidth(2);

      // Setting the stroke color
      text.setStroke(Color.BLUE);

      //Setting the text to be added.
      text.setText("Hi how are you");

      //Creating a Group object
      Group root = new Group(text);

      //Creating a scene object
      Scene scene = new Scene(root, 600, 300);

      //Setting title to the Stage
      stage.setTitle("Setting font to the text");

      //Adding scene to the stage
      stage.setScene(scene);

      //Displaying the contents of the stage
      stage.show();
   }
   public static void main(String args[]){
      launch(args);
   }
}
Compile and execute the saved java file from the command prompt using the following commands.
javac StrokeExample.java
java StrokeExample
On executing, the above program generates a JavaFX window displaying the text with the specified stroke and color attributes as follows −
Applying Decorations to Text
You can also apply decorations such as strike through; in which case a line is passed through the text. You can underline a text using the methods of the Text class.You can strike through the text using the method setStrikethrough(). This accepts a Boolean value, pass the value true to this method to strike through the text as shown in the following code box −
//Striking through the text
text1.setStrikethrough(true);
In the same way, you can underline a text by passing the value true to the method setUnderLine() as follows −
//underlining the text
text2.setUnderline(true);
Example
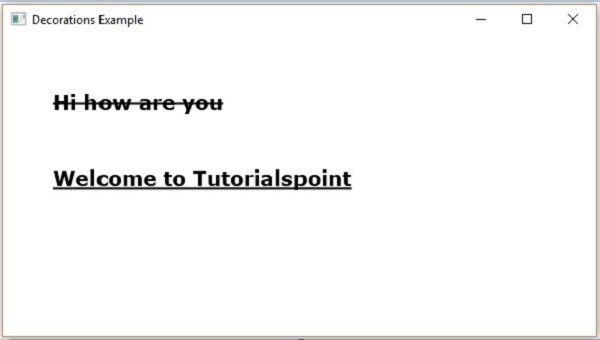
The following program is an example demonstrating how to apply decorations such as underline or strike through to a text. Save this code in a file with the name DecorationsExample.java.import javafx.application.Application; import javafx.scene.Group; import javafx.scene.Scene; import javafx.stage.Stage; import javafx.scene.text.Font; import javafx.scene.text.FontPosture; import javafx.scene.text.FontWeight; import javafx.scene.text.Text; public class DecorationsExample extends Application { @Override public void start(Stage stage) { //Creating a Text_Example object Text text1 = new Text("Hi how are you"); //Setting font to the text text1.setFont(Font.font("verdana", FontWeight.BOLD, FontPosture.REGULAR, 20)); //setting the position of the text text1.setX(50); text1.setY(75); //Striking through the text text1.setStrikethrough(true); //Creating a Text_Example object Text text2 = new Text("Welcome to Tutorialspoint"); //Setting font to the text text2.setFont(Font.font("verdana", FontWeight.BOLD, FontPosture.REGULAR, 20)); //setting the position of the text text2.setX(50); text2.setY(150); //underlining the text text2.setUnderline(true); //Creating a Group object Group root = new Group(text1, text2); //Creating a scene object Scene scene = new Scene(root, 600, 300); //Setting title to the Stage stage.setTitle("Decorations Example"); //Adding scene to the stage stage.setScene(scene); //Displaying the contents of the stage stage.show(); } public static void main(String args[]){ launch(args); } }Compile and execute the saved Java file from the command prompt using the following commands.
javac DecorationsExample.java
java DecorationsExample
On executing, the above program generates a JavaFX window as shown below −
No comments:
Post a Comment