
Views are responsible for presenting the data to end users. In web applications, Views are just PHP script files containing HTML and PHP code.
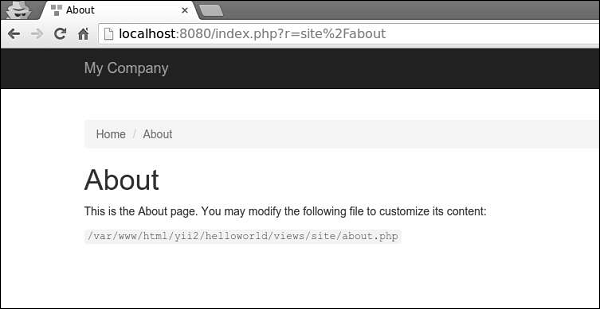
This is how the ‘About’ page looks like −
 It is important to encode and/or filter the data coming from the end
user in order to avoid the XSS attacks. You should always encode a plain
text by calling yii\helpers\Html::encode() and HTML content by calling yii\helpers\HtmlPurifier.
It is important to encode and/or filter the data coming from the end
user in order to avoid the XSS attacks. You should always encode a plain
text by calling yii\helpers\Html::encode() and HTML content by calling yii\helpers\HtmlPurifier.
Step 2 − Modify the ‘About’ View in the following way.
 Notice, that the javascript code inside the Html::encode() function is displayed as plain text. The same thing is for HtmlPurifier::process() call. Only h1 tag is being displayed.
Views follow these conventions −
_part1.php −
 When rendering a view, you can define the view using as a view name
or a view file path/alias. A view name is resolved in the following way −
When rendering a view, you can define the view using as a view name
or a view file path/alias. A view name is resolved in the following way −
Step 1 − Modify the actionAbout of the SiteController.
Step 2 − Change the about view code.
Step 3 − Type the URL http://localhost:8080/index.php?r=site/about in the web browser, you will see the following.
Creating Views
Step 1 − Let us have a look at the ‘About’ view of the basic application template.<?php /* @var $this yii\web\View */ use yii\helpers\Html; $this->title = 'About'; $this->params['breadcrumbs'][] = $this->title; ?> <div class="site-about"> <h1><?= Html::encode($this->title) ?></h1> <p> This is the About page. You may modify the following file to customize its content: </p> <code><?= __FILE__ ?></code> </div>The $this variable refers to the view component that manages and renders this view template.
This is how the ‘About’ page looks like −
It is important to encode and/or filter the data coming from the end
user in order to avoid the XSS attacks. You should always encode a plain
text by calling yii\helpers\Html::encode() and HTML content by calling yii\helpers\HtmlPurifier.Step 2 − Modify the ‘About’ View in the following way.
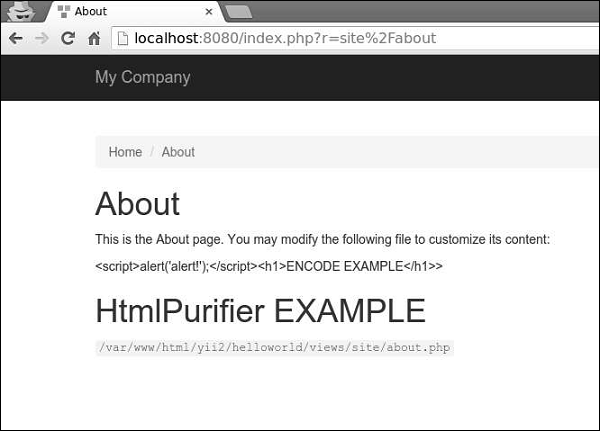
<?php
   /* @var $this yii\web\View */
   use yii\helpers\Html;
   use yii\helpers\HtmlPurifier;
   $this->title = 'About';
   $this->params['breadcrumbs'][] = $this->title;
?>
<div class="site-about">
   <h1><?= Html::encode($this->title) ?></h1>
   <p>
      This is the About page. You may modify the following file to customize its content:
   </p>
   <p>
      <?= Html::encode("<script>alert('alert!');</script><h1>ENCODE EXAMPLE</h1>>") ?>
   </p>
   <p>
      <?= HtmlPurifier::process("<script>alert('alert!');</script><h1> HtmlPurifier EXAMPLE</h1>") ?>
   </p>
   <code><?= __FILE__ ?></code>
</div>
Step 3 − Now type http://localhost:8080/index.php?r=site/about. You will see the following screen.
Notice, that the javascript code inside the Html::encode() function is displayed as plain text. The same thing is for HtmlPurifier::process() call. Only h1 tag is being displayed.Views follow these conventions −
- Views, which are rendered by a controller, should be put into the @app/views/controllerID folder.
- Views, which are rendered in a widget, should be put into the widgetPath/views folder.
- render() − Renders a view and applies a layout.
- renderPartial() − Renders a view without a layout.
- renderAjax() − Renders a view without a layout, but injects all registered js and css files.
- renderFile() − Renders a view in a given file path or alias.
- renderContent() − Renders a static string and applies a layout.
- render() − Renders a view.
- renderAjax() − Renders a view without a layout, but injects all registered js and css files.
- renderFile() − Renders a view in a given file path or alias.
_part1.php −
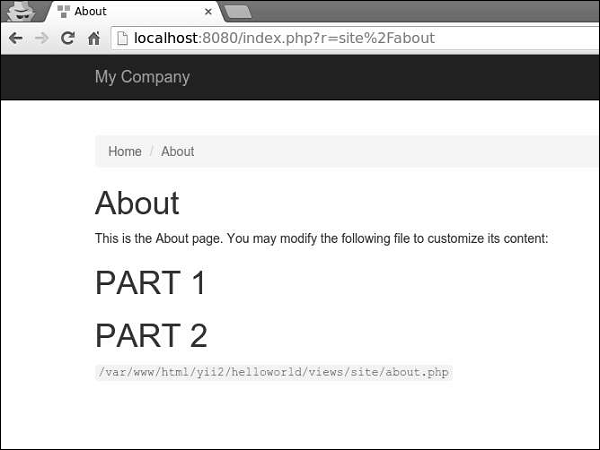
<h1>PART 1</h1>_part2.php −
<h1>PART 2</h1>Step 5 − Finally, render these two newly created views inside the ‘About’ View.
<?php
   /* @var $this yii\web\View */
   use yii\helpers\Html;
   $this->title = 'About';
   $this->params['breadcrumbs'][] = $this->title;
?>
<div class="site-about">
   <h1><?= Html::encode($this->title) ?></h1>
   <p>
      This is the About page. You may modify the following file to customize its content:
   </p>
   <?= $this->render("_part1") ?>
   <?= $this->render("_part2") ?>
   <code><?= __FILE__ ?></code>
</div>
You will see the following output −
When rendering a view, you can define the view using as a view name
or a view file path/alias. A view name is resolved in the following way −- A view name can omit the extension. For example, the about view corresponds to the about.php file.
- If the view name starts with “/”, then if currently active module is forum, and the view name is comment/post, the path would be @app/modules/forum/views/comment/post. If there is no active module, the path would be @app/views/comment/post.
- If the view name starts with “//”, the corresponding path would be @app/views/ViewName. For example, //site/contact corresponds to @app/views/site/contact.php.
- If the view name is contact, and the context controller is SiteController, then the path would be @app/views/site/contact.php.
- If the price view is rendered within the goods view, then price would be resolved as @app/views/invoice/price.php if it is being rendered in the @app/views/invoice/goods.php.
Accessing Data in Views
To access data within a view, you should pass the data as the second parameter to the view rendering method.Step 1 − Modify the actionAbout of the SiteController.
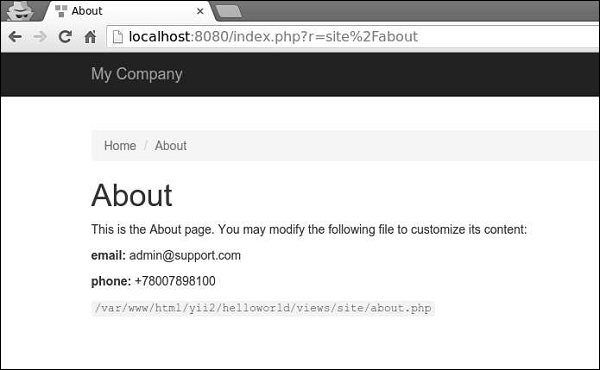
public function actionAbout() {
   $email = “admin@support.com”;
   $phone = “+78007898100”;
   return $this->rende‘('abo’t',[
      ‘ 'ema’l' => $email,
      ‘ 'pho’e' => $phone
   ]);
}
In the code given above, we pass two variables $email and $phone to render in the About view.
Step 2 − Change the about view code.
<?php
   /* @var $this yii\web\View */
   use yii\helpers\Html;
   $this->title = 'About';
   $this->params['breadcrumbs'][] = $this->title;
?>
<div class = "site-about">
   <h1><?= Html::encode($this->title) ?></h1>
   <p>
      This is the About page. You may modify the following file to customize its content:
   </p>
   <p>
      <b>email:</b> <?= $email ?>
   </p>
   <p>
      <b>phone:</b> <?= $phone ?>
   </p>
   <code><?= __FILE__ ?></code>
</div>
We have just added two variables that we received from the SiteController.
Step 3 − Type the URL http://localhost:8080/index.php?r=site/about in the web browser, you will see the following.
No comments:
Post a Comment