The following are the Prerequisites to install jBPM Plugin −
As jBPM is written in Java, we will be covering how to add the desired plugins in this section. Considering maximum Java users use Eclipse, let us see how to add the jBPM plugin in Eclipse.
Download the binaries from the following link − http://download.jboss.org/drools/release/5.3.0.Final/
Don't be confused on seeing Drools here. The same plugins are used for jBPM. If you already have installed Drools plugin, then you can skip the installation steps.
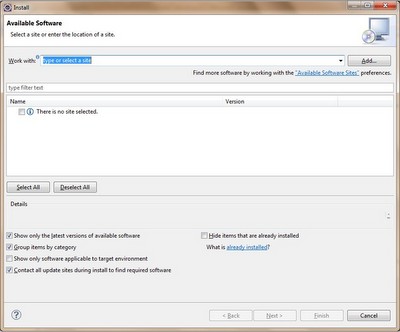
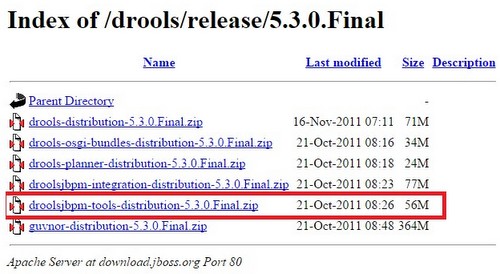 Extract it to your hard disk. Then, launch Eclipse and go to Help → Install New Software.
 Click Add Repository −
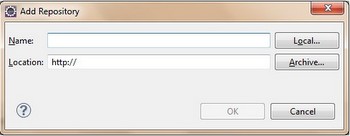 Click the Local button and then select ".../binaries/org.drools.updatesite" (where you downloaded on your machine)
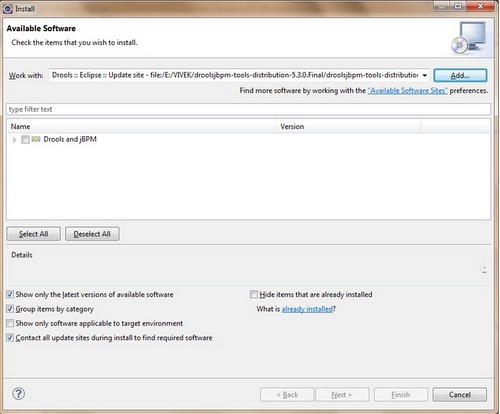 Select Drools and jBPM and then click the Next button.
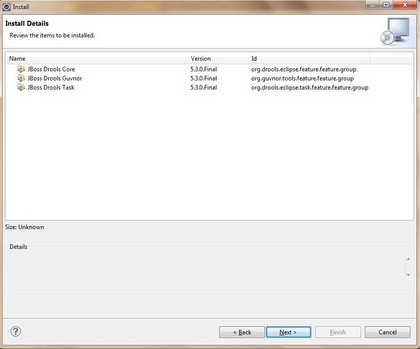 Again Click Next and select “I accept the terms of license agreement” and then click Finish. The software installation starts −
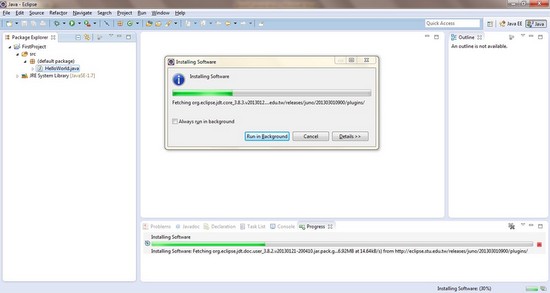 Post successful installation, you will get the following dialog box −
 Click Yes. Eclipse restarts. Now, go to Windows → Preferences → Drools → Drools Flow Nodes
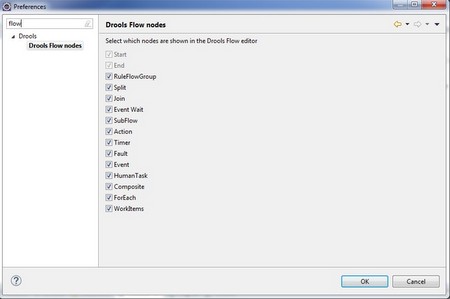 If you are able to see the nodes as shown in the above screenshot, it
proves that the plugins were successfully installed. Now we are ready
to write our first jBPM program.
As jBPM is written in Java, we will be covering how to add the desired plugins in this section. Considering maximum Java users use Eclipse, let us see how to add the jBPM plugin in Eclipse.
Download the binaries from the following link − http://download.jboss.org/drools/release/5.3.0.Final/
Don't be confused on seeing Drools here. The same plugins are used for jBPM. If you already have installed Drools plugin, then you can skip the installation steps.
 Extract it to your hard disk. Then, launch Eclipse and go to Help → Install New Software.
 Click Add Repository −
 Click the Local button and then select ".../binaries/org.drools.updatesite" (where you downloaded on your machine)
 Select Drools and jBPM and then click the Next button.
 Again Click Next and select “I accept the terms of license agreement” and then click Finish. The software installation starts −
 Post successful installation, you will get the following dialog box −
 Click Yes. Eclipse restarts. Now, go to Windows → Preferences → Drools → Drools Flow Nodes
 If you are able to see the nodes as shown in the above screenshot, it
proves that the plugins were successfully installed. Now we are ready
to write our first jBPM program.
No comments:
Post a Comment